

June 13, 2023
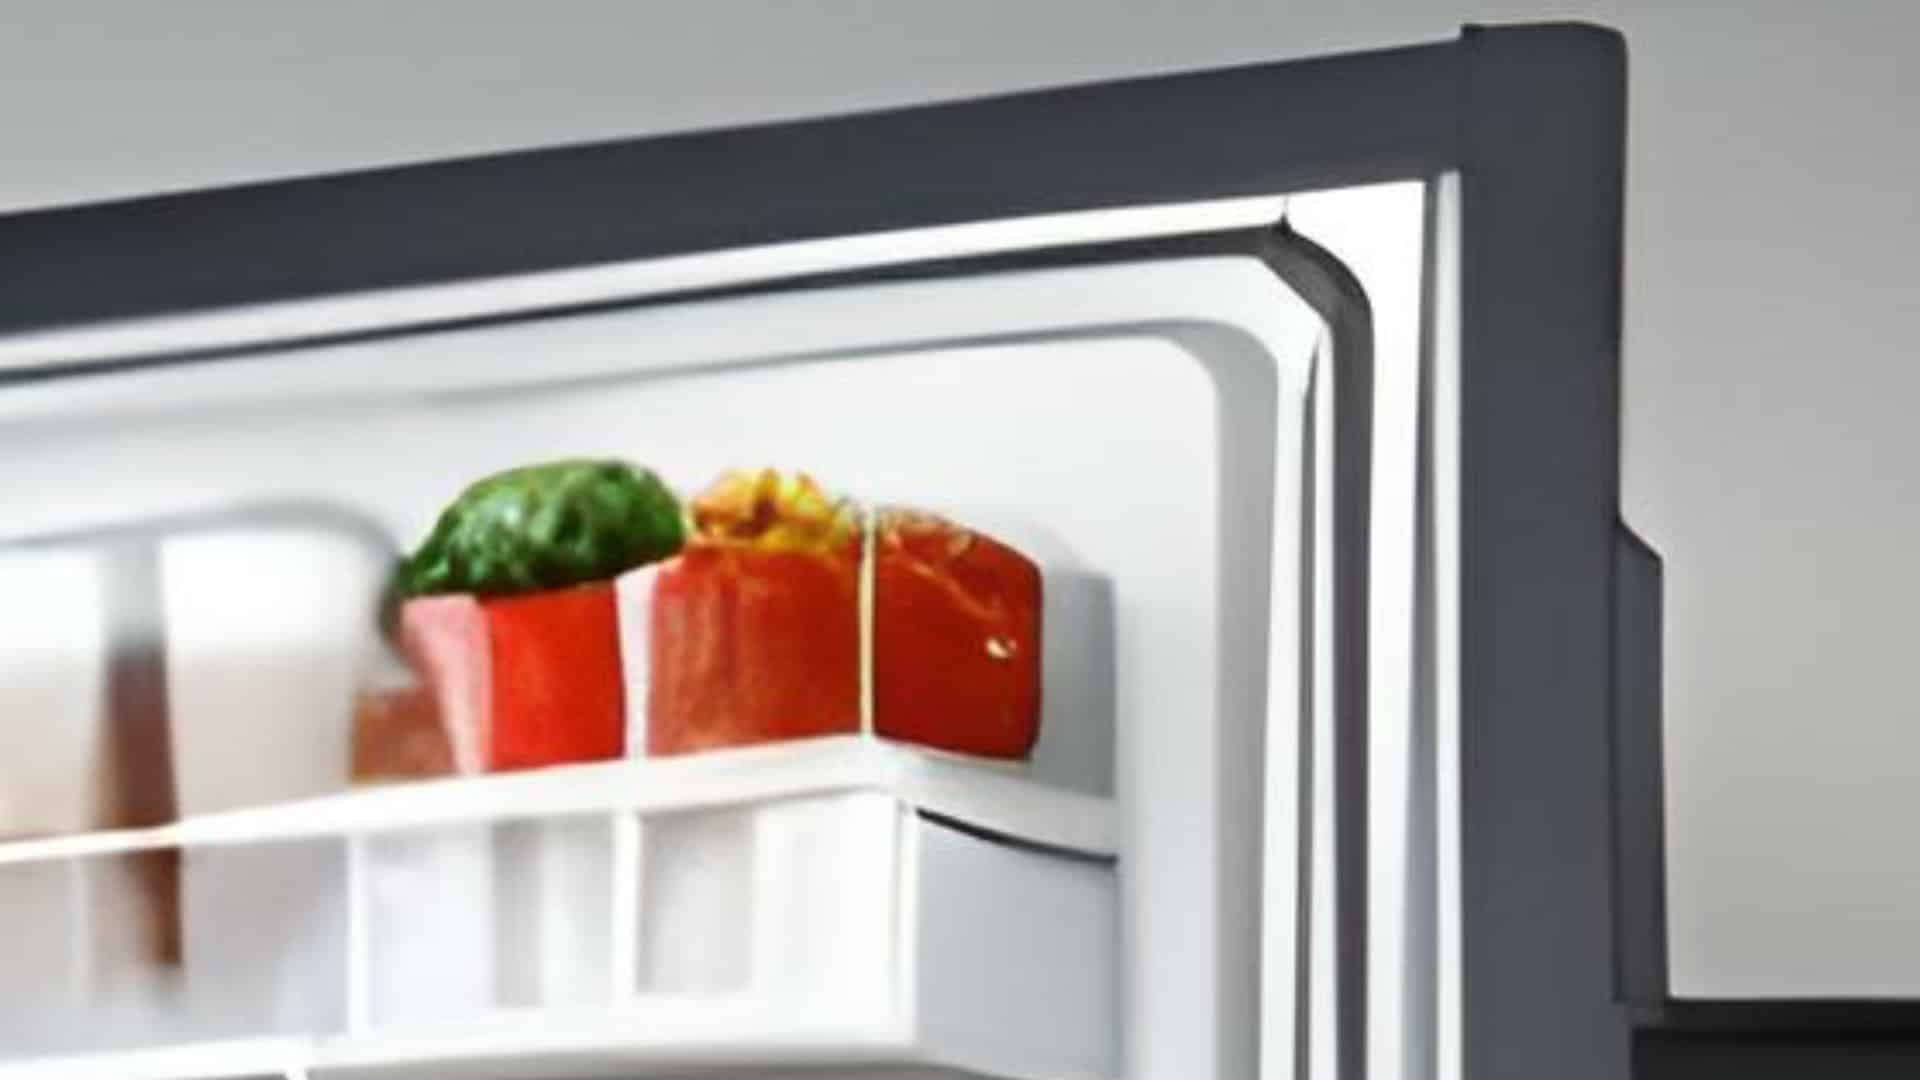
Refrigerator Repair
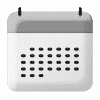
It can be frustrating to find that your refrigerator’s ice maker isn’t working, especially during the hot summer months when you need ice the most. Some of the most common reasons for your ice maker not functioning properly include low water flow levels, frozen water lines, and faulty control arms. Other reasons include a clogged water filter or a damaged ice maker motor. In this article, you’ll find some of the most common reasons for your ice maker not working and what to do to fix it quickly.
Fixing an ice maker
Check the water flow
The first and easiest thing to check is the water flow to the ice maker. Some refrigerators allow you to regulate water flow into your ice maker pockets, which in turn controls cube size. However, if this control isn’t set correctly, it can lead to undersized cubes or even an icy blockage in your machine. If you find that your ice maker has stopped working, checking whether the water flow regulation needs adjusting and turning the flow level up is the best place to start.
Defrost the water line
Among the most common issues that causes a refrigerator’s ice maker to stop working is a frozen water line. This can occur when the temperature around the components in your freezer drops below freezing, causing the water to freeze and block the flow of water to the ice maker. To defrost the water line, simply unplug your refrigerator and leave the freezer door open for a few hours. You can also speed up the process by using a hairdryer to melt the ice. Once the water line is defrosted, plug your refrigerator back in and wait a few hours for the ice maker to start working again.
It’s important to note that a frozen water line can be a symptom of a larger problem with your refrigerator, such as a faulty thermostat or a clogged air filter. If you continue to experience issues with your ice maker after defrosting the water line, it may be time to call a professional to check if you have a more serious problem on your hands.
Check the water filter
Another of the most common issues with a refrigerator’s ice maker is a clogged water filter. If you’re experiencing slow ice production or not getting any ice at all, this could be the reason. A water filter is responsible for removing impurities and contaminants from the water supply before it reaches the ice maker and dispenser. Over time, the filter can become clogged with debris and minerals, causing a decrease in water flow and poor ice quality. You’ll be happy to know that this is an easy fix. All you need to do is locate the filter, remove it, and give it a good clean. You can do this by running it under water in the sink or soaking it for a few minutes in water and soap before rinsing it off. If your filter is due for a replacement or if the part isn’t designed to be cleaned, it may be time to replace it with a new one. Be sure to check your refrigerator’s manual for specific instructions on how to do this as the location and type of filter can vary depending on the make and model of your fridge. It’s best to replace or clean the water filter every 6 months to avoid any blockages and keep your water safe to drink.
Check the control arm
If your refrigerator is still not making ice, the thing you should check next is the control arm. The control arm is a small plastic or metal arm that sits above the ice bucket in your freezer. Its purpose is to sense when the ice bucket is full and stop the ice maker from producing more ice. If the control arm is stuck in the “off” position, it prevents the ice maker from making ice. To check the control arm, simply lift it up and down. If it moves freely, it’s not the problem. However, if it’s stuck in the up position, it’s likely the reason why your ice maker isn’t making ice. In this case, you can try to gently push it down to see if it resets. If it doesn’t, you may need to replace the control arm altogether.
Check the ice maker motor
Another common problem with refrigerator ice makers is a faulty motor. The motor is responsible for turning the ice maker’s gears and moving the ice through the system. If the motor isn’t working, the ice maker won’t be able to produce ice. Checking and fixing the motor is a relatively easy process that can save you the cost of a service call. Start by unplugging the refrigerator and removing the ice maker from the freezer. Once you’ve accessed the motor, check for any visible damage or wear.
If the motor looks fine, use a multimeter to test the electrical connections. If the connections are good and the motor still isn’t working, it may need to be replaced. A replacement motor can be purchased online or from a local appliance repair shop. With a little patience and some basic tools, checking and fixing the ice maker motor can be done in an afternoon. If your ice maker motor does need replacing, it’s usually a simple process of turning off the power supply to your refrigerator, disconnecting the wiring and screws from the old motor, and attaching the new motor in its place. The manufacturing guide should tell you the exact part needed for your refrigerator as they often differ between models and makes.
(410) 451 - 4104Text or ring! ring!
Dec. 11, 2023
How To Fix a Whirlpool Washer F20 Error Code
Dec. 11, 2023
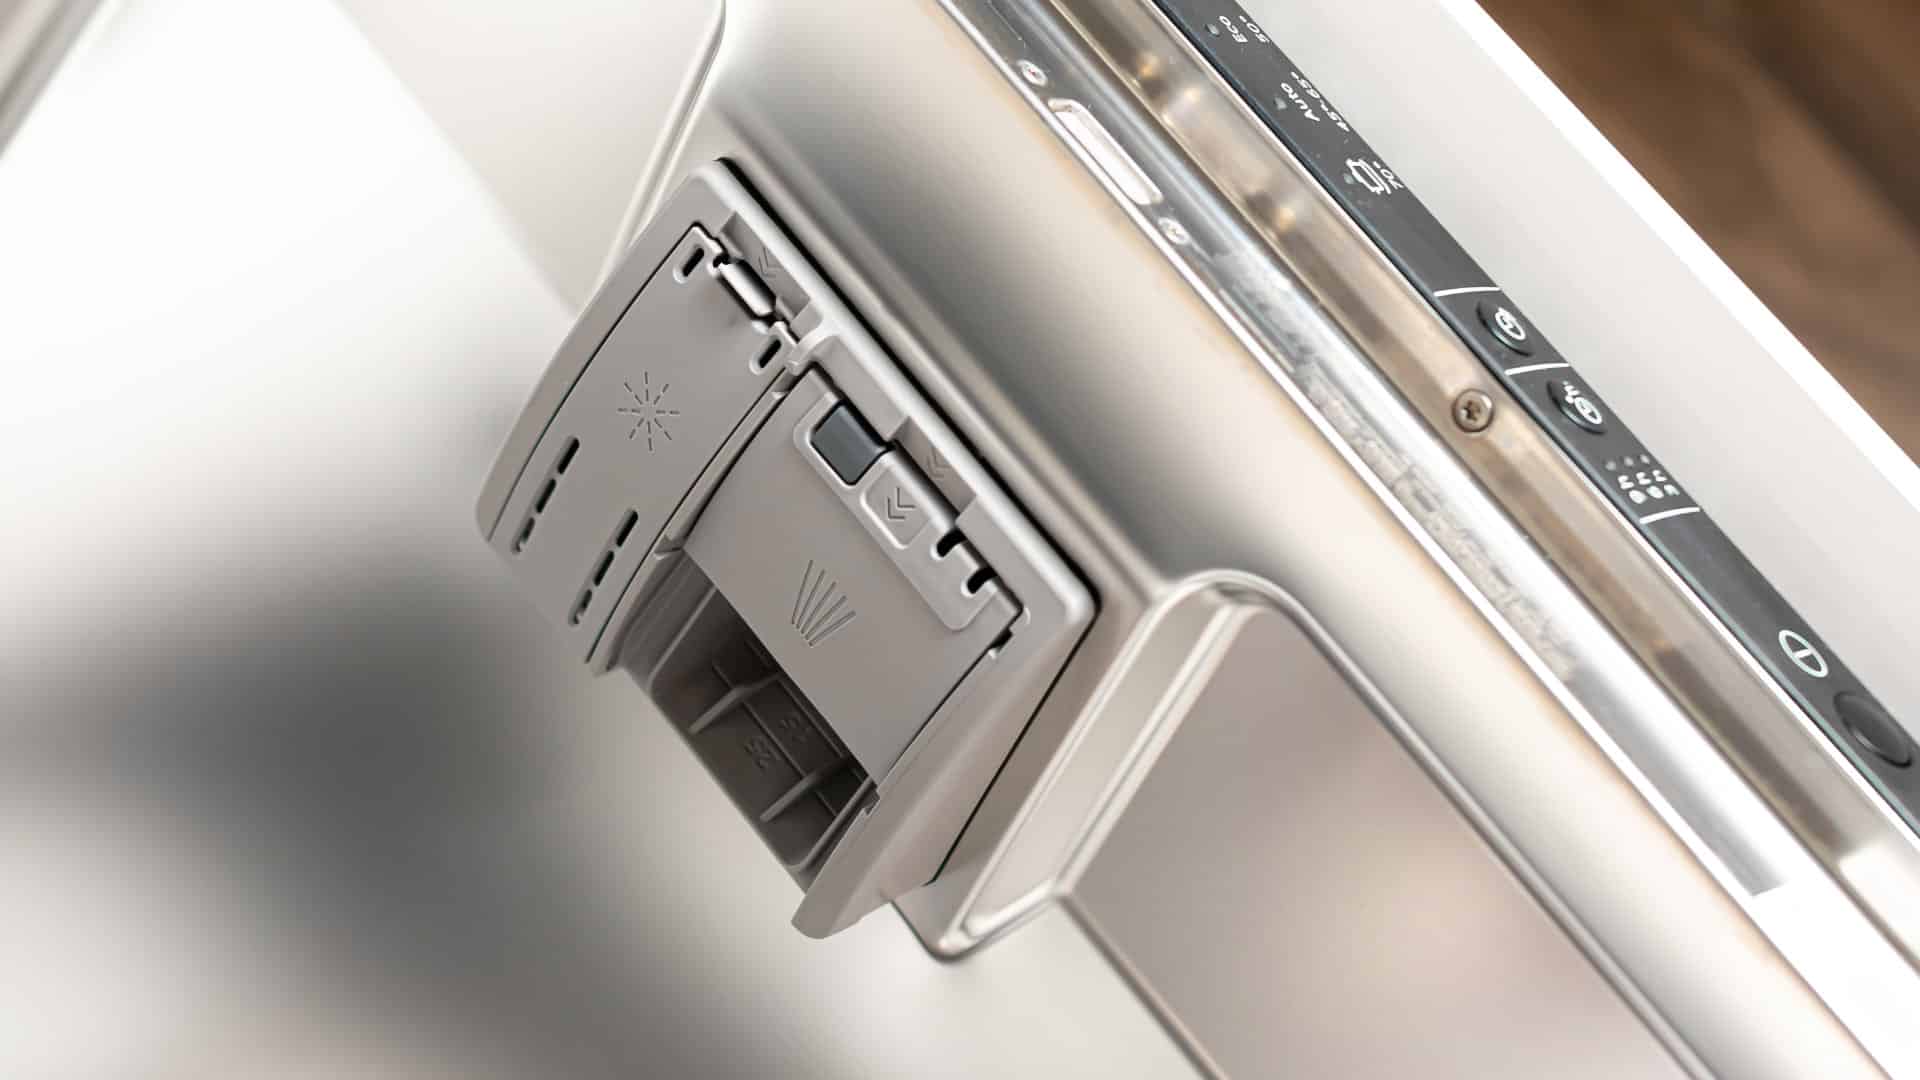
How to Fix a Dishwasher Not Getting Water: The Ultimate Guide
Dec. 11, 2023
How to Solve the Frigidaire Stove F10 Error Code
Nov. 06, 2023
How to Hook up a Gas Dryer
Nov. 06, 2023
Dishwasher Not Cleaning Top Rack? How to Fix It
Nov. 06, 2023
Why Your Microwave Is Making Weird Noises
Oct. 02, 2023
How to Replace a Refrigerator Door Seal
Oct. 02, 2023
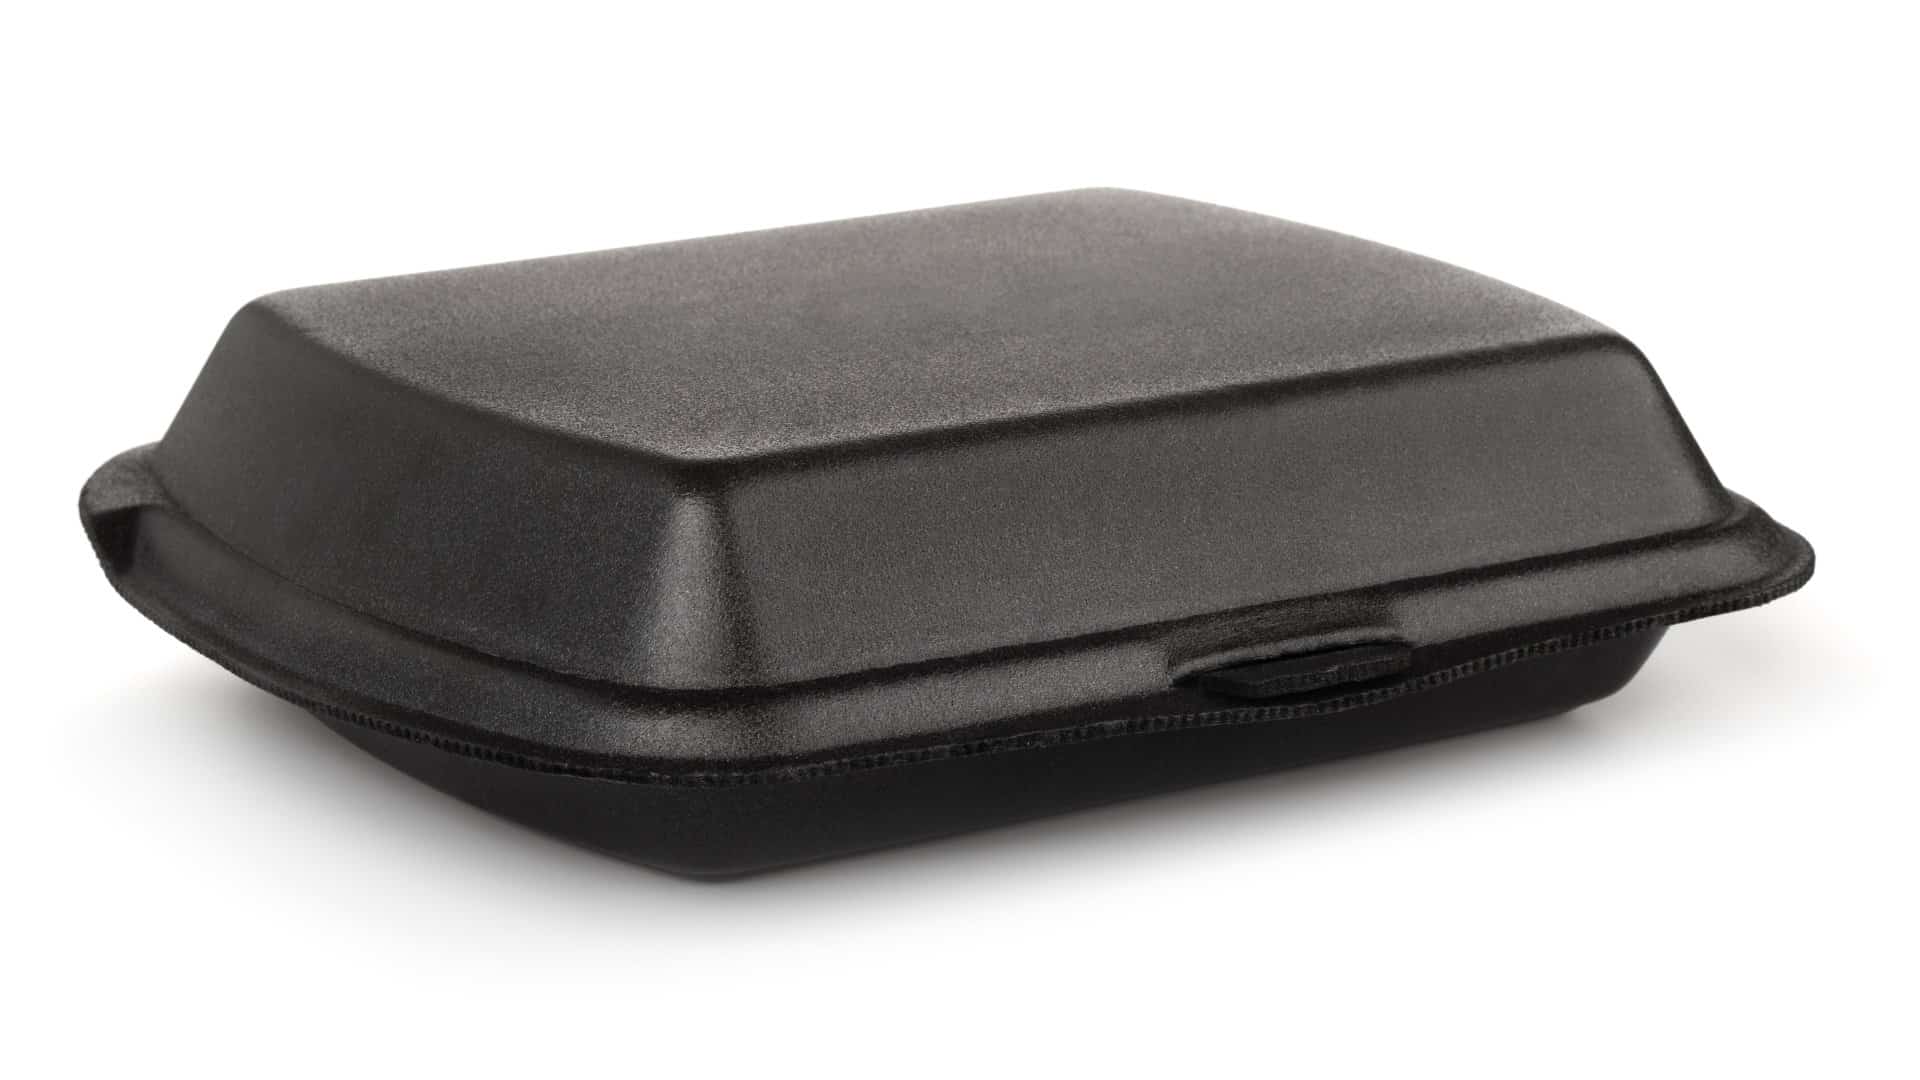
Can You Put Styrofoam in the Microwave?
Oct. 02, 2023
How to Resolve Whirlpool Washer E1/F9 Error Codes
Sep. 08, 2023