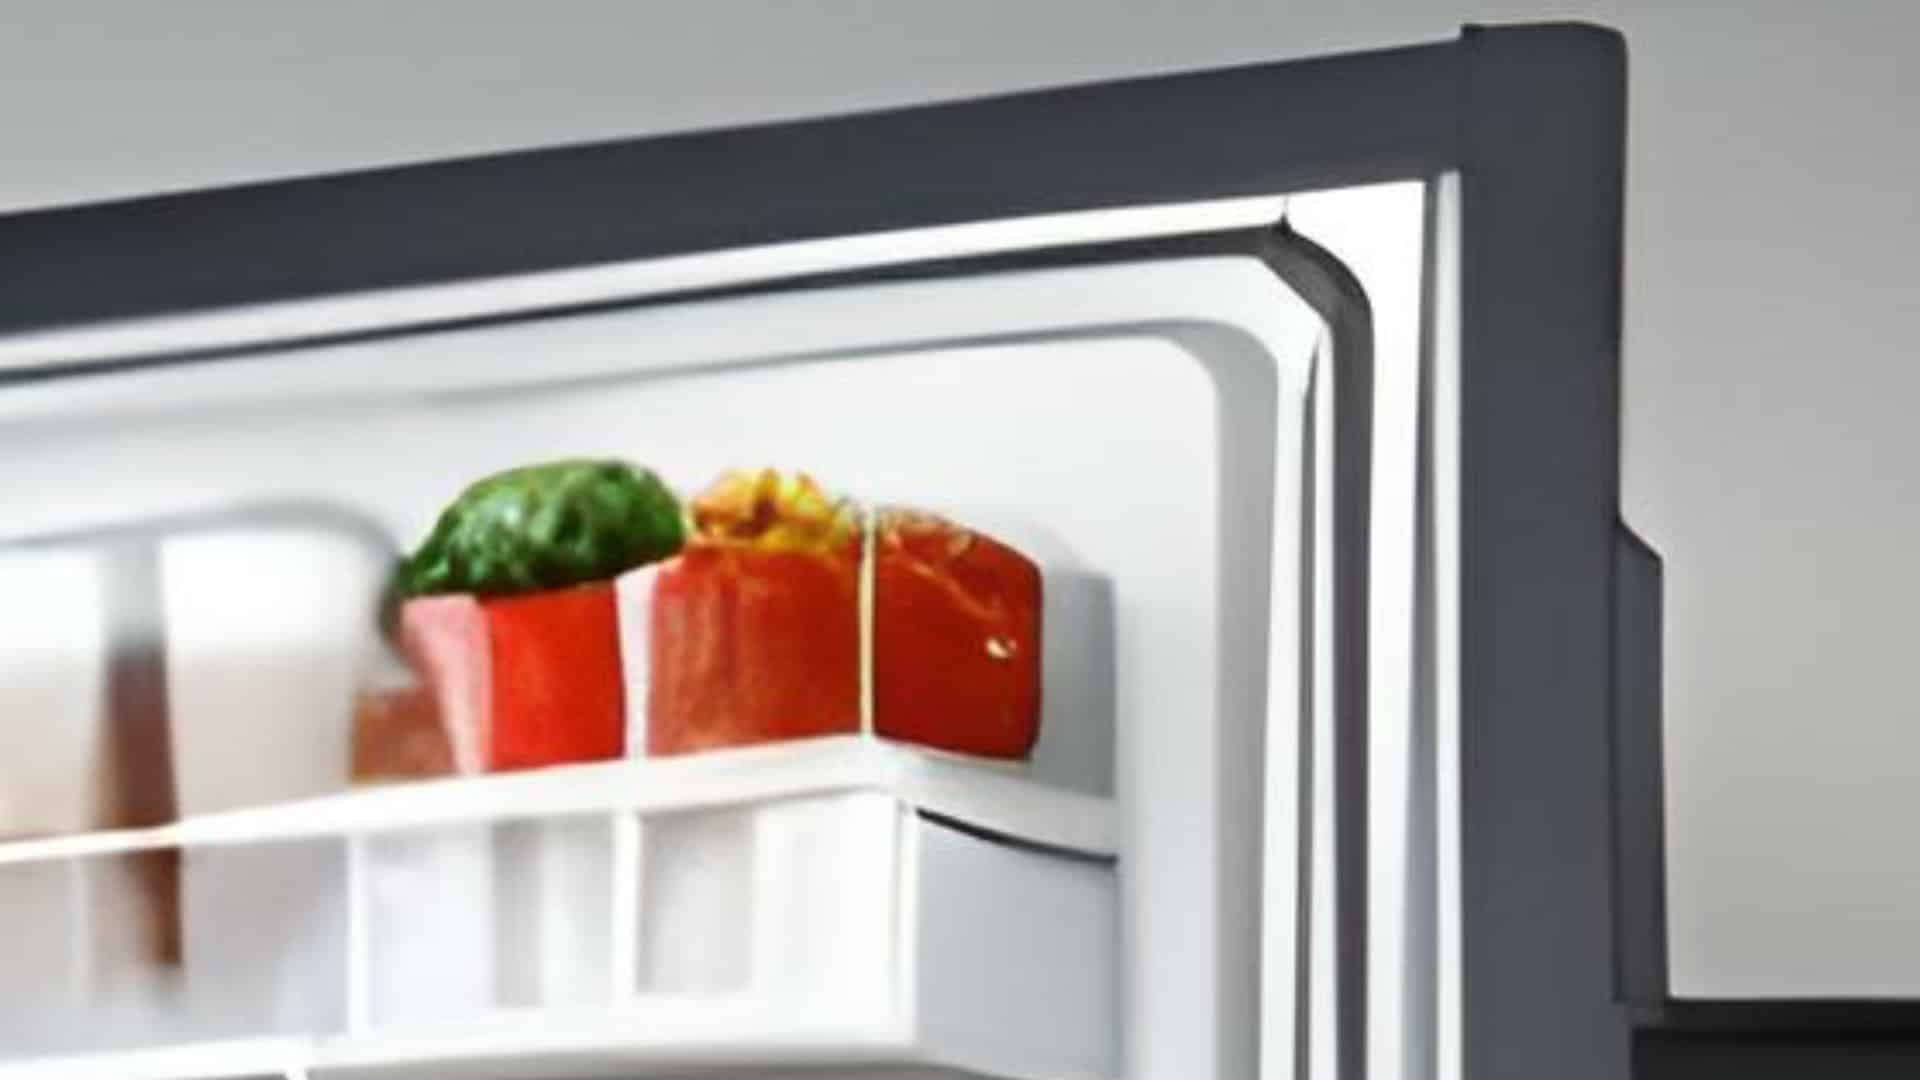
If there’s an issue with your refrigerator door seal, don’t panic! It’s one of the easiest DIY fixes out there—you don’t need any specialized tools or knowledge at all! Below, we’ll walk you through how to figure out if your door seal needs replacing, what you’ll need before you start, and how to get your new door seal in place. Read on to find out what to do!
Signs your refrigerator door seal needs to be replaced
Door not closing properly
If you close your refrigerator door but it pops open again, or you often hear the beeping to indicate the door is open after you swear you closed it, you may have a problem with your door seals. The seals ensure your fridge shuts tightly and stays closed, so if there’s an issue your fridge door may pop open again after being shut.
Fridge not cooling
The fridge needs a tightly closed door to generate cool air inside the cavity. If your door seals are not working, your fridge may struggle to get the air inside the fridge cold enough, leading to a warmer-than-expected fridge which can in turn affect the products stored there.
Condensation or frost build-up
The door seals don’t only keep warm air out, they also keep out moisture! If your door seals aren’t working, this can lead to condensation build-up in your fridge or frost build-up in your freezer—particularly if you live in a humid climate.
Higher energy bills or noisy refrigerator
If the door seals are not working correctly, your refrigerator needs to work harder to maintain the desired temperature. This can mean you notice your fridge is making more noise than usual, or you may notice a sudden spike in your energy bills.
Visible damage
This is the most obvious, but if you can see visible damage to your door seals, such as cracks, tears, or sagging, your door seals will need to be replaced.
What you’ll need
Replacing a refrigerator door seal is a pretty simple task, requiring common household tools that most people will already have. Make sure you assemble:
- Replacement seal
- Screwdriver (some seals are screwed on)
- Putty knife (to pry off old seal)
- Scissors (to trim the new seal)
- Hairdryer (to soften kinks in the new seal)
- Soft cloth, detergent, and a towel
Step 1 – Confirm the seal is faulty
The best way to confirm that the door seal is faulty is to do the “paper test.” Get a piece of paper and shut it in the door of your refrigerator. It should provide some resistance when you go to pull it out. If you find that it comes out easily, your fridge door is not sealing tightly enough. Test with the paper all around the perimeter of the seal to check for weak spots.
Step 2 – Order a replacement seal
Ordering a replacement seal is simple, you just need to know your refrigerator’s make and model. If you’re not sure, check your user manual, or if you don’t have it, check inside the refrigerator door—there is often a sticker that lists the make and model.
Once you know the make and model, you have a few options for finding a replacement. You may be able to get a replacement seal directly from the manufacturer’s website, or you can go to a local dealership or appliance store and tell them what you want.
Online marketplaces like Amazon are also a great option and tend to be a little cheaper. Just make sure the listing states which fridges the replacement seal is compatible with. It’s also important to make sure you’re buying the replacement from a reputable seller to ensure you’re getting a high-quality part that will last.
Step 3 – Remove the old seal
Once you’ve got the new seal ready, it’s time to remove the old one. You don’t need to turn your fridge off before starting, but you may prefer to if your fridge beeps when the door is open for too long!
Some seals are held in place with screws or clips, while others are simply pressed in place. Use your screwdriver to unfasten any screws, then remove the seal. If you’re unable to simply peel it away, use the putty knife to gently pry it from the door.
Step 4 – Clean thoroughly
Once your seal is removed, you need to make sure the area is thoroughly clean before you put the new one in place. Over time, dust, oil, and food particles can get stuck behind the seal, which causes adhesion issues. Cleaning will ensure you have a smooth surface for the new seal to stick to.
Use a soft cloth and soapy water to clean where the new seal will be going. It’s essential that the area is completely dry, so soak up any excess water with a towel and then leave it to stand for a few minutes so that any residual moisture can evaporate.
Step 5 – Install the new seal
If the new seal has been folded in its packaging, it may have kinks in it. Lay out the new seal flat on the floor—if there are kinks, use a hairdryer to gently heat and soften the plastic until it lays flat.
Once it’s laying flat, starting at one corner, push the new seal into the groove around the door until the whole seal is firmly installed. If there is any excess, trim it with your scissors.
If your seal has additional fasteners, such as screws or clips, put these in place.
Step 6 – Test the new seal
Once your seal is installed, close your fridge door to make sure it’s closing properly. You can try the paper test again to check if it’s sealing correctly all the way around. If there are any issues, you may need to adjust the fit and then retest until you have a good seal.
How To Fix a Whirlpool Washer F20 Error Code
How to Fix a Dishwasher Not Getting Water: The Ultimate Guide
How to Solve the Frigidaire Stove F10 Error Code
How to Hook up a Gas Dryer
Dishwasher Not Cleaning Top Rack? How to Fix It
Why Your Microwave Is Making Weird Noises

How to Replace a Refrigerator Door Seal
Can You Put Styrofoam in the Microwave?
How to Resolve Whirlpool Washer E1/F9 Error Codes
