


November 6, 2023
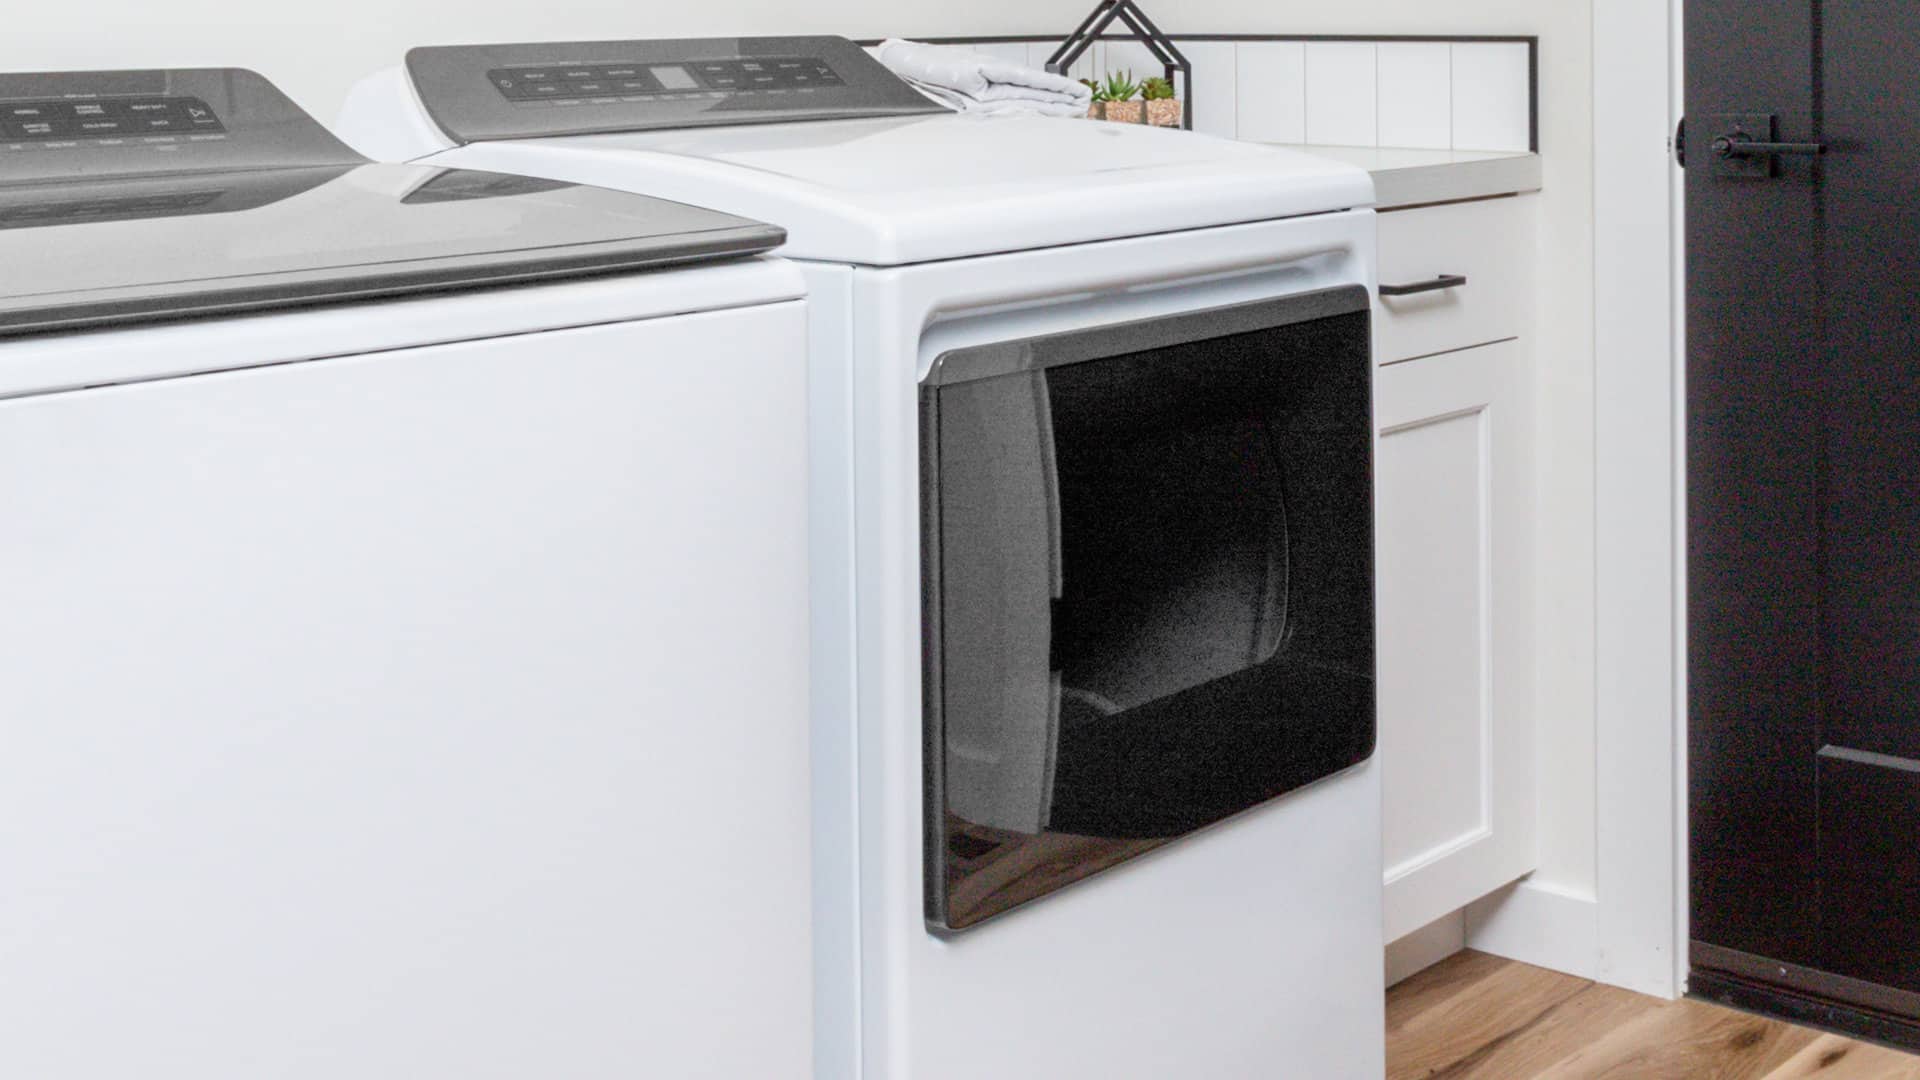
Dryer Repair
Whether you’re hooking up a new gas dryer in your home or relocating a used one, the thought of hooking up a gas dryer might seem like a job best left to the professionals. However, with a little bit of confidence and an understanding of your dryer’s specific hook up requirements, you can take on the task yourself. While every gas dryer may have its unique installation nuances, you can do the job effectively when you arm yourself with some fundamental knowledge.
Remember that safety should always be your priority when working with gas appliances. If you’re uncomfortable with any aspect of the installation or have any doubts, it’s wise to consult a professional technician to ensure a safe and proper gas dryer installation.
How to Get Your Gas Dryer Ready to Hook Up?
Before starting the hook up process, there are a few critical steps to take to get yourself ready. This will save you time during the installation process and ensure your safety.
1. Check the Electrical Outlet
Ensure a grounded electrical outlet is within two feet of either side of the dryer. This outlet should deliver 120 volts of alternating current at 60 hertz. Dedicating a circuit to the dryer is advisable to prevent tripping the circuit or blowing a fuse when other appliances, like a washer, operate simultaneously.
2. Set up the Gas Supply
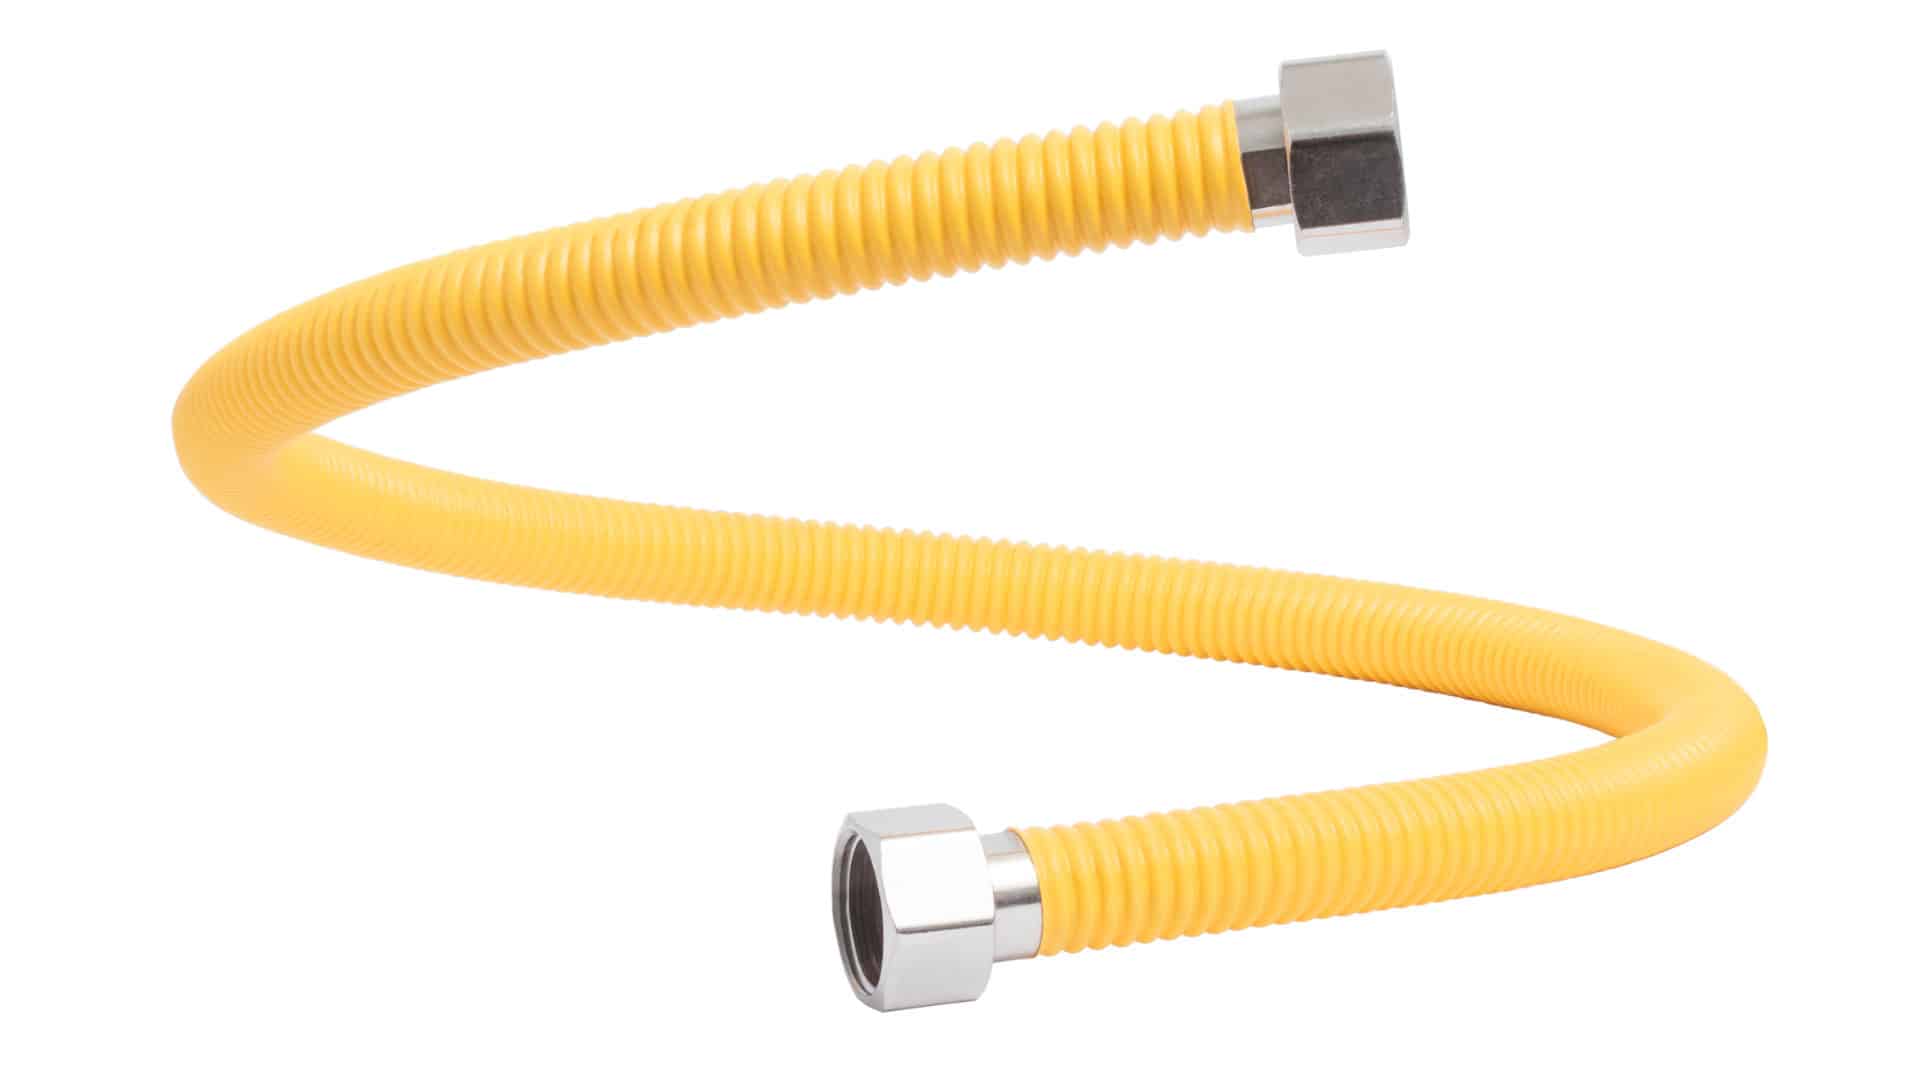
Prepare for the installation of a gas supply line close to the rear of the dryer’s intended location. Using a flexible stainless steel gas connector is recommended to link the gas supply line and valve to the dryer.
3. Check the Water Inlet Hoses
If your gas dryer includes a steam function, you’ll need two new water inlet hoses. The first one needs to be about two feet long, and the other approximately five feet long. You’ll also need a “Y” connector to successfully set up the water supply.
4. Ensure Adequate Ventilation
Adequate ventilation is crucial for a gas dryer’s proper operation. The heated air generated within the dryer must be effectively exhausted to the outside of your home. Before installing the gas dryer, ensure a suitable venting system is in place. Here are some good tips:
- Check out the vent system charts in the installation manual. This will help you determine the correct number of required vent sections and elbow joints.
- Stick to four-inch wide venting and clamps. If possible, favor forty-five-degree elbow joints over ninety-degree ones for better airflow.
- Minimize the number of elbows and turns in the venting system to optimize efficiency.
- Finish the venting with an exhaust hood on your home’s exterior wall. Just make sure it’s positioned at least twelve inches above ground.
- The space around the dryer cabinet needs ventilation as well. Maintain at least a six-inch gap between the rear of the dryer and the wall.
- If you plan to install the dryer in a cabinet or closet, allow at least one inch of space on the sides and top, ensuring the door can fully open.
- If using a closet door, ensure adequate space at the top and bottom for sufficient airflow.
5. Take the Dryer out of the Box
If your gas dryer is brand new and still in its box, use a box cutter to open it near the bottom. Carefully lift the box off the dryer, leaving the dryer on its cardboard base. Place a piece of cardboard underneath for an older dryer to protect the floor when you move it.
6. Assemble the Dryer Legs
If the dryer has removable legs or feet, ask for assistance tilting the appliance so the rear panel rests on the cardboard. Install the legs by threading them into the dryer’s base, leaving approximately half an inch of clearance. If the legs have locking nuts, tighten them against the base to secure them.
Steps to Hook up a Gas Dryer
Now that you have gone through the installation preparation steps above, it’s time to complete the gas dryer hookup. Here’s what to do:
- Return the dryer to an upright position and drape the power cord over the front, ensuring it’s not hanging behind the rear panel.
- While keeping the dryer on the cardboard, gently slide it into its final location, ensuring enough room for connecting the exhaust vent. Remove the cardboard from beneath the appliance.
- If your gas dryer has a cap covering the gas pipe on its rear, remove it.
- After securing the gas connector, open the gas valve and check all connections for leaks by applying a non-corrosive leak-detection solution. If there’s a gas leak, the solution will bubble. Address any leaks immediately if necessary.
- For gas dryer models with a steam function, use the same cold water supply valve that feeds your washer to supply water to the dryer. This can be done by shutting off the cold water supply and then detaching the washer inlet hose from the valve port.
- Replace the old washer in the hose with a new one and use new washers in the two-foot and five-foot inlet hoses.
- You can then manually thread the two-foot hose onto the cold water supply valve port, followed by threading the opposite onto one end of a “Y” connector. Use pliers to tighten the couplings by doing an additional two-thirds turn, avoiding over-tightening.
- Thread the old washer inlet hose onto the other “Y” connector port and the new five-foot inlet hose onto the remaining “Y” connector port. Use pliers to tighten these couplings by doing an additional two-thirds turn. Remove the fill valve cap on the back of the dryer and thread the five-foot inlet hose onto the fill valve. You can then tighten it.
- Turn the cold water supply valve back on and inspect for leaks around all hose fittings.
- Attach the venting to the dryer’s exhaust outlet using a four-inch clamp.
- Move the dryer into its final position, leaving at least six inches of clearance between the rear of the dryer and the wall. Be careful not to crush or kink the venting.
- Confirm the dryer is level from side to side and front to back. If it’s not, you will need to prop up the front, side, or rear with a support (for example, a wooden block). You can then use an adjustable wrench to turn the leg clockwise to lower that corner or counterclockwise to raise it.
- Ensure all four feet are in contact with the floor and tighten any locking nuts if this applies to your specific circumstances.
- Switch the power to your dryer on, and you should be good to go!
- Consult a qualified technician if your new gas dryer doesn’t operate correctly.
(410) 451 - 4104Text or ring! ring!
Dec. 11, 2023
How To Fix a Whirlpool Washer F20 Error Code
Dec. 11, 2023
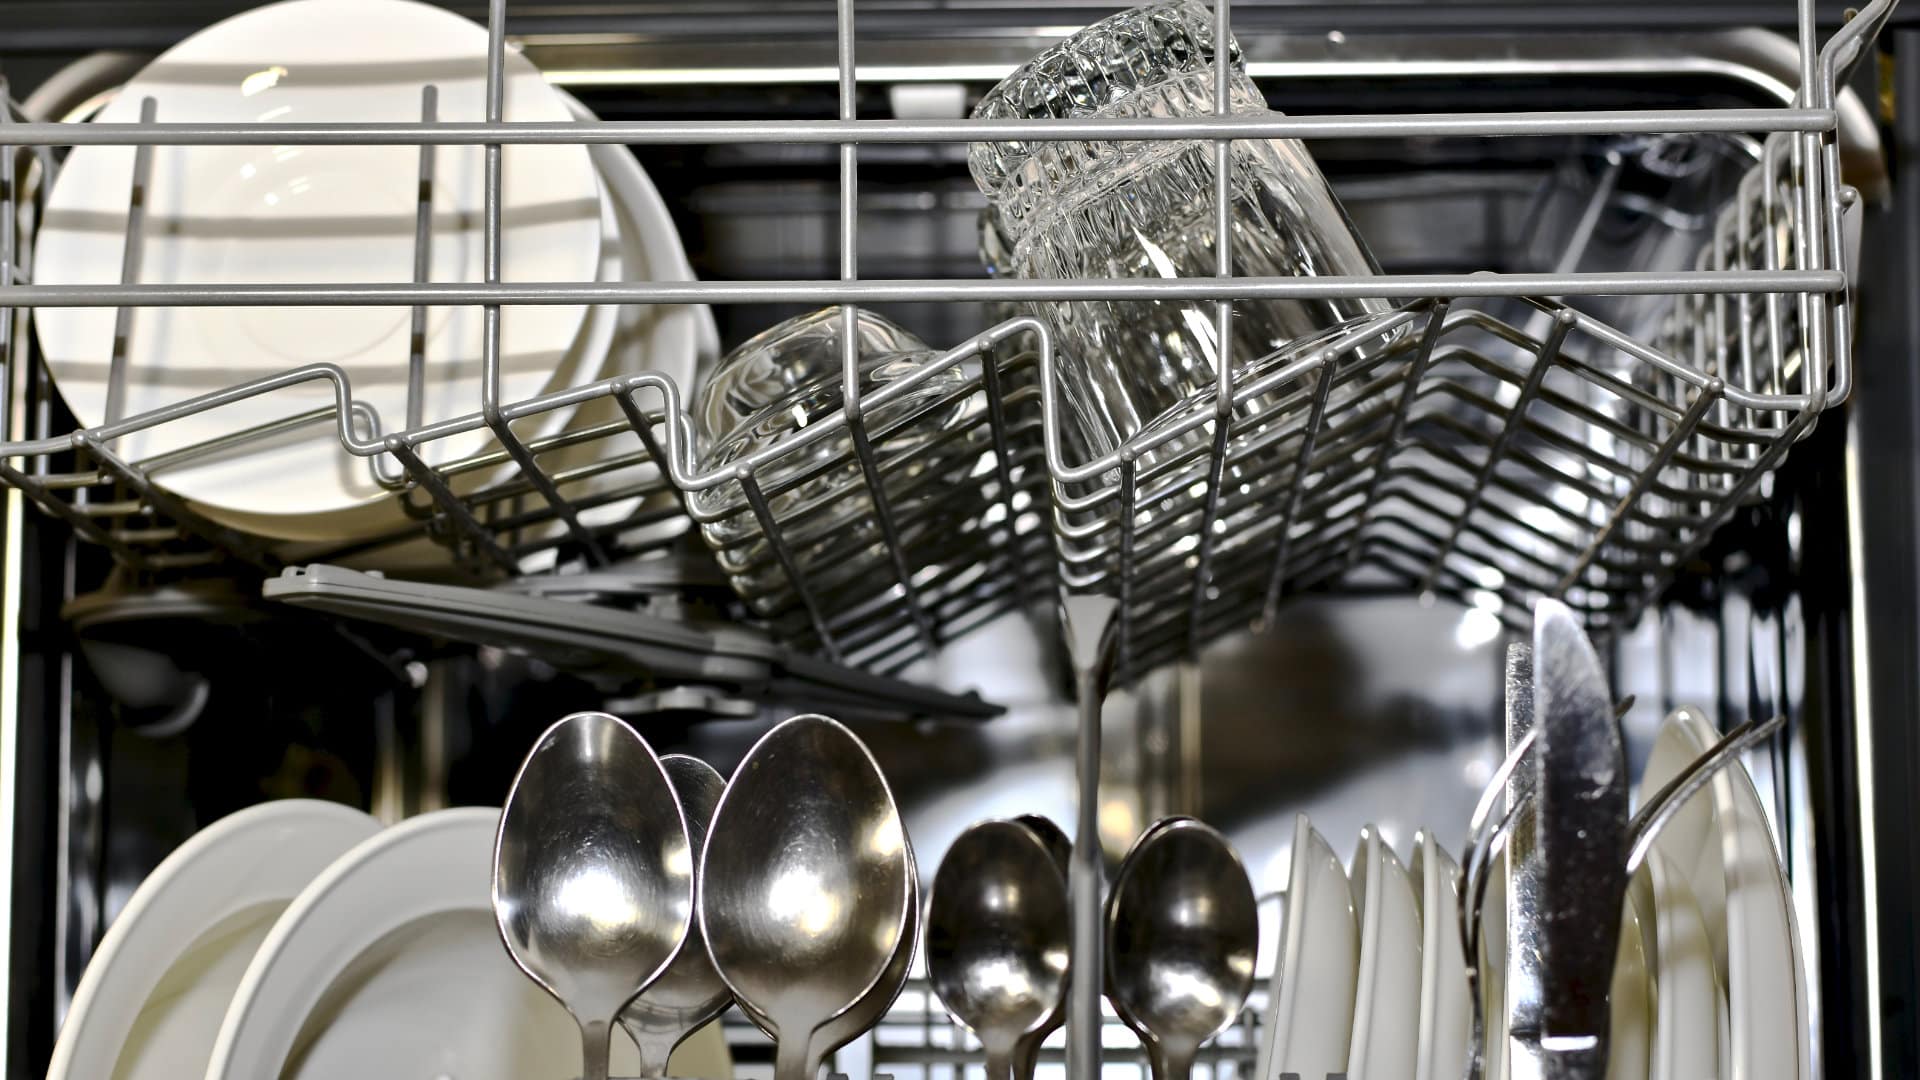
How to Fix a Dishwasher Not Getting Water: The Ultimate Guide
Dec. 11, 2023
How to Solve the Frigidaire Stove F10 Error Code
Nov. 06, 2023
How to Hook up a Gas Dryer
Nov. 06, 2023
Dishwasher Not Cleaning Top Rack? How to Fix It

Nov. 06, 2023
Why Your Microwave Is Making Weird Noises

Oct. 02, 2023
How to Replace a Refrigerator Door Seal
Oct. 02, 2023
Can You Put Styrofoam in the Microwave?
Oct. 02, 2023
How to Resolve Whirlpool Washer E1/F9 Error Codes
Sep. 08, 2023