


May 8, 2023
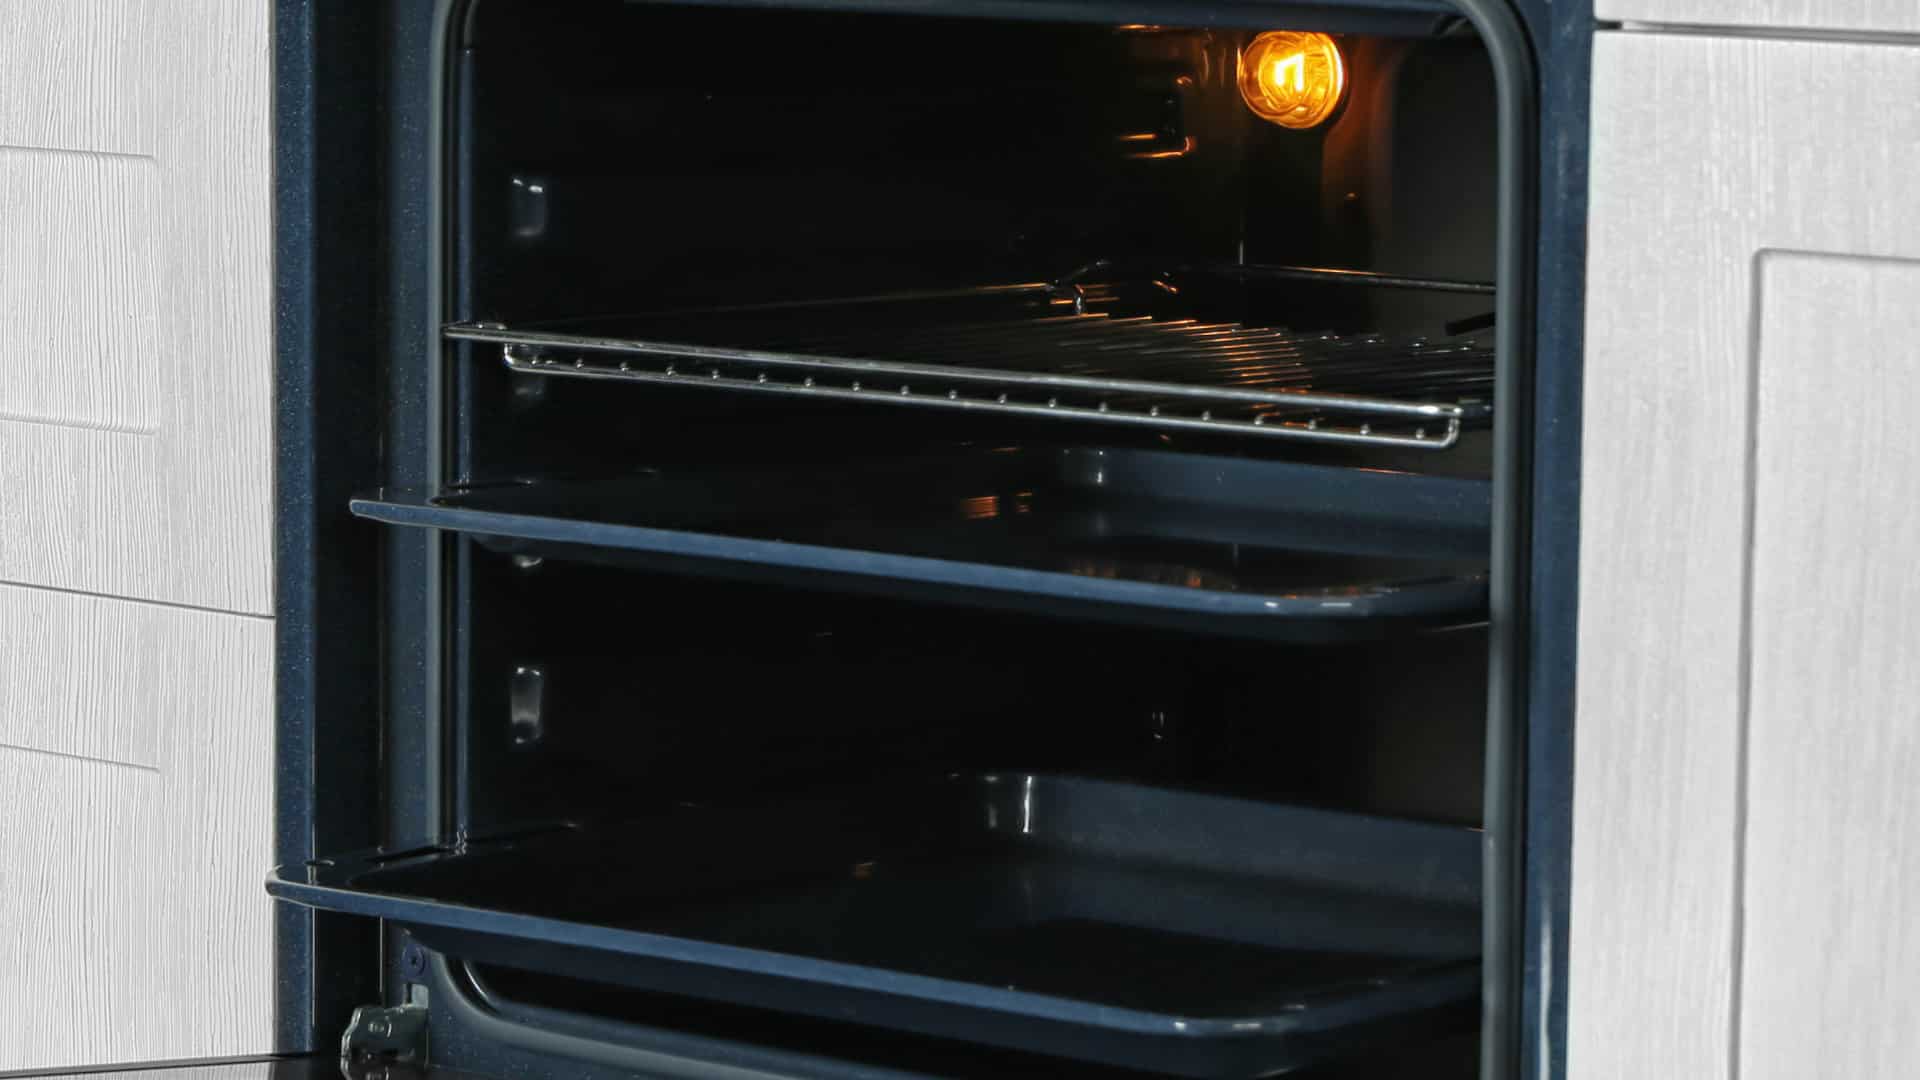
Oven Repair
If your oven has stopped heating, this is the guide for you. Sometimes, an oven can stop heating due to a problem with the power supply, which is quite easy to fix. Or it might be something more complicated, like a faulty thermostat.
To find the exact cause of the problem and learn what to do, please follow our step-by-step instructions in the guide below.
Check the power supply
The first step in finding out why your oven isn’t heating is to check the power supply. A typical electric oven needs 240 volts of alternating current to heat, and a typical gas oven needs 120 volts of alternating current.
Follow these instructions to check the power supply:
- Start by checking the circuit breaker. If it’s tripped, turn it back on.
- Next, plug your oven into a different power socket (if possible) and then check if your oven can heat correctly. If it does, this means the original socket is defective and needs to be repaired or replaced by an electrician. If the oven doesn’t heat, you need to test the power socket with a multimeter to ensure it has the correct voltage.
- If the multimeter test shows the voltage to the socket is faulty, it needs to be repaired or replaced by an electrician. If the socket has the correct voltage, it’s time to check the igniter.
Check the igniter
The next three steps only apply to gas ovens. If you have an electric oven, you can move to the instructions for checking the heating element.
The first component to check in your gas oven is the igniter. The igniter lights the gas so your oven can heat. If it becomes defective, your oven won’t be able to heat.
Follow these instructions to check the igniter:
- Attempt to light your oven. If the gas doesn’t ignite, the igniter needs to be tested with a multimeter. If the oven does ignite, move on to step 3.
- To test the igniter, first turn the gas off, next locate the igniter, and then disconnect it from your oven. (Consult your user manual if necessary.)
- Once the igniter is disconnected, test it with a multimeter for continuity.
- If it passes the test, connect it back to your oven and move on to step 3. If it fails the test, replace it. Once the new igniter is installed, test if your oven can now heat. If not, try checking the spark electrode.
Check the spark electrode
The spark electrode also helps the gas ignite. If it stops working, your oven might not heat to the correct temperature or it may not heat at all. For that reason, the spark electrode needs to be tested and if faulty, replaced.
Follow these instructions to check the spark electrode:
- Make sure the gas supply is turned off.
- Locate the spark electrode and disconnect it. (Consult your user manual if necessary.)
- Once the spark electrode is disconnected, test it with a multimeter for continuity.
- If it passes the test, connect it back to your oven and try another option. If it fails the test, replace it. Once the new spark electrode is installed, test if your oven can now heat. If not, you should check the safety valve.
Check the safety valve
The gas safety valve opens to provide gas so the flame can ignite. If faulty, your Whirlpool oven won’t be able to heat.
This is how to check the safety valve:
- Make sure the gas supply is turned off.
- Locate the safety valve and disconnect it. (Consult your user manual if necessary.)
- Once the safety valve is disconnected, test it with a multimeter for continuity.
- If it passes the test, connect it back to your oven and move to the next item in this guide. If it fails the test, replace it. Once the new safety valve is installed, test if your oven can now heat. If not, let’s check the heating element.
Check the heating element
If you have a gas oven you can move directly to the instructions for checking the thermal fuse.
In an electric oven, the heat is provided by the element. If the element stops working correctly, your work won’t be able to heat to the correct temperature or it may not heat at all.
Follow these instructions to check the heating element:
- Start by removing the cover of the heating element, if applicable.
- Turn your oven on to high heat.
- After a few minutes, check if the element is bright red. If not, this indicates the element is faulty and needs to be tested. If the element is bright red, put the cover back on (once the element is cool) and try checking the thermal fuse (below).
- Once the element cools down, you can turn the power off, disconnect the element, and then test it with a multimeter.
- If the element doesn’t have continuity, it’s faulty and needs to be replaced. If it has continuity, it’s working correctly so you can reconnect it and try checking the thermal fuse (below).
- Once the new element is installed, turn your oven on and check if it can now heat. If not, it’s time to check the thermal fuse.
Check the thermal fuse
The thermal fuse monitors the oven temperature so it doesn’t continue to operate when it overheats. If the thermal fuse becomes faulty, it might turn your oven off even if it isn’t overheating.
Follow these instructions to check the thermal fuse:
- Locate the thermal fuse and disconnect it.
- Once disconnected, test it with a multimeter.
- If the fuse has continuity, reattach it because it’s time to try the last option. If the fuse doesn’t have continuity, replace it. Once replaced, check if your oven can now heat. If not, you’ll have to replace the main control board.
Replace the main control board
The final step is to replace the main control board. This can be an expensive repair and won’t guarantee your oven will start heating again. Before replacing the main control board, consider having a technician to come and inspect your oven. Or you may just want to buy a new one, which could be the cheaper option.
(410) 451 - 4104Text or ring! ring!
Dec. 11, 2023
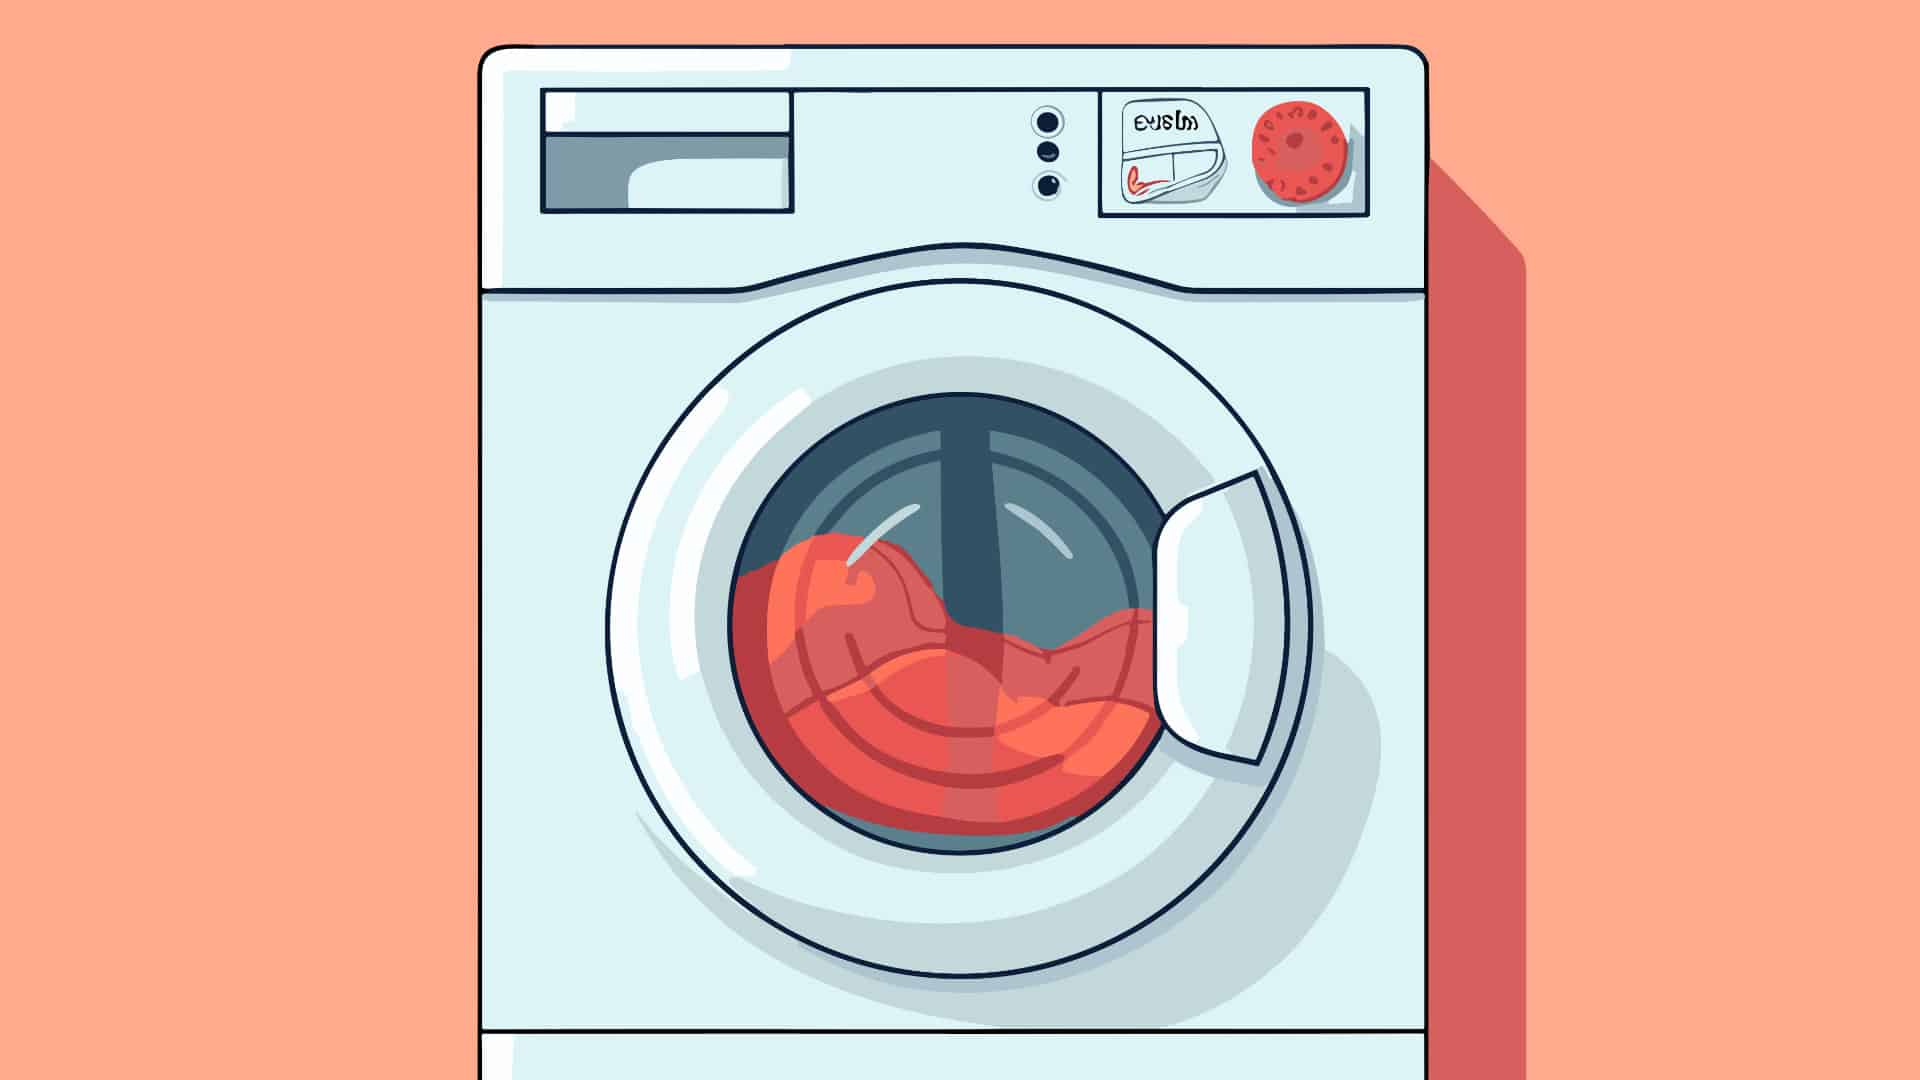
How To Fix a Whirlpool Washer F20 Error Code
Dec. 11, 2023
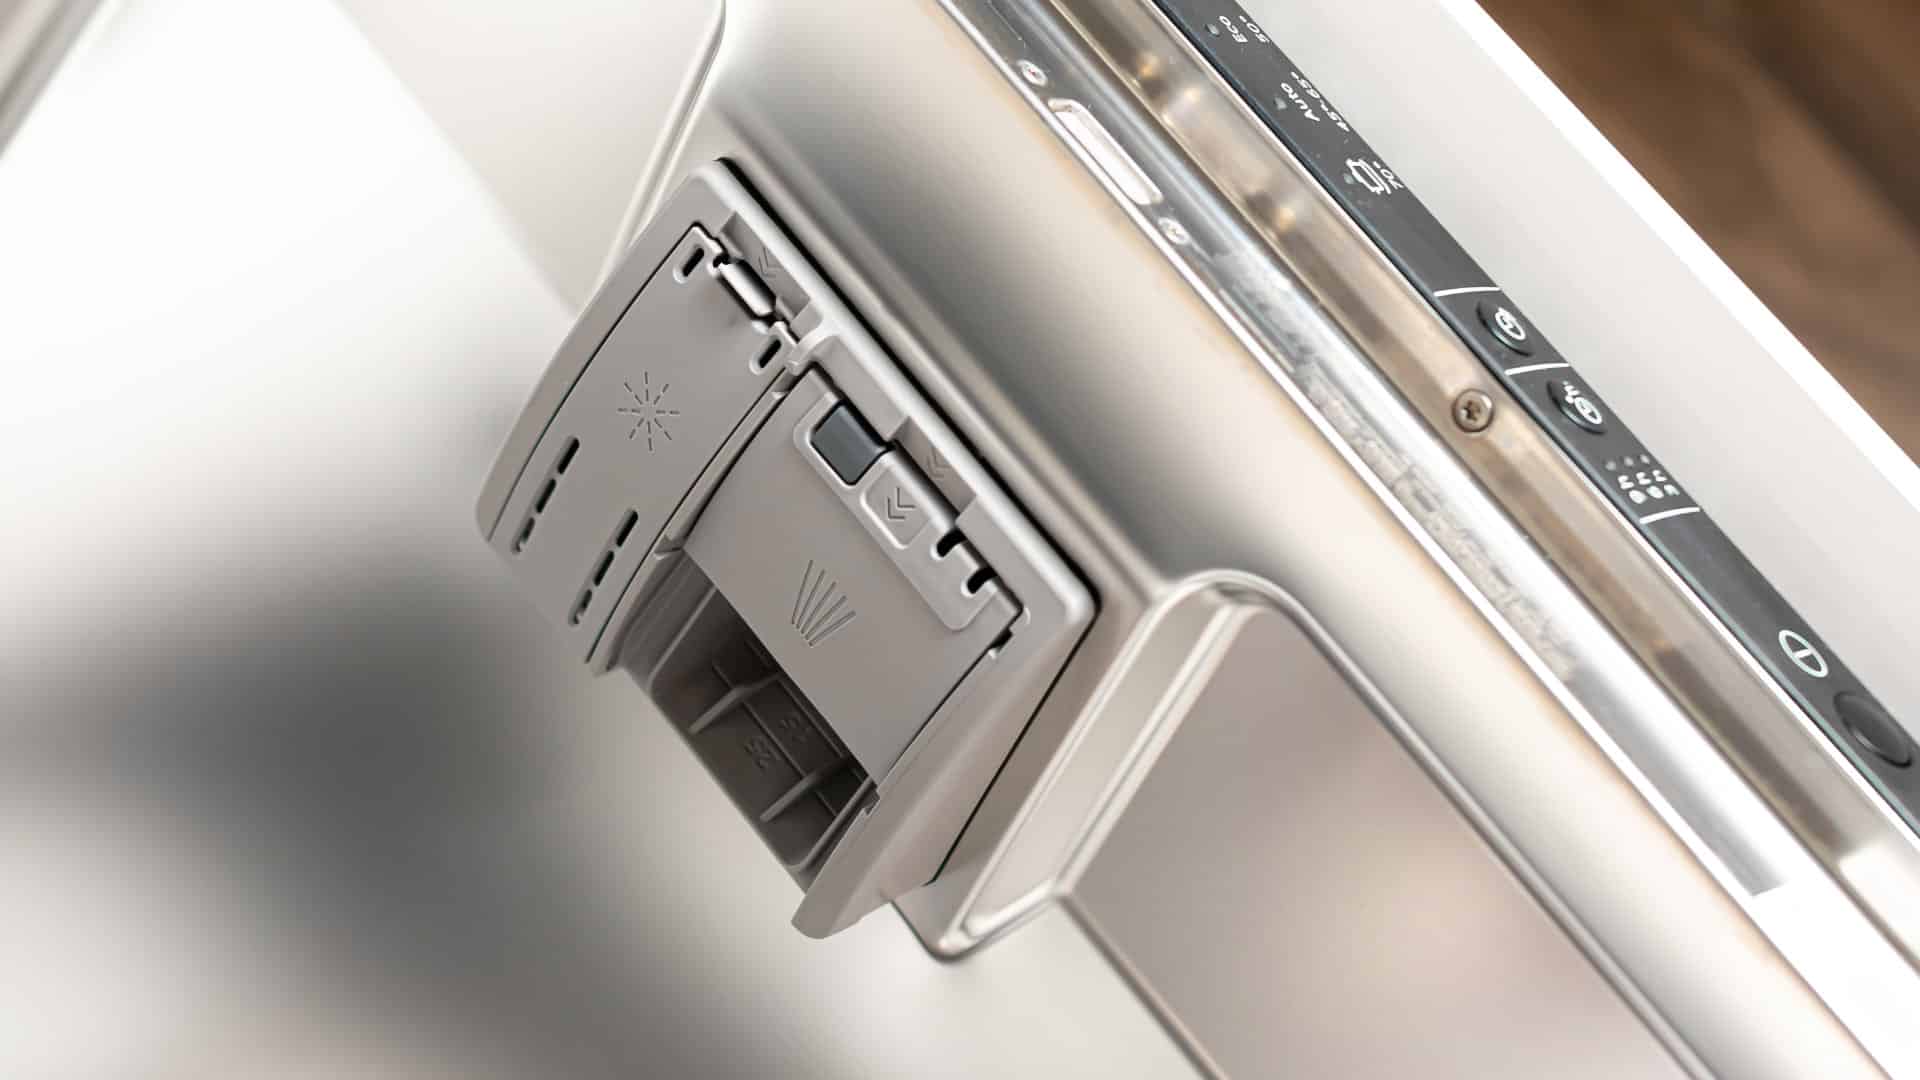
How to Fix a Dishwasher Not Getting Water: The Ultimate Guide
Dec. 11, 2023
How to Solve the Frigidaire Stove F10 Error Code
Nov. 06, 2023
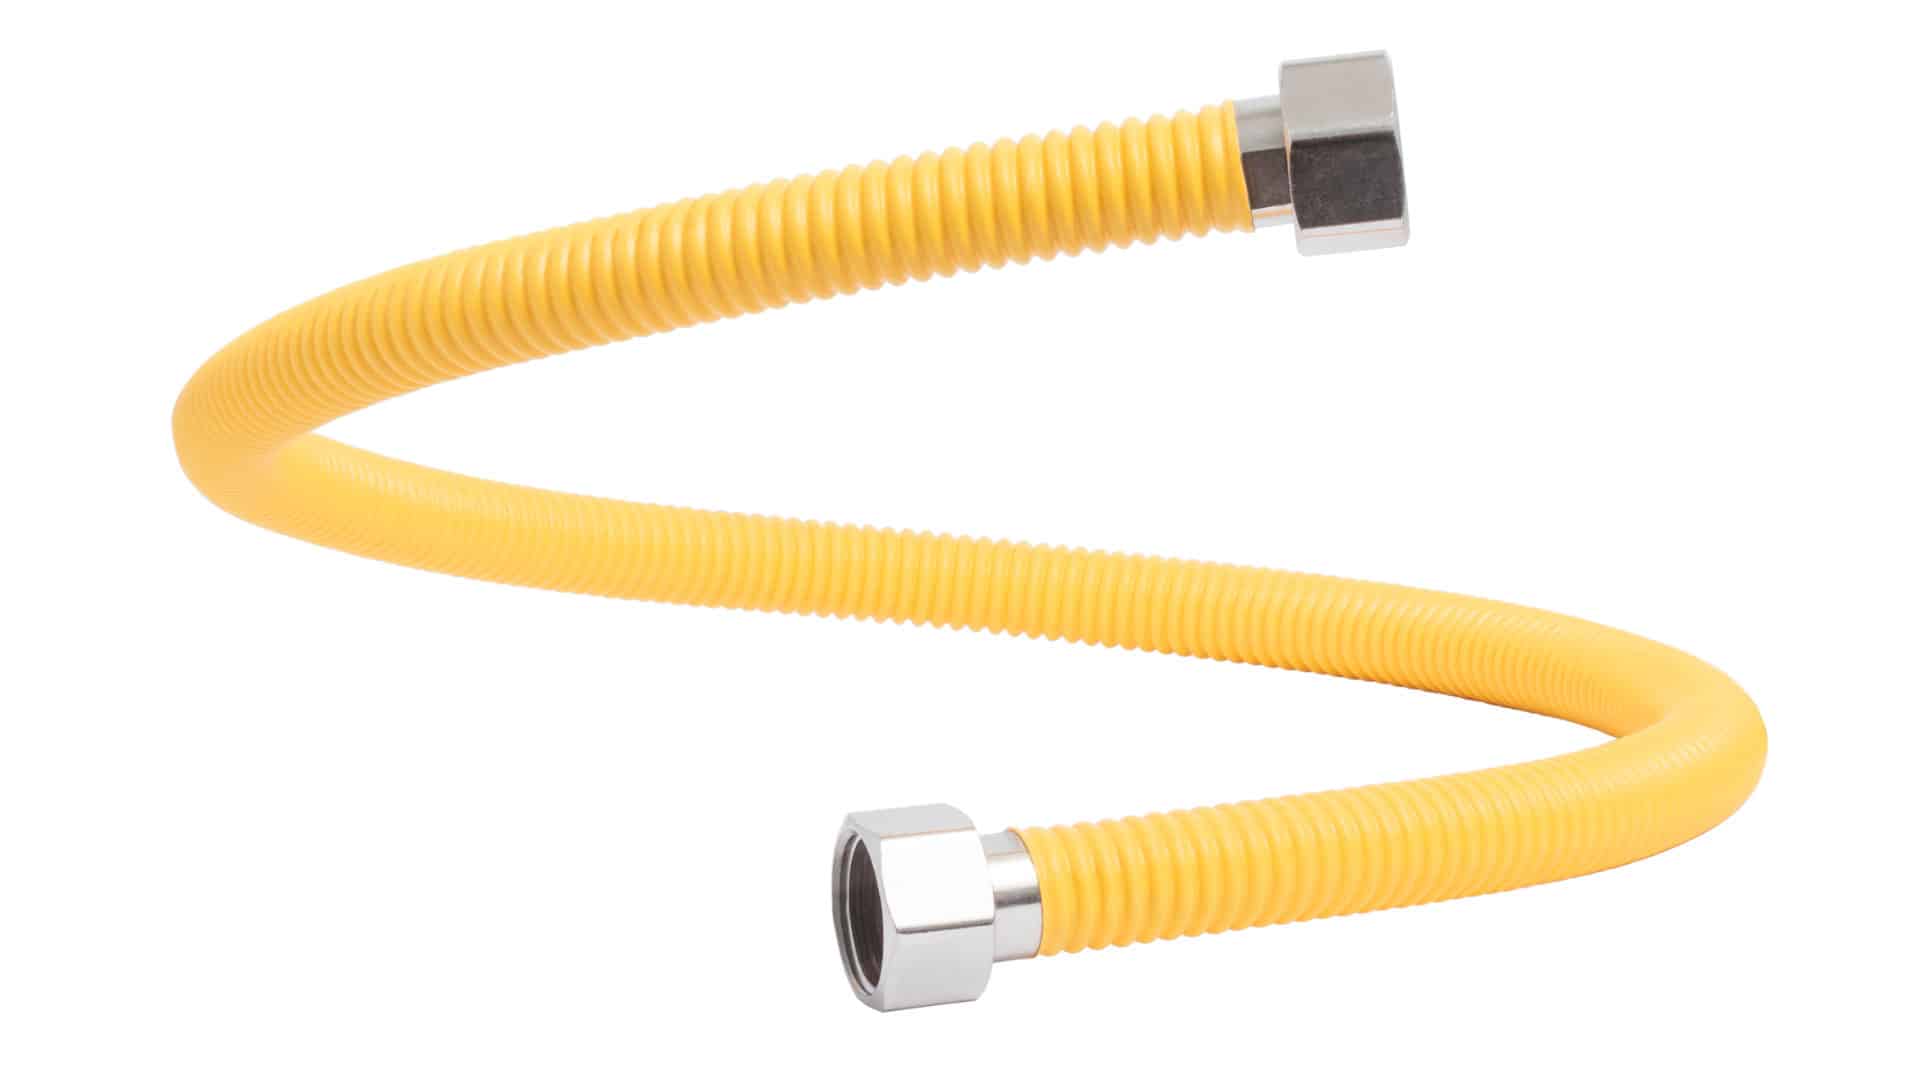
How to Hook up a Gas Dryer
Nov. 06, 2023
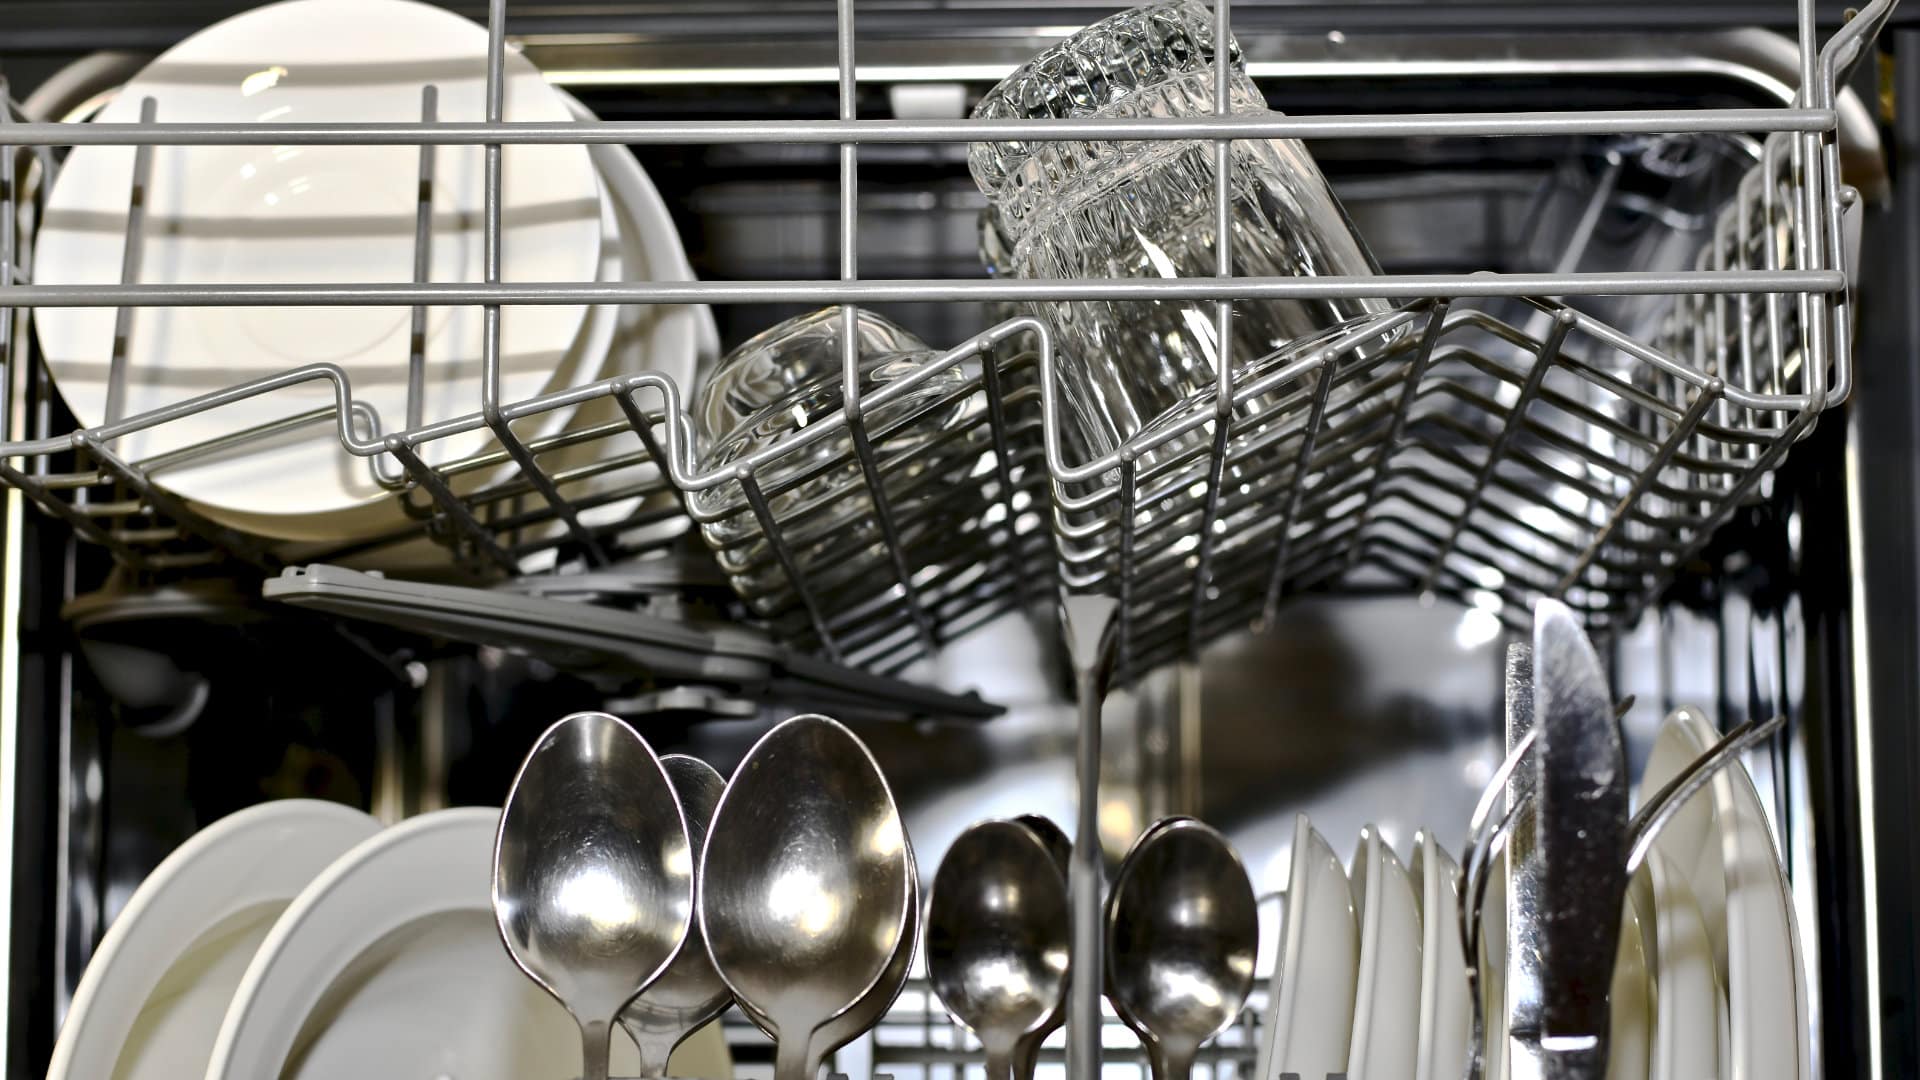
Dishwasher Not Cleaning Top Rack? How to Fix It
Nov. 06, 2023
Why Your Microwave Is Making Weird Noises
Oct. 02, 2023
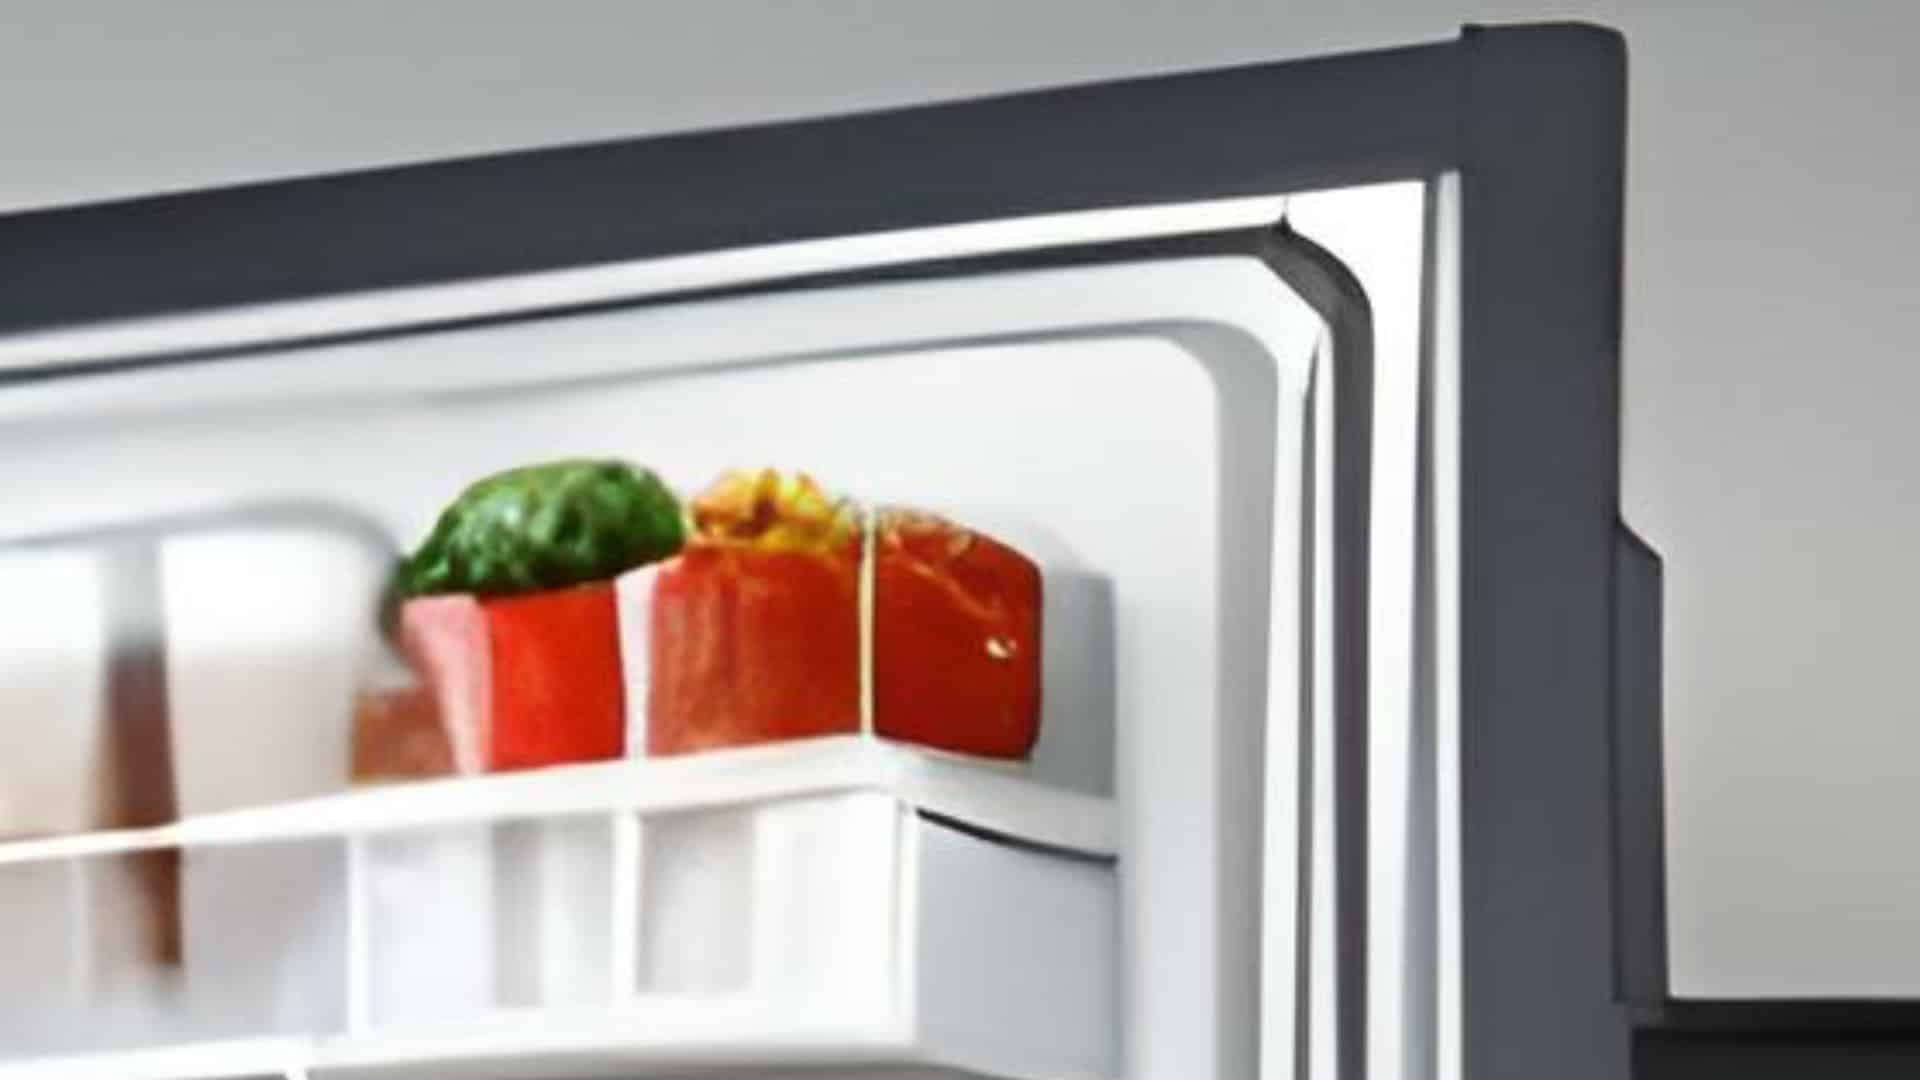
How to Replace a Refrigerator Door Seal
Oct. 02, 2023
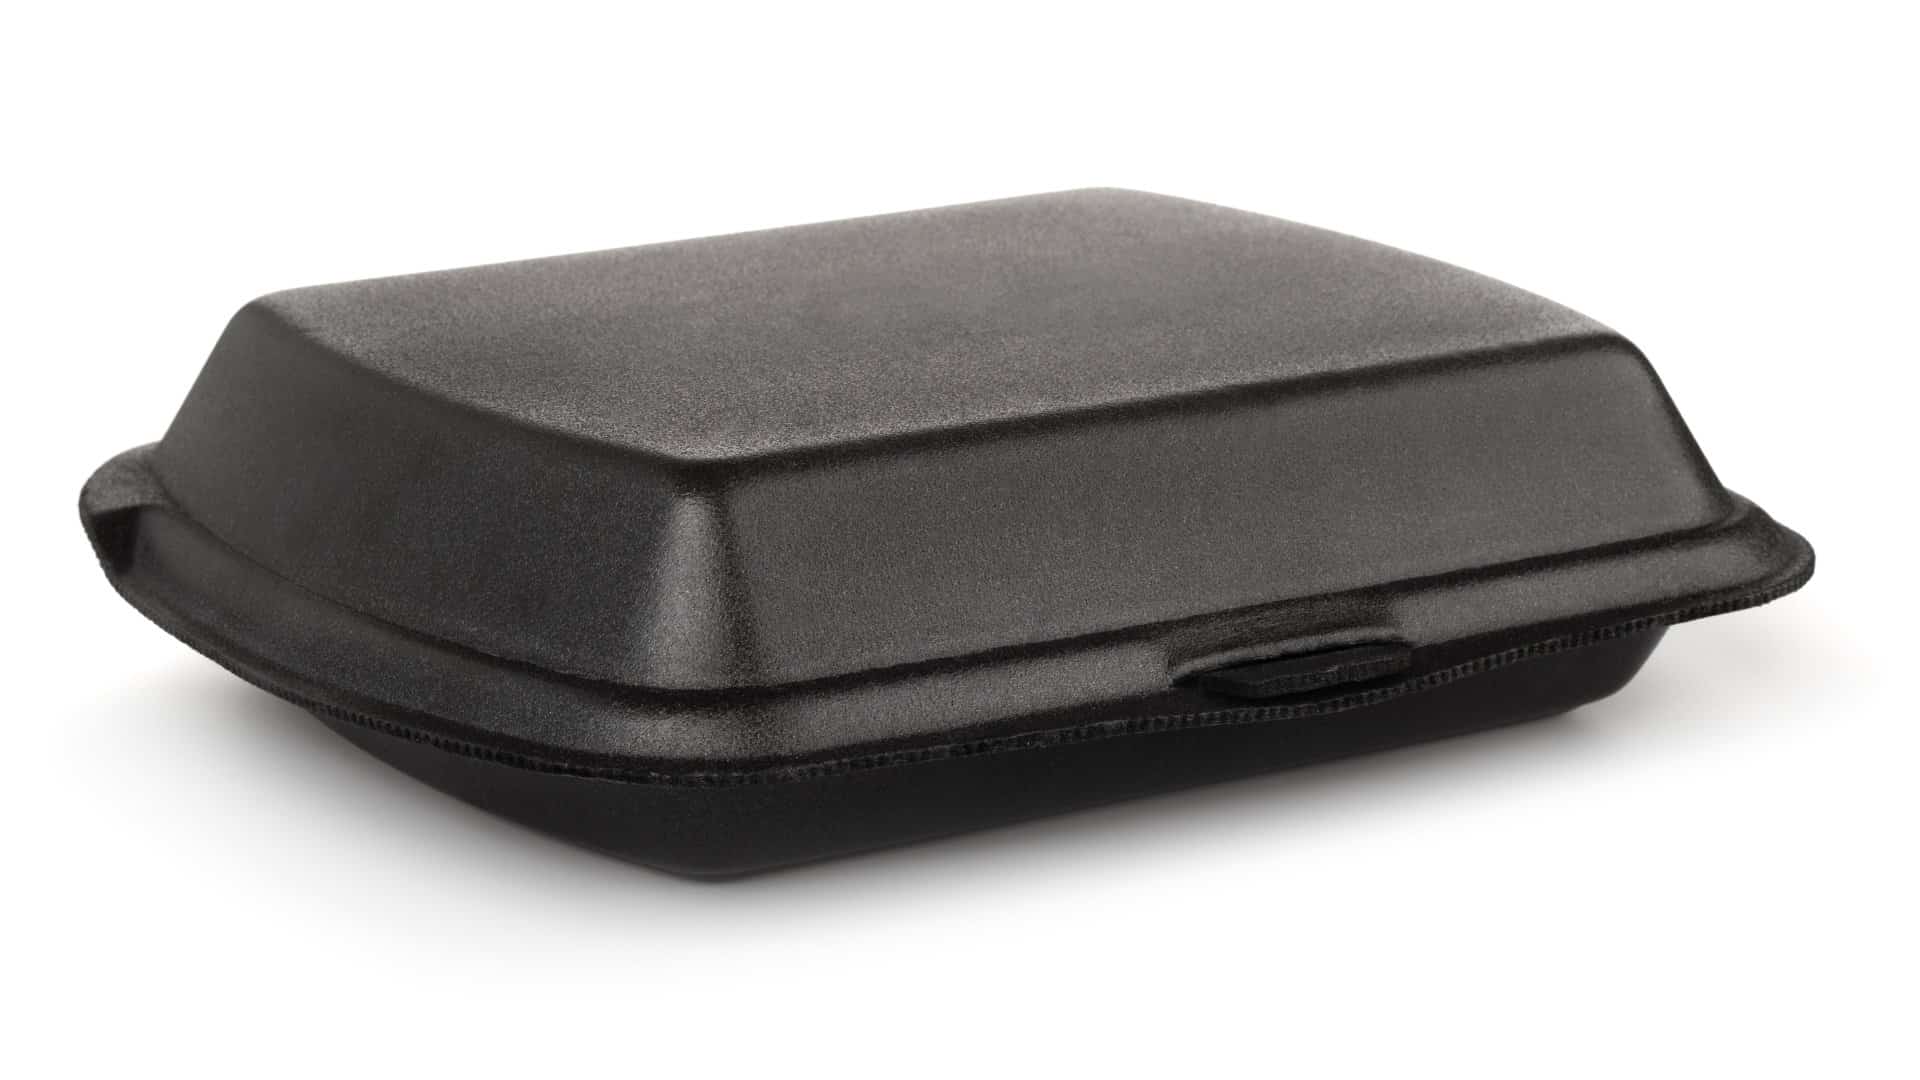
Can You Put Styrofoam in the Microwave?
Oct. 02, 2023
How to Resolve Whirlpool Washer E1/F9 Error Codes
Sep. 08, 2023