

April 4, 2022
Dishwasher Repair
Dishwasher drain hoses can sometimes become damaged when they become bent or just through normal wear and tear. When this happens leaks can occur which not only make the floor slippery and unsafe but can also damage it. But no need to panic. If you need to replace the drain hose in your dishwasher, you’re in the right place. In this article, we will take you through step-by-step how to remove and replace your drain hose so you can start using your dishwasher again. Before you begin the process of replacing your drain hose, make sure you have the replacement hose ready as well as pliers, a screwdriver, a 30mm jubilee clip, a sponge, and a towel to place down on the floor. Although each make and model of dishwasher is slightly different, this guide should work for all major Dishwasher makes like Samsung, GE, Whirlpool, Amana, and more. Let’s get started.
Step 1 – Turn the power off
Start by switching off the power to your dishwasher. You can either turn the circuit breaker off or switch it off at the socket. You may need to pull your dishwasher out from the wall slightly to be able to access the power socket.
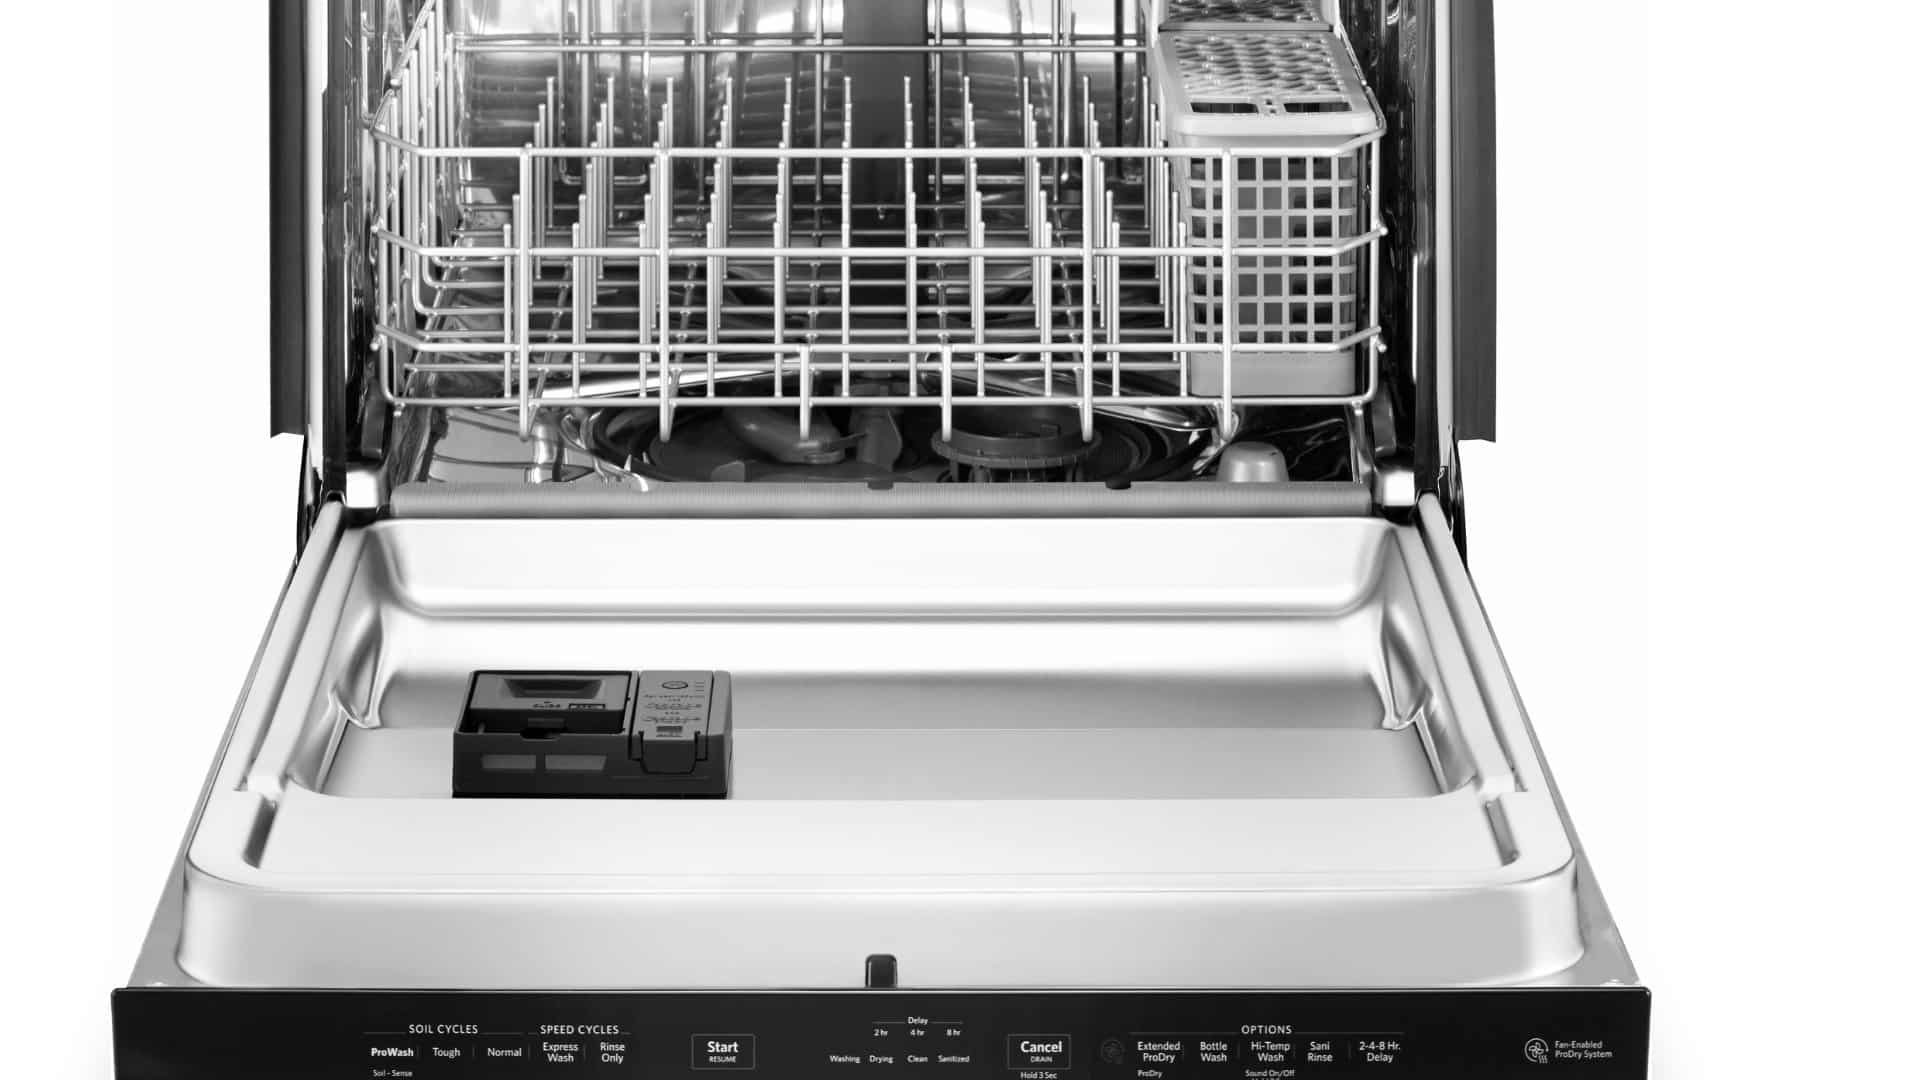
Step 2 – Remove the racks and filter
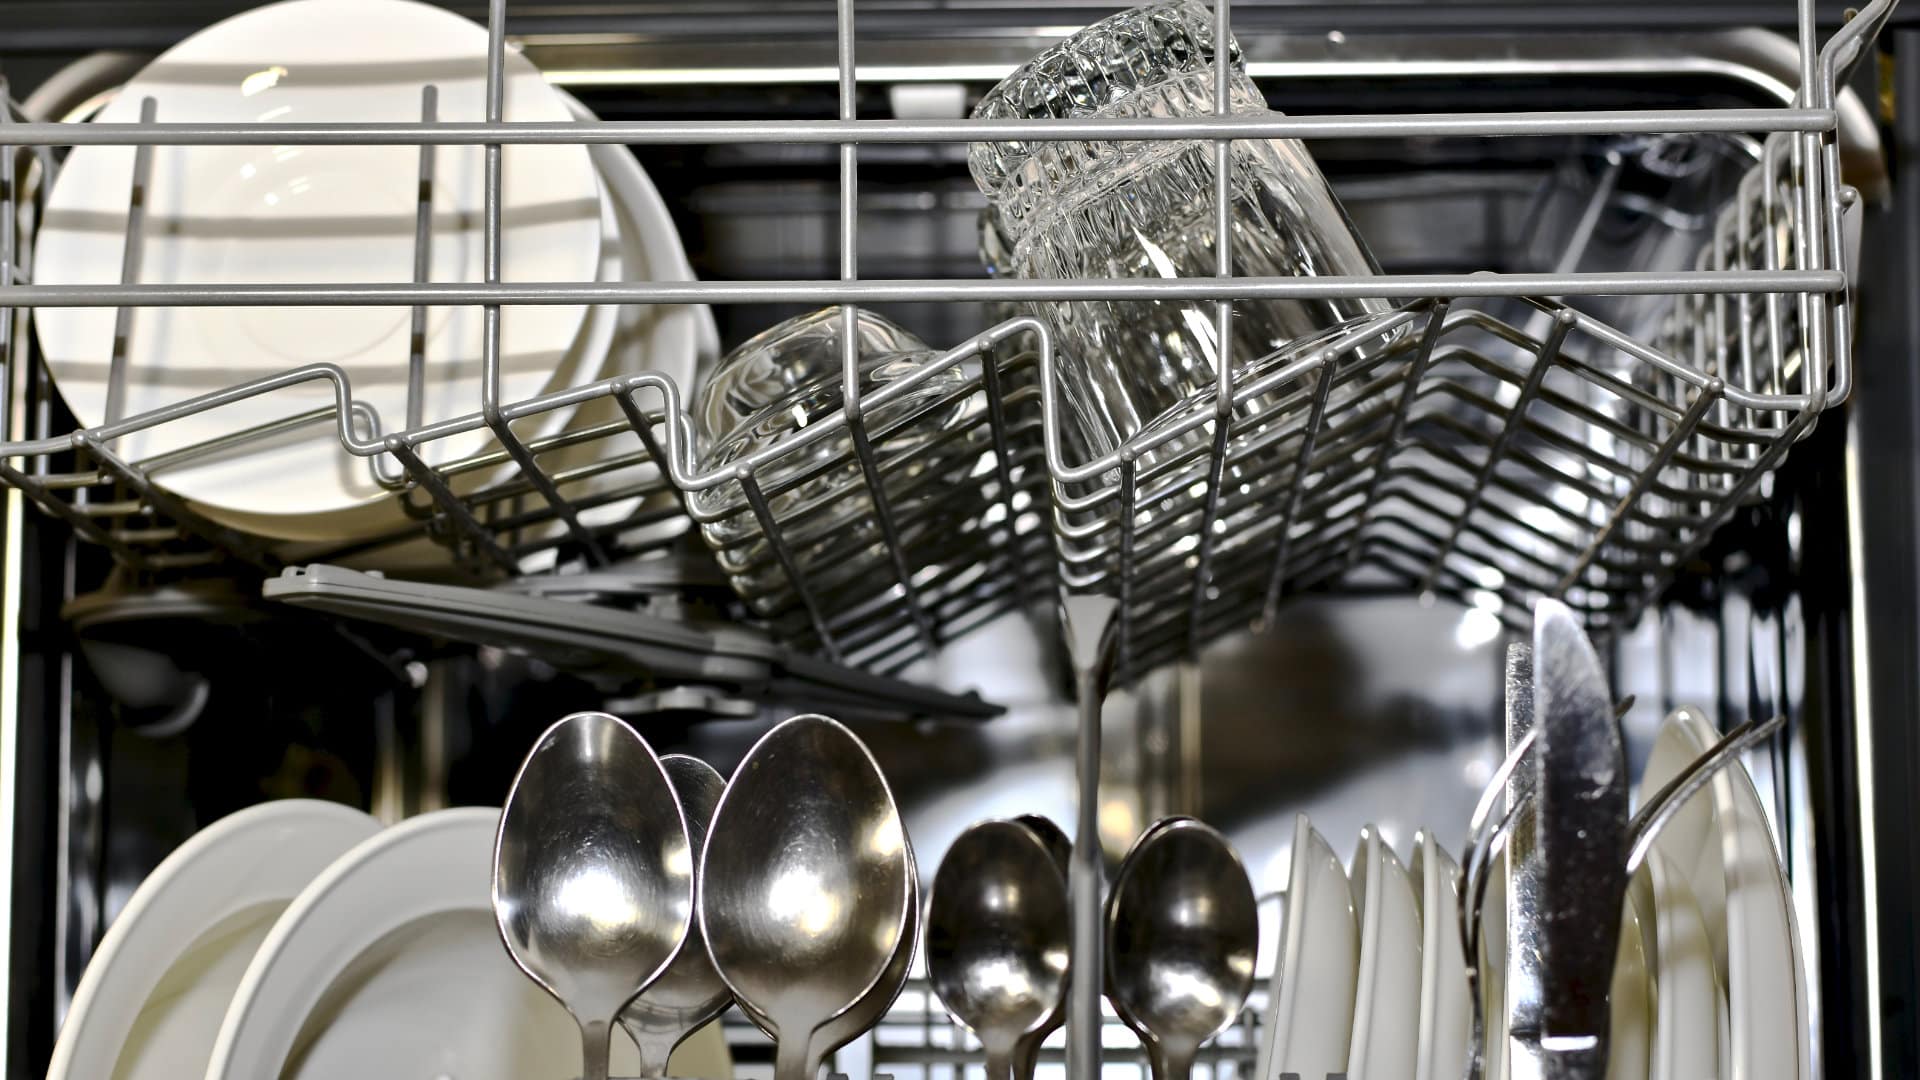
Next, remove all the racks and baskets from your dishwasher and place them out of the way. The reason you need to remove the racks and baskets is that to replace the drain hose you have to turn your dishwasher onto its side. Once the racks and baskets are removed you can then remove the drain filter. If your dishwasher has any water in the sump, mop it up with a sponge or towel.
Step 3 – Pull your dishwasher out
Once all the racks have been removed you can pull your dishwasher out from the wall. Place it onto its side so you can access the drain hose which is located at the bottom of the machine. To protect your floor, you can place a towel down onto the floor to place the dishwasher on. Once the dishwasher has been placed on its side, remove the base plate by unthreading the screws that hold it in place. After the screws have been removed the base plate should just pop off and can then be placed out of the way. Make sure you keep the screws in a safe place so you know where they are when you need to reattach the base plate.
Step 4 – Remove the anti-flood sensor
The next step is to remove the anti-flood sensor. This device can be found attached to the base of your dishwasher and is there to monitor water levels in the machine. To remove the anti-flood sensor, remove the entire unit by unthreading the screws that hold it in place.
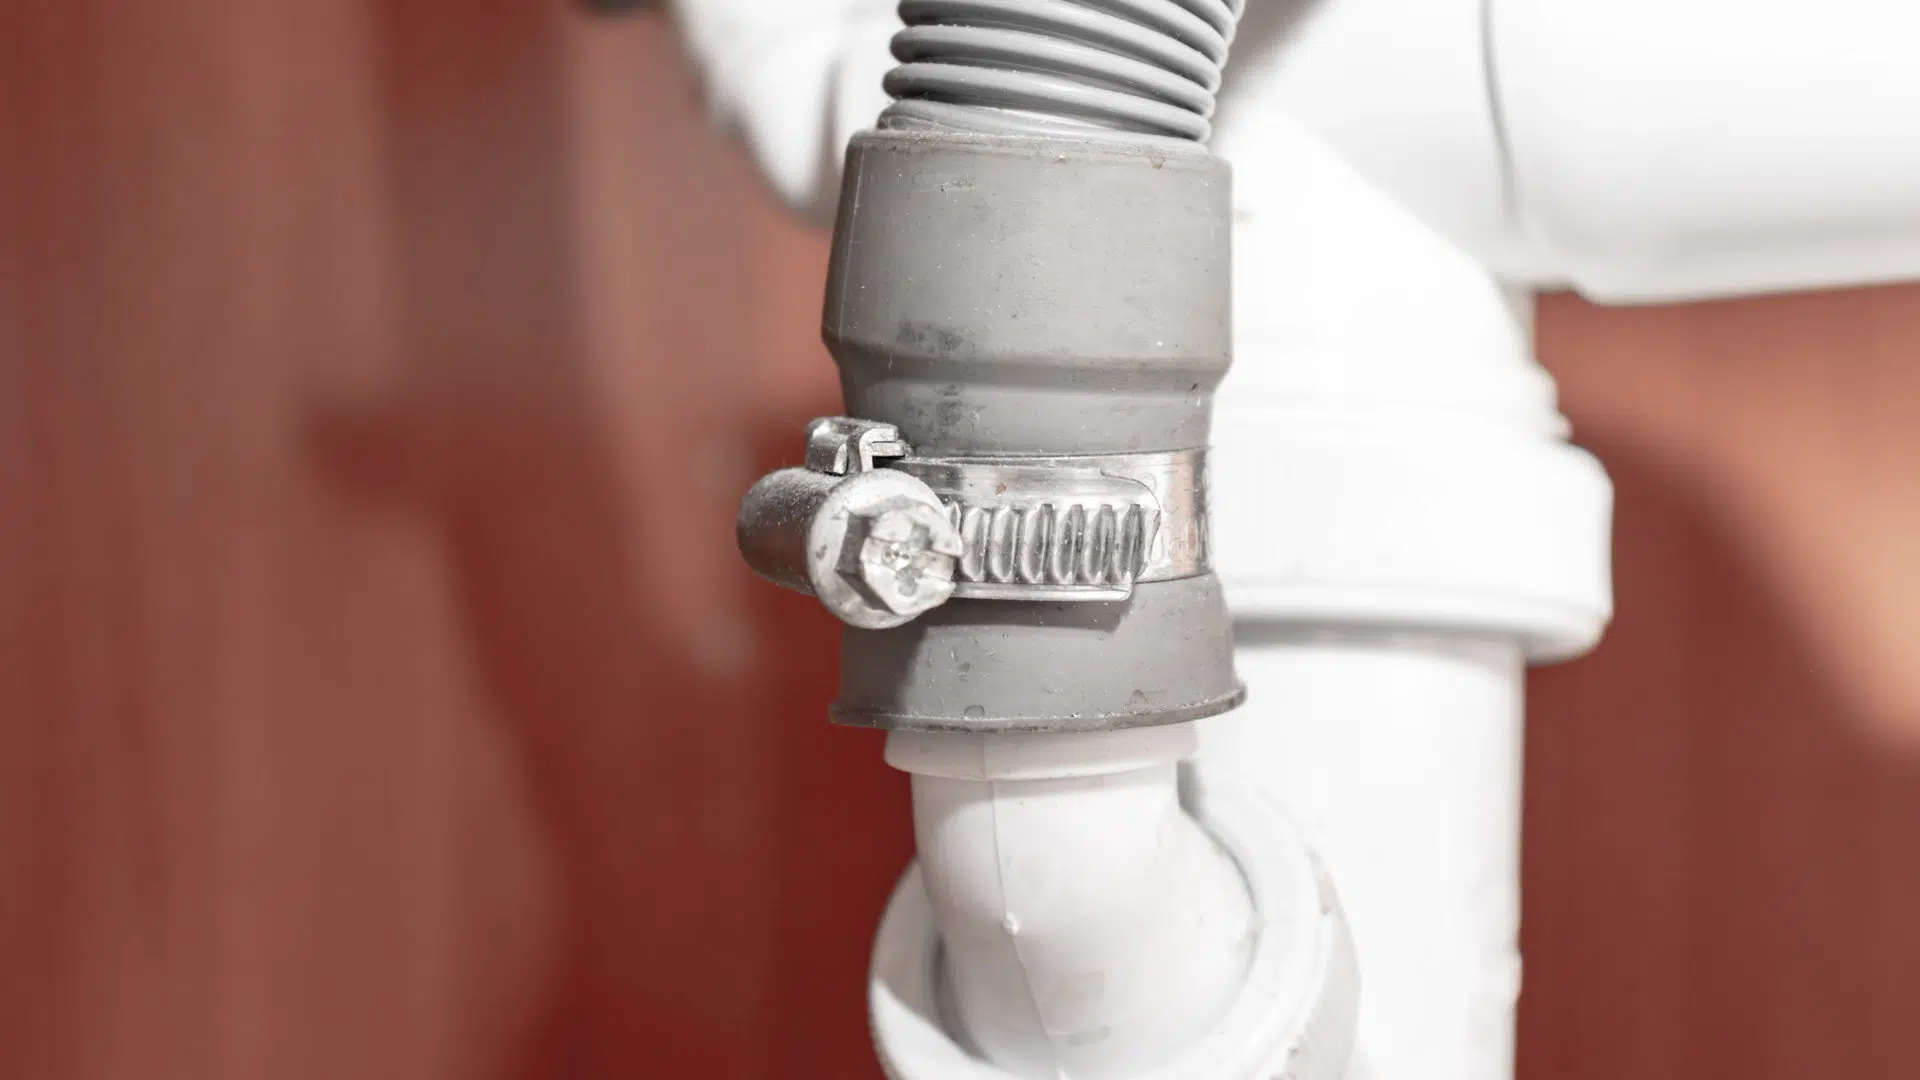
Step 5 – Disconnect the existing drain hose
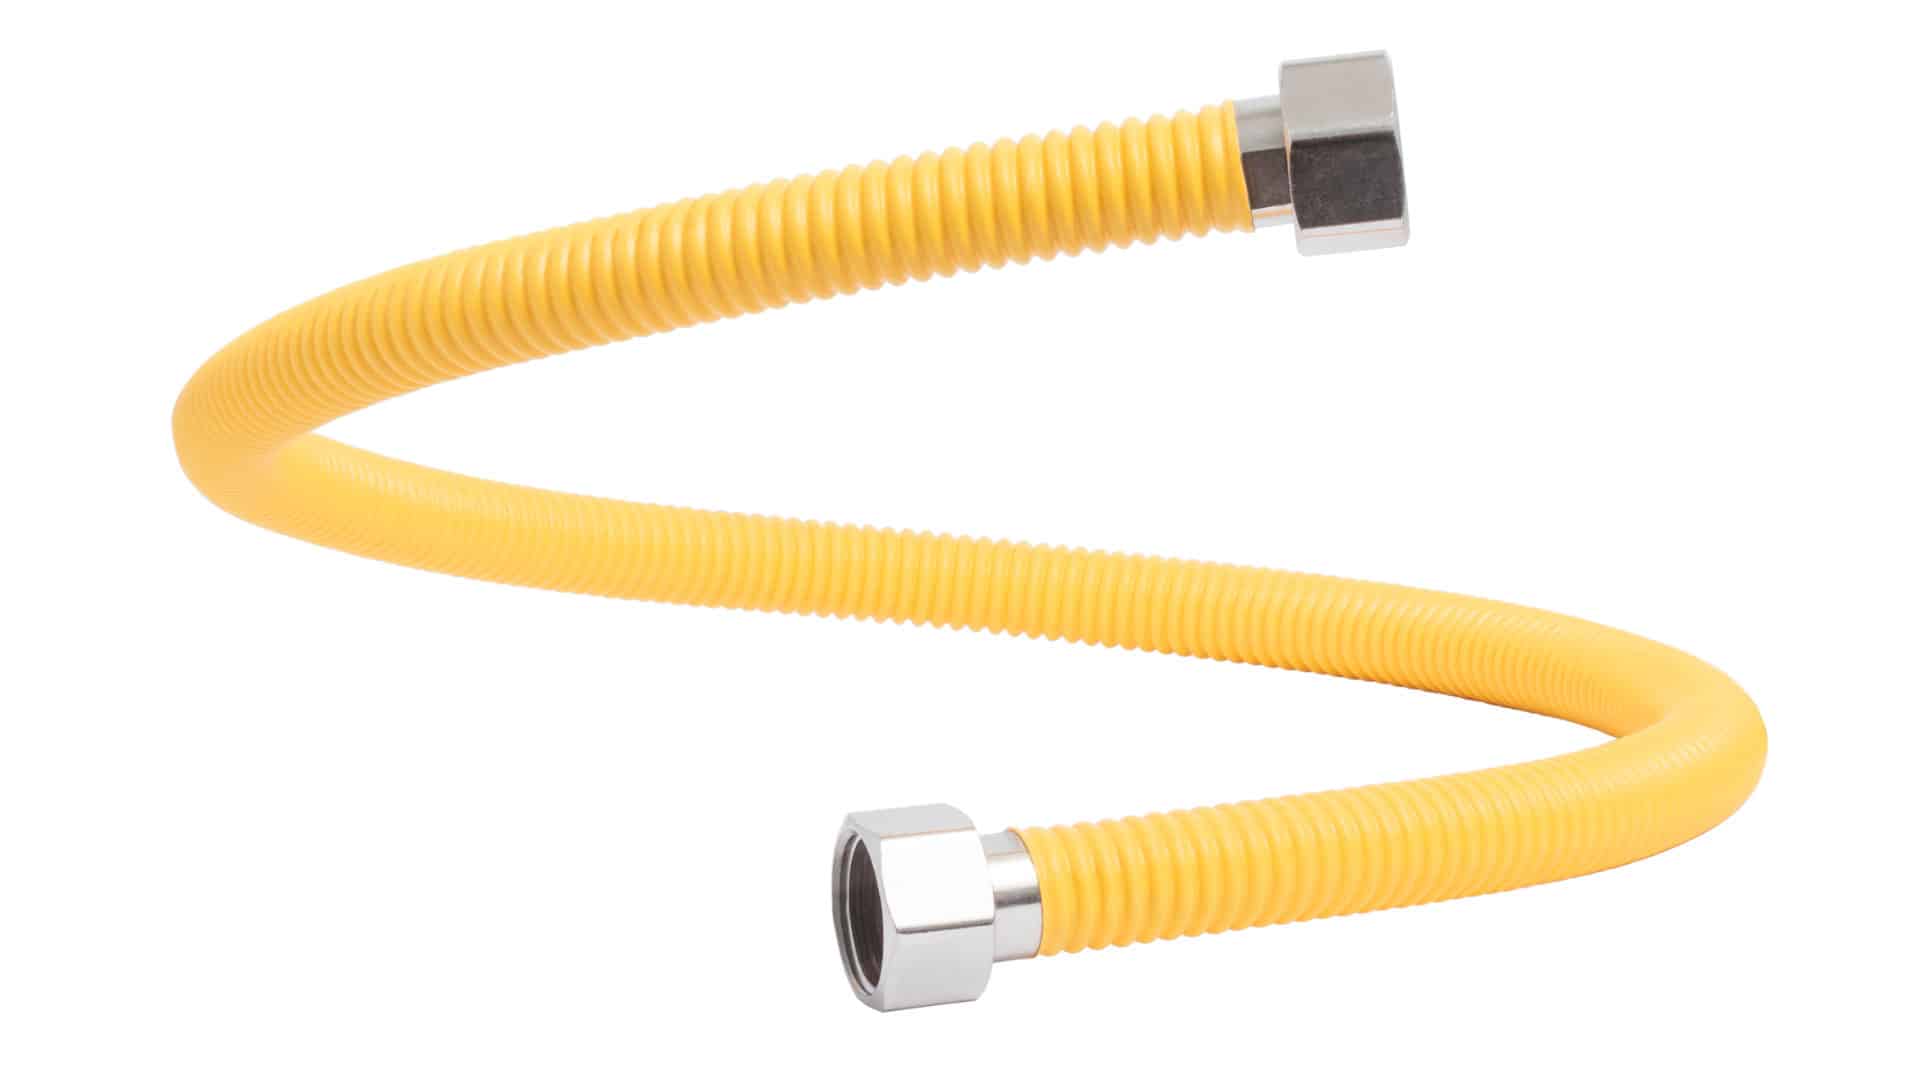
Once the anti-flood sensor has been removed you can disconnect the existing drain hose. You can find the drain hose connected to the drain pump and it might be secured in place with a clip. If so, remove the clip with a pair of pliers and then disconnect the hose. It’s not recommended to re-use the clip, so for best results use a new one when you attach the new drain hose. Once the hose has been disconnected from the dishwasher you can remove the other end of the hose from the drain. You may need to remove the cover on the drain panel, if you have one, to be able to disconnect the hose which can be done by unthreading the screws that hold it in place.
Step 6 – Attach the new drain hose
Once the hose has been disconnected from both ends, it’s time to attach the new drain hose. Start by attaching the hose to the dishwasher in the same position as the old one was and secure it in place with a new jubilee clip. Once that end is securely fixed, attach the other end. If you removed any cover panels, put them back in place.
Step 7 – Reattach the base plate
As soon as the hose has been attached, you can reattach the base plate at the bottom of your dishwasher and secure it in place with the screws you removed earlier. Once the base plate is attached you can push your dishwasher back into the wall or cabinet and then turn the power back on. Your new drain hose should now be working correctly and your dishwasher is ready to start using again.
(410) 451 - 4104Text or ring! ring!
Dec. 11, 2023
How To Fix a Whirlpool Washer F20 Error Code
Dec. 11, 2023
How to Fix a Dishwasher Not Getting Water: The Ultimate Guide
Dec. 11, 2023
How to Solve the Frigidaire Stove F10 Error Code
Nov. 06, 2023
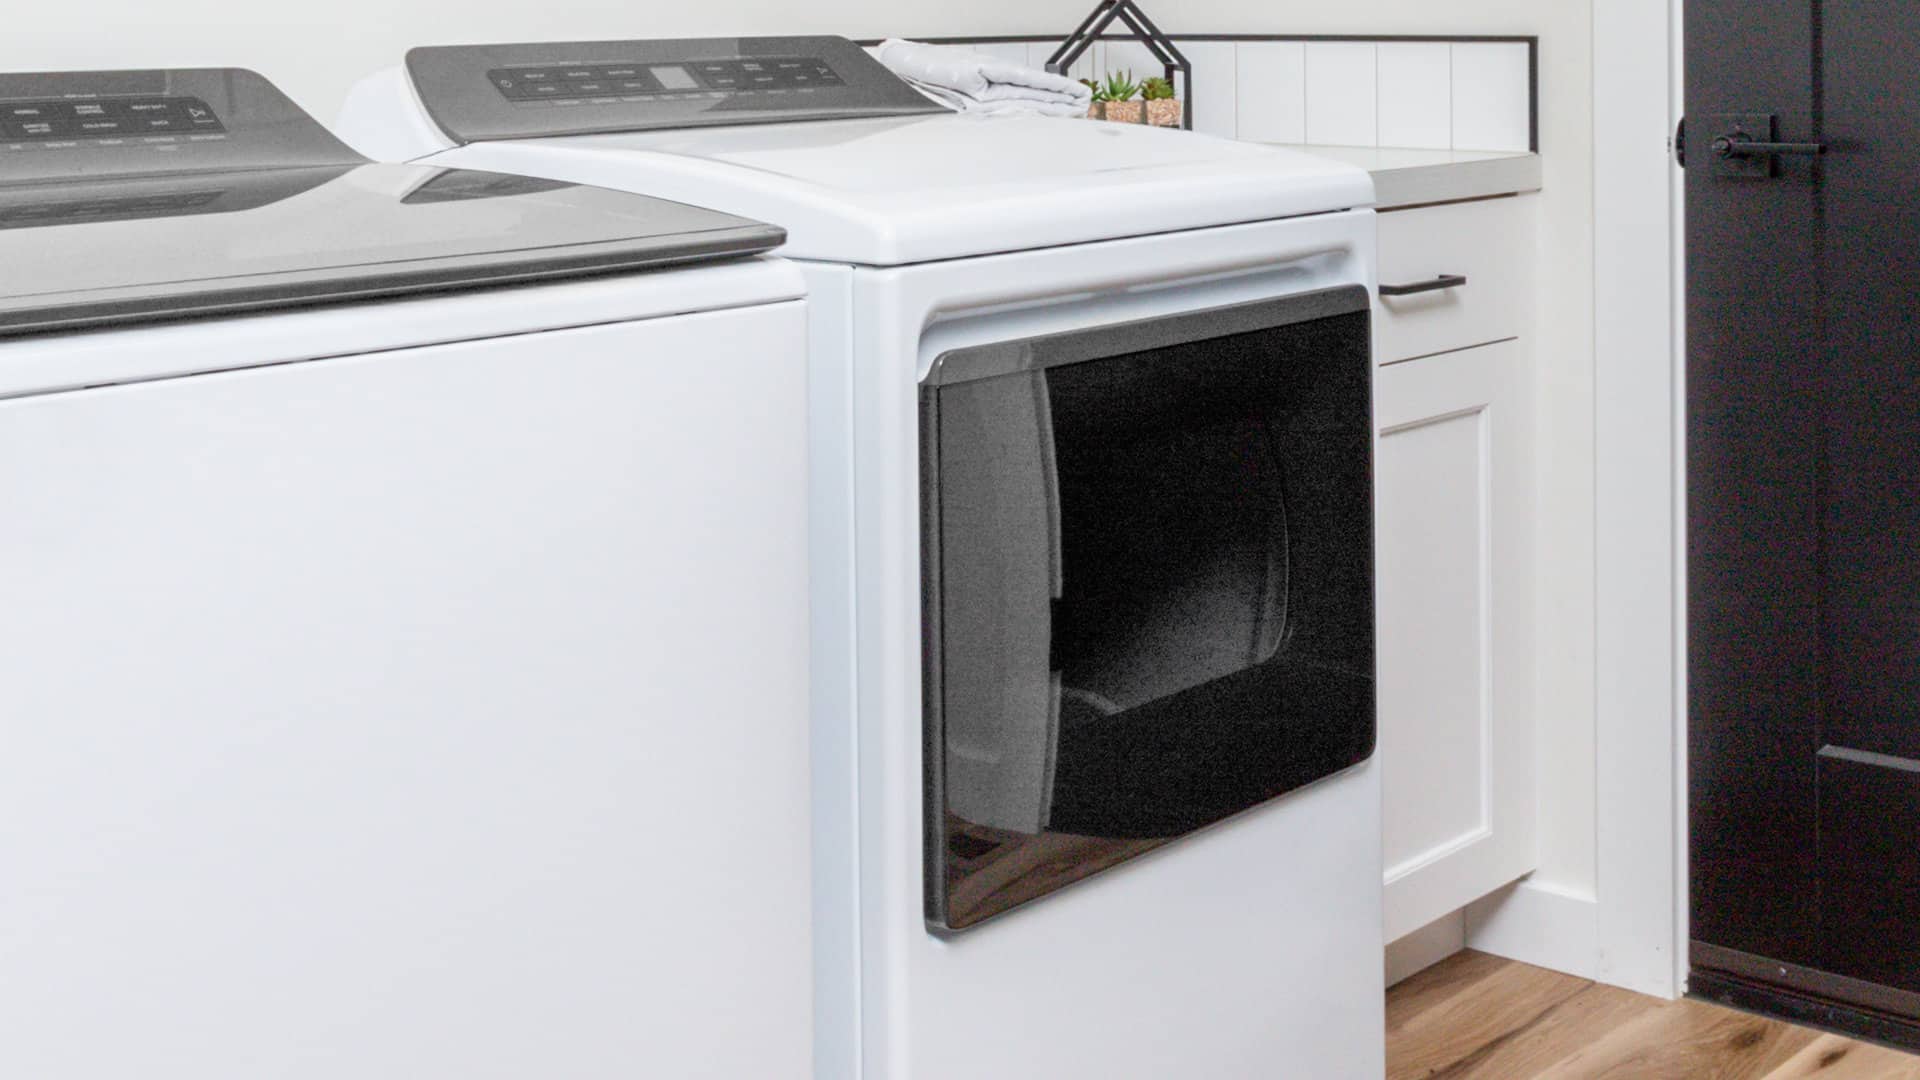
How to Hook up a Gas Dryer
Nov. 06, 2023
Dishwasher Not Cleaning Top Rack? How to Fix It

Nov. 06, 2023
Why Your Microwave Is Making Weird Noises
Oct. 02, 2023
How to Replace a Refrigerator Door Seal
Oct. 02, 2023
Can You Put Styrofoam in the Microwave?
Oct. 02, 2023
How to Resolve Whirlpool Washer E1/F9 Error Codes
Sep. 08, 2023