Your oven is an important appliance in your house. If it becomes faulty, you won’t be able to cook food for yourself and your family. This causes all sorts of problems. One common problem people have with their ovens is when it doesn’t heat up fast enough.
If your oven isn’t heating up fast enough, this guide will tell you exactly what you have to do to get it working again. Simply start with step one and work your way down the guide until you find what’s causing the problem so you fix it.
Step 1 – Check the power supply
The first step is to make sure your oven is connected to the power supply correctly. To work properly, your oven needs to have the right amount of alternating current. For electric ovens, this is 250 volts and for gas ovens it is 120 volts. If your oven is turning off intermittently or doesn’t turn on at all, you’ll need to check the power supply. If the power is working and your oven is still not turning on or is turning off intermittently, you can move on to Step 2.
Here’s how to check the power supply:
- Start by checking the circuit breaker. If the circuit breaker that powers your oven has switched off, turn it back on. If it continues to turn off, the circuit breaker will need to be checked and repaired by an electrician.
- If the circuit breaker is turned on, unplug your oven (if possible) and plug it into a different power socket. If the oven works in a separate socket, the original socket is defective and will need to be repaired or replaced.
Step 2 – Check the gas supply
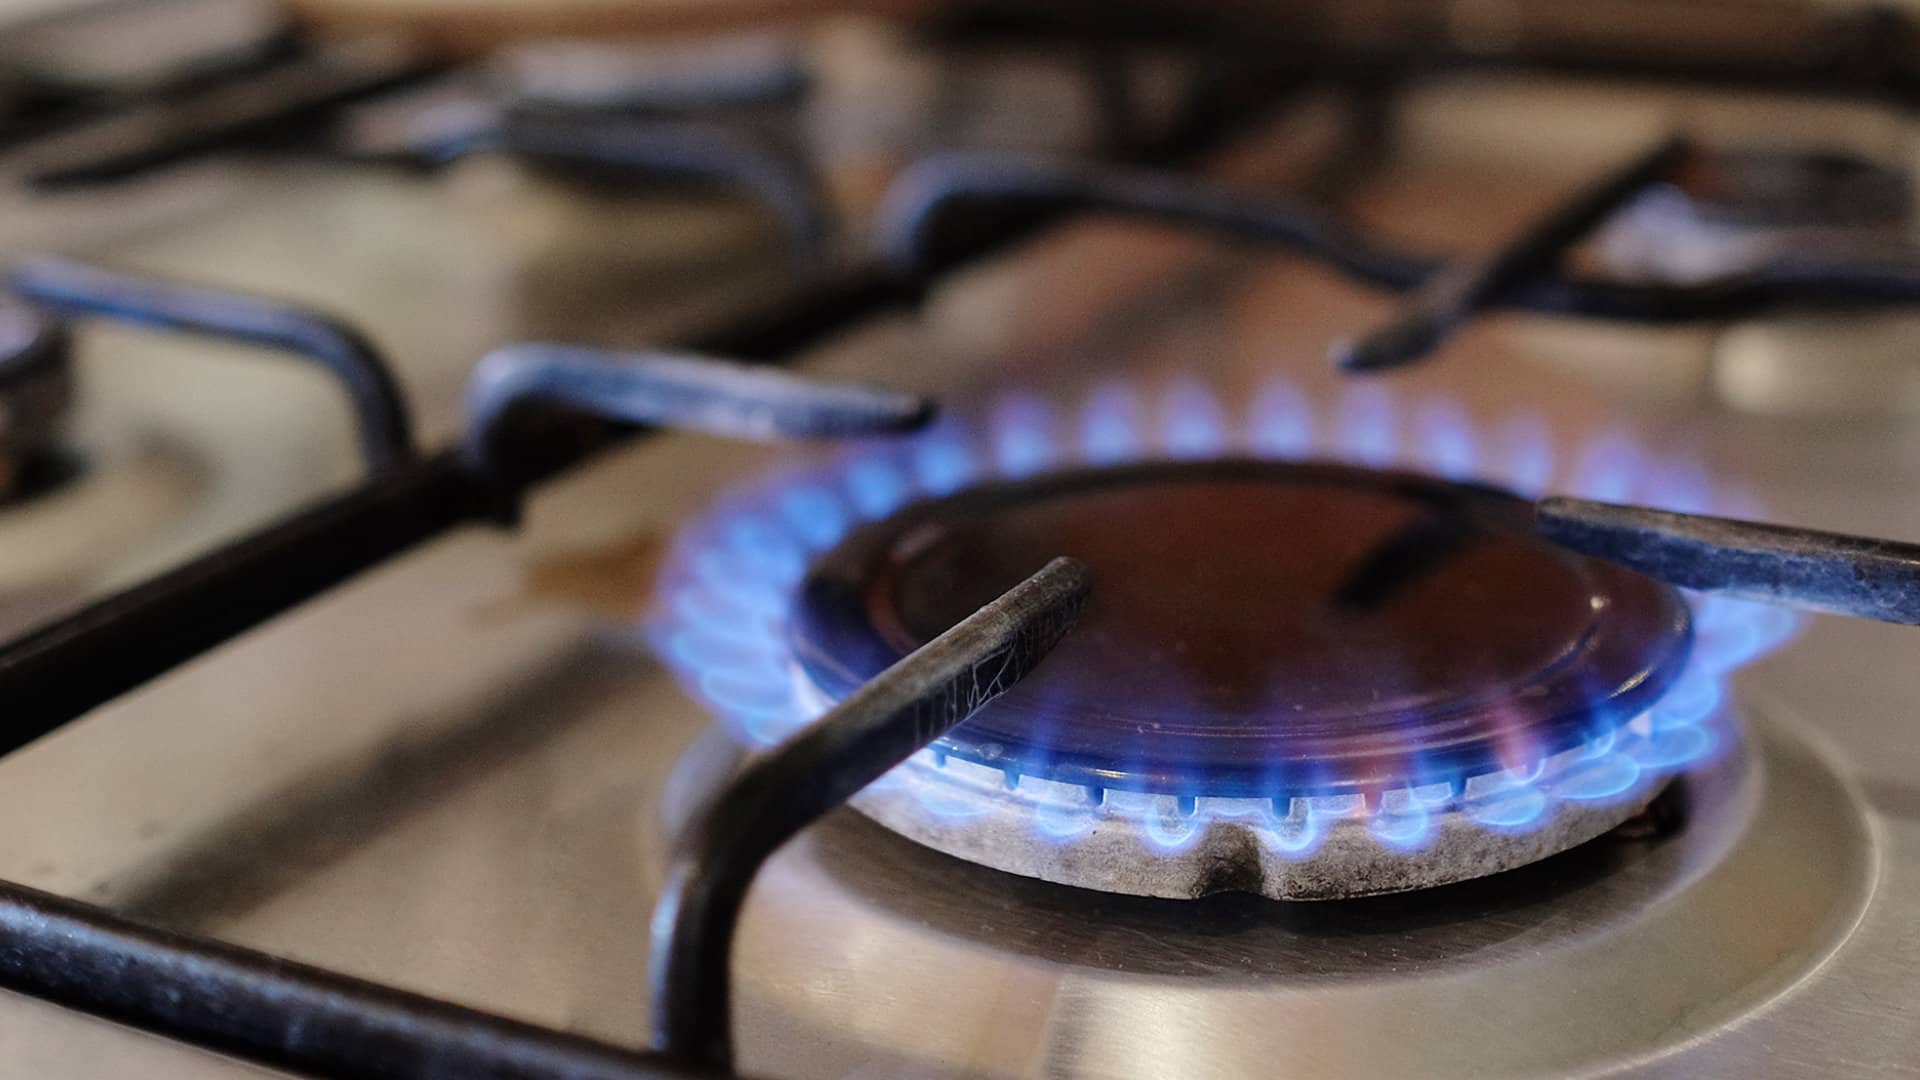
If you have a gas-powered oven, the next step is to check the gas supply. If your oven is electric, move on to Step 4. If your oven isn’t getting the correct amount of gas supplied to it, it might not heat up fast enough.
Here’s how to check the gas supply:
- Start by ensuring that all the valves are turned on correctly. If any of them are turned off, turn them back on.
- If you have electronic valves, you can check them with a multimeter to ensure they have continuity. If any of the valves fail the test, they need to be replaced.
- If the valves are working correctly and pass the multimeter test, the gas supply is most likely working correctly so you can move on to Step 3.
Step 3 – Check the gas oven burner or ignition electrode
If the gas supply is working correctly, the next step is to check the gas oven burner or spark electrode. When this component doesn’t work correctly, your oven stops heating up at the right speed.
Here’s how to check the gas oven burner or ignition electrode:
- Set the temperature in your oven to about 400 °F (200 °C).
- Check if you can hear clicks followed by the gas igniting.
- If you don’t hear the clicking sounds and/or the gas doesn’t ignite, it’s likely the ignition electrode is faulty and needs to be replaced.
- Use a multimeter to test the spark electrode for continuity. Let your oven cool down first.
- Locate the spark electrode and test it.
- If it fails the test, replace it. If it passes the test, move on to Step 5 (Step 4 is for electric ovens only).
- Once the spark electrode has been replaced, turn your oven on and check if it’s heating up at the right speed. If not, move on to Step 5 (Step 4 is for electric ovens only).
Step 4 – Check the bake element
If you have an electric oven, the next step is to check the bake element. If you have a gas-powered oven, you can skip to Step 5. The bake element is how your oven heats up. If the bake element becomes faulty, your oven might not heat up fast enough.
Here’s how to check the bake element:
- If the bake element has a cover, remove the cover.
- Turn your oven on to about 400 °F (200 °C).
- After five minutes, open your oven door and check if the element is bright red. If not, this indicates it isn’t heating up fast enough. If the element is bright red, you can move on to Step 5.
- Use a multimeter to test the bake element for continuity. Make sure you let the element cool down first.
- Locate the element and test it.
- If it fails the test, replace it. If it passes the test, move on to Step 5.
- Once the new element has been correctly installed, check if your oven can now heat up at the correct speed. If it still isn’t working correctly, move on to Step 5.
Step 5 – Check the thermostat
The next step is to check the thermostat. The thermostat monitors the temperature in your oven and tells the control board so it can direct other components in your appliance to turn on and off.
Here’s how to check the thermostat:
- Start by making sure the temperature sensor isn’t touching the oven walls. When this happens the thermostat will record higher temperatures, which can cause it to give the control board inaccurate information. If you find it’s touching the walls, reposition it.
- Use a multimeter to test the thermostat for continuity.
- To test the thermostat, turn your oven off and locate the thermostat.
- Test the thermostat.
- If it fails the test, replace it. If it passes the test, move on to Step 6.
- If you replace the thermostat, turn your oven on and check if it can now heat up at the correct speed. If not, move on to Step 6.
Step 6 – Consider replacing the main control board
Your final option is to consider replacing the main control board. The control board is your oven’s “brain.” When it stops working correctly, your oven might not be able to heat up at the right speed. Testing the control board is difficult so your best option is to replace it and then test if that solves the problem. Alternatively, you can get a technician to come and inspect your oven or, because control boards are expensive, consider purchasing a new oven.
How To Fix a Whirlpool Washer F20 Error Code
How to Fix a Dishwasher Not Getting Water: The Ultimate Guide
How to Solve the Frigidaire Stove F10 Error Code
How to Hook up a Gas Dryer
Dishwasher Not Cleaning Top Rack? How to Fix It
Why Your Microwave Is Making Weird Noises

How to Replace a Refrigerator Door Seal
Can You Put Styrofoam in the Microwave?
How to Resolve Whirlpool Washer E1/F9 Error Codes
