

July 31, 2023
Dryer Repair
Is your dryer emitting a troubling burning smell? Please don’t ignore it, as it could be a sign of a faulty internal component which can sometimes increase the risk of a fire igniting. In this guide, we’ll walk you through the steps to find and fix the underlying cause of the problem.
The information in this guide applies to all major dryer makes and models, including GE, Samsung, Whirlpool, and Bosch.
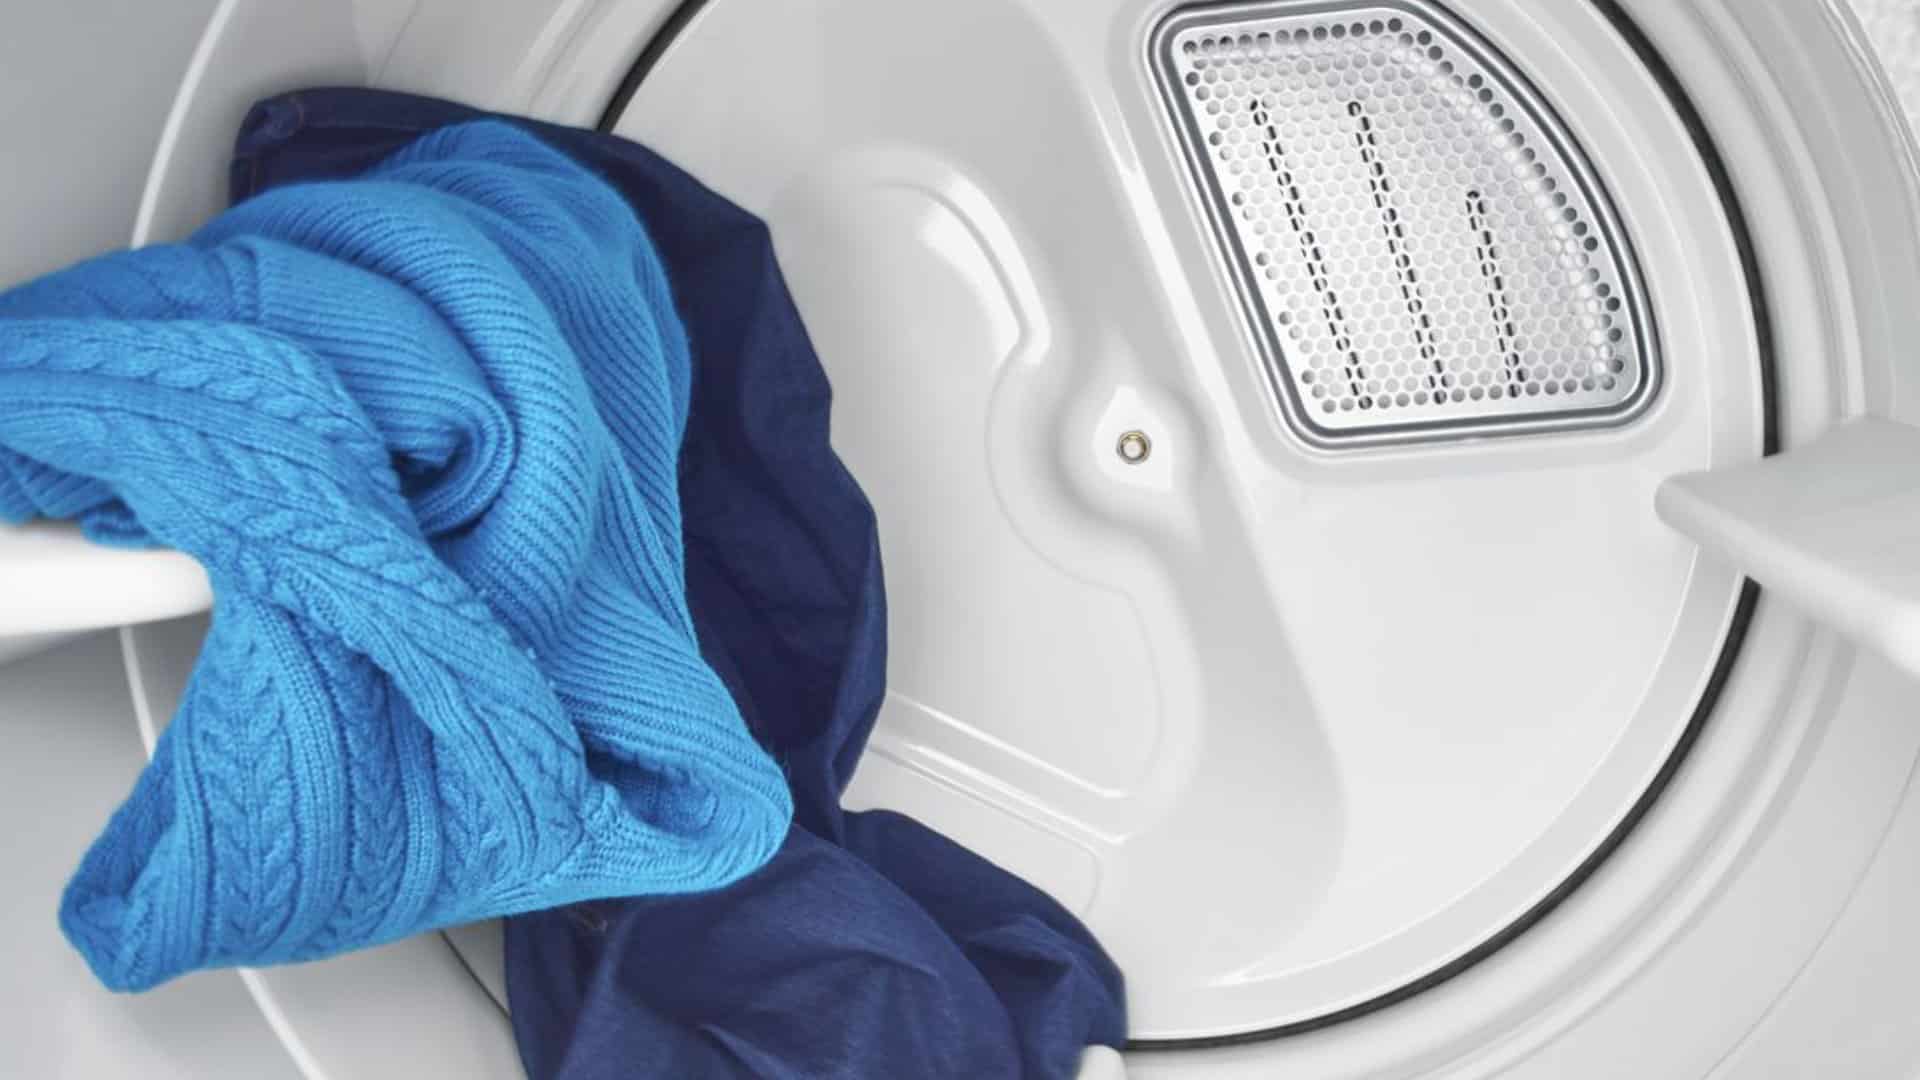
Step 1 – Clean the Lint Filter
A clogged lint filter is the most common culprit of a burning smell emanating from your dryer. Not only does this create an unpleasant smell, but it also creates a potential fire hazard. Major dryer manufacturers advise cleaning the lint filter after each use.
Follow these instructions to clean the lint filter effectively:
- Locate the lint filter and remove it from your dryer.
- Thoroughly clean the filter, utilizing a vacuum cleaner if necessary.
- Vacuum or wipe away any lint around the filter assembly and the dryer door.
- Remove the exhaust hose and vacuum or wipe around the vent area.
- After cleaning the filter and all lint buildup, restart your dryer and check if the burning smell has disappeared. If not, inspect the thermostat.
Step 2 – Inspect the Thermostat
After cleaning the lint filter, the next step is to inspect the thermostat. The thermostat is responsible for monitoring the dryer’s temperature, and if it malfunctions, the dryer could overheat and emit a burning smell. To complete this task, you will require a multimeter. If you don’t have a multimeter, you will need a technician to inspect your appliance.
Follow these instructions to inspect the thermostat:
- Turn off the power to your dryer.
- Remove both the top and side panels from your dryer. This will involve unthreading the screws that hold them in place and then unclipping them off. You must also disconnect the wire harness when carefully removing the panels.
- Locate the thermostat in your dryer, disconnect and remove it, and test it using a multimeter for continuity.
- If the thermostat is faulty, replace it. If the test shows continuity, reattach it inside the dryer, and proceed to inspect the drive belt.
- After installing the new thermostat, turn on your dryer to check if the burning smell has ceased. If the smell persists, proceed to inspect the drive belt.
Step 3 – Inspect the Drive Belt
The drive belt encircles the dryer drum and helps it rotate during a drying cycle. Occasionally, the drive belt can dislodge and come into contact with the heating element, resulting in a burning smell.
To eliminate the drive belt as the cause of the burning smell, follow these steps:
- Ensure the power to your dryer is switched off.
- Remove the top and side panels from your dryer if not already done. This will involve unthreading the screws that hold them in place and then unclipping them off. You must also disconnect the wire harness when carefully removing the panels.
- Locate the drive belt and verify it is securely connected around the dryer drum and both pulleys.
- If the drive belt is misaligned, attempt to realign it correctly. If the belt is damaged, it will need to be replaced. If the drive belt appears in good condition, proceed to the next step.
- Check if the burning smell has subsided after installing a new drive belt or realigning the existing one. If not, proceed to the next step.
Step 4 – Check for Lint Inside the Dryer
Lint can sometimes find its way into the back of your dryer and come into contact with the heating element. This poses a severe fire risk and can lead to a burning smell when you operate the dryer.
Checking for lint is a straightforward process. Here’s what to do:
- Ensure the power to your dryer is switched off.
- Remove the top and side panels from your dryer if you haven’t already.
- Inspect the back of the internal side of your dryer for any signs of lint. If you spot any lint, use a vacuum cleaner or a damp cloth to wipe it away.
- After clearing any lint, check if the burning smell has ceased. If the burning smell is still noticeable, proceed to the next step.
Step 5 – Check the Dryer Motor
The motor in your dryer provides the power to enable the drum to rotate during a cycle. Sometimes the motor can become defective, which can cause a burning smell to develop. For example, if any electrical wiring becomes damaged, it can let off a distinctly burning odor.
Follow these instructions to check the dryer motor:
- Turn off the power to your dryer.
- Remove the top and side panels from your dryer if you haven’t already. This will involve unthreading the screws that hold them in place and then unclipping them off. You must also disconnect the wire harness when carefully removing the panels.
- Locate the motor, disconnect the wire harness, and test it using a multimeter for continuity.
- If the motor is faulty, replace it. If the test shows continuity, reattach it inside the dryer. You will then need a technician to inspect your dryer to see if they can find the cause of the burning smell.
- After installing the new motor, turn on your dryer to check if the burning smell has ceased. If the smell persists, you will need to get a technician to come and inspect your dryer.
(410) 451 - 4104Text or ring! ring!
Dec. 11, 2023
How To Fix a Whirlpool Washer F20 Error Code
Dec. 11, 2023
How to Fix a Dishwasher Not Getting Water: The Ultimate Guide
Dec. 11, 2023
How to Solve the Frigidaire Stove F10 Error Code
Nov. 06, 2023
How to Hook up a Gas Dryer
Nov. 06, 2023
Dishwasher Not Cleaning Top Rack? How to Fix It
Nov. 06, 2023
Why Your Microwave Is Making Weird Noises
Oct. 02, 2023
How to Replace a Refrigerator Door Seal
Oct. 02, 2023
Can You Put Styrofoam in the Microwave?
Oct. 02, 2023
How to Resolve Whirlpool Washer E1/F9 Error Codes
Sep. 08, 2023