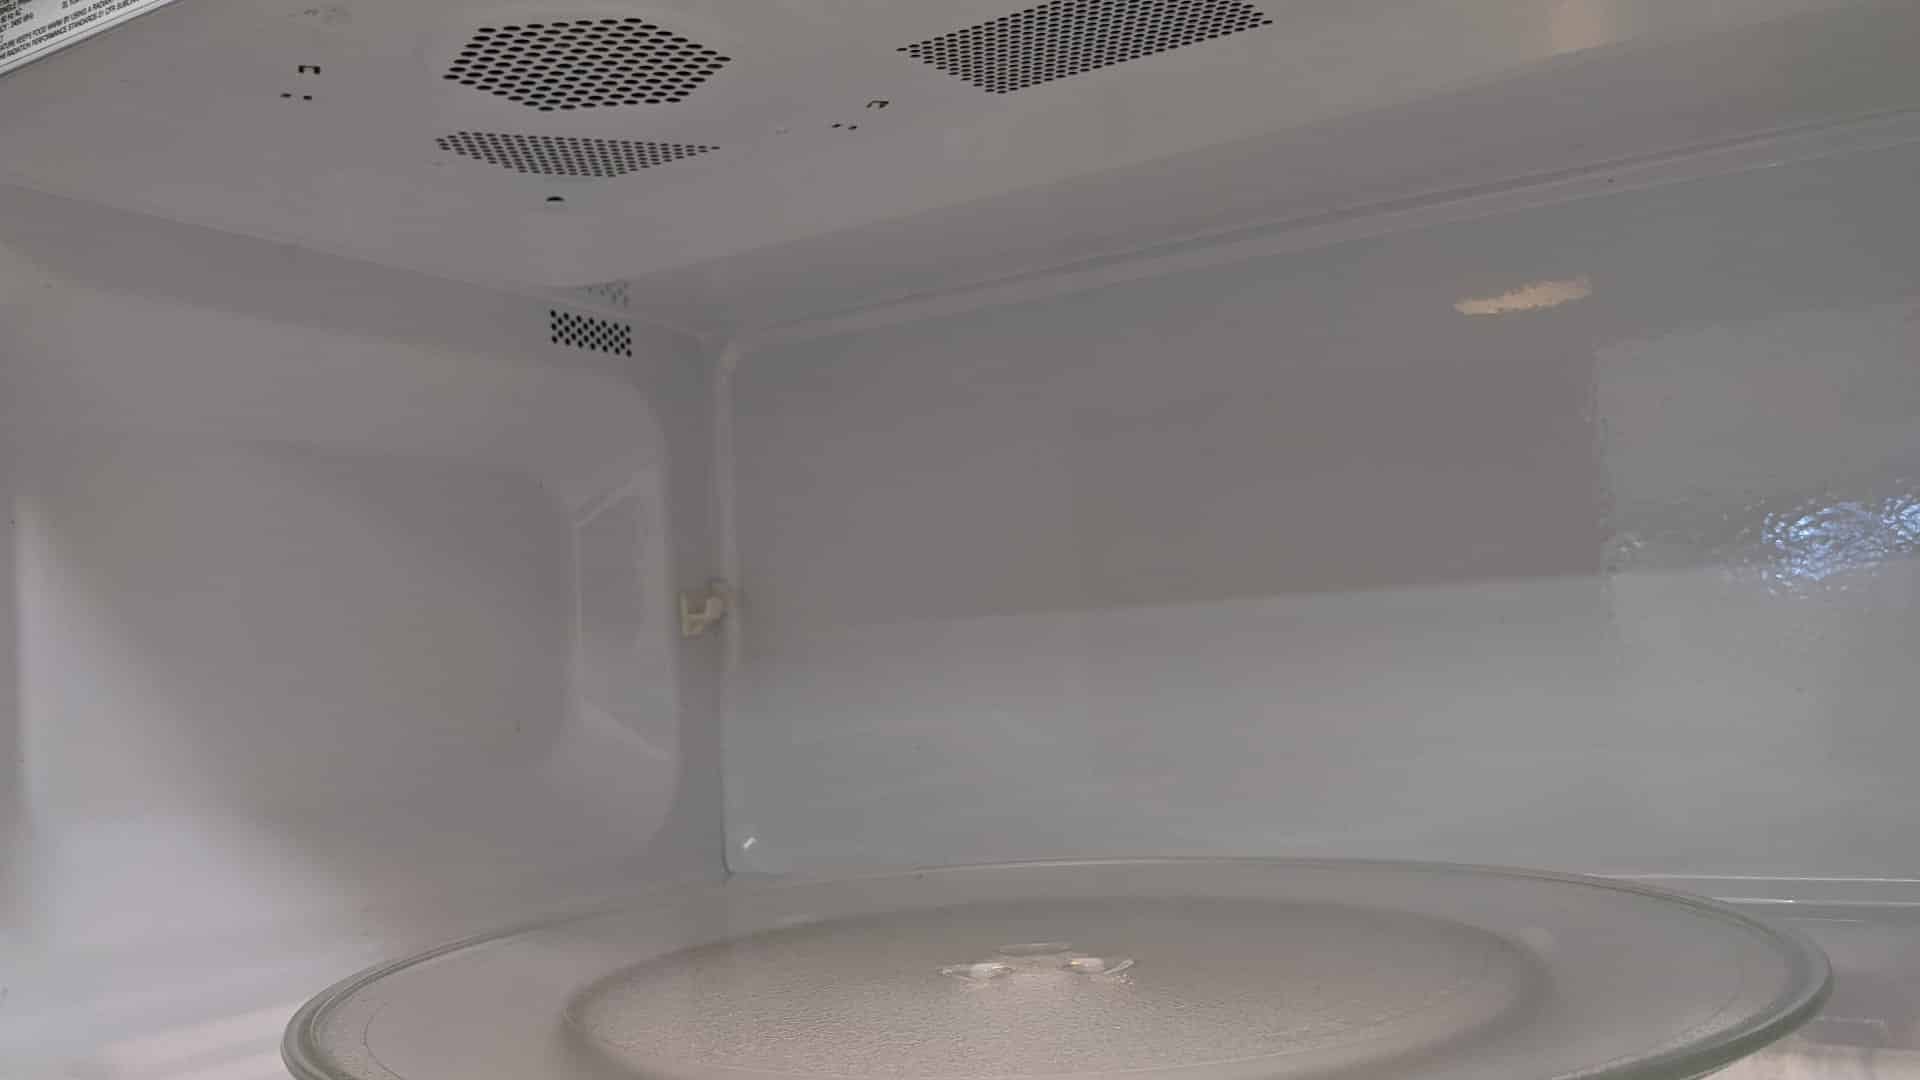
If your microwave is not working, it may not be receiving power, a door switch may be faulty, or a fuse may have blown. If the door switch or a fuse needs to be replaced, the parts are relatively inexpensive, but accessing internal microwave components can be dangerous (see the safety warning below). Once you remove the component from the microwave, it needs to be tested with a multimeter to determine if it requires replacing (see instructions below).
Safety Warning
Microwave ovens are more dangerous to repair than most other household appliances. Microwaves feature a high-voltage capacitor, which effectively doubles the amount of voltage that the microwave receives. The high-voltage capacitor can retain electricity even after the microwave has been unplugged. In fact, electricity can be stored in the capacitor for months after the power is disconnected.
If the high-voltage capacitor is not discharged, touching it can be fatal. Therefore, it is recommended to contact a trained microwave technician to repair a defective microwave. If you decide to do the repair yourself, the capacitor should be discharged.
The high-voltage capacitor can be discharged by touching a metal blade with an insulated handle to it. Extreme caution must be taken not to touch the metal yourself while discharging the capacitor.
1. Check for an incoming power issue
If your microwave is not working, it could be because a breaker has tripped or an issue with the power outlet. Note that some larger microwaves, particularly those requiring 1500 watts, usually need their own dedicated power outlet.
Follow these steps to check for an incoming power issue:
- Check that the microwave is plugged in and turned on.
- Check that a breaker or fuse has not tripped or blown in your home’s electrical panel.
- Try plugging the microwave into a different power outlet to see if the power outlet is responsible for the microwave not working.
2. Check for a defective door switch
Most microwaves contain several door switches to make sure the microwave does not operate if the door is open. Ensuring that the door is closed protects people from the dangerous radiation that is produced by the microwave.
Microwave door switches are usually mounted to a bracket near the door latch. Before checking the door switch, check that the door latch is not damaged, as this could also be causing the microwave not to work.
If you have recently moved the microwave or performed a repair, a door switch may have been dislodged and is unable to activate the microwave when the door is closed.
However, it is more likely that a door switch has failed, usually due to wear and tear. The door switch will need to be tested with a multimeter to determine if it has failed and needs to be replaced.
Depending on the type of microwave, you may be able to check and replace a door switch by removing the control panel; otherwise, the microwave cabinet will likely need to be removed. You may also need to remove the microwave’s front grille.
Once you have removed the relevant access panel, locate the door switch. Door switches are usually about an inch long, black in color, with terminals extending from them.
If you have decided to do the repair yourself, make sure to discharge the high-voltage capacitor and avoid touching it.
Follow these steps to check the door switches:
- Disconnect the microwave from the power.
- Remove the grille, control panel, or microwave cabinet to locate the door switches.
- Check that the door switches are secure and positioned correctly.
- Inspect the door switches for any signs of burning or a short circuit.
- Remove each door switch and test them with a multimeter to determine if one has failed and needs to be replaced.
How to test a microwave door switch with a multimeter
Some microwave door switches have two terminals, while others have three. A door switch with three terminals has a common (COM) terminal, a normally closed (NC) terminal, and a normally open (NO) terminal. If the door switch has two terminals, it may have a common terminal and a normally open terminal, or a common terminal and a normally closed terminal.
A three-terminal door switch should be tested by touching a multimeter probe to the common terminal and the other probe to the normally open terminal. When you actuate the switch, the multimeter should show zero ohms of resistance if it has continuity. The normally closed terminal should also be tested for continuity. The normally closed terminal should only have continuity before the switch is activated.
Depending on the type of door switch, a two-terminal door switch will either have continuity before the switch is actuated or after. When you test the switch, it should only have continuity when the switch is activated or not activated, not both. If the switch has no continuity, or continuity whether it is actuated or not, it will need to be replaced.
3. Check for a blown fuse
Most microwaves have two fuses, the main fuse, and a cutoff fuse. If a fuse blows, the microwave will not work. A blown microwave fuse will need to be replaced as it cannot be reset. Be aware that a blown microwave fuse is often caused by a defective door switch, so the door switches may need to be checked as well.
If the microwave is not working, the main fuse is the most likely to have blown. The main fuse is typically a ceramic tube, just over an inch in length.
The cutoff fuse (also called a thermal fuse) is typically a black cylinder with two terminals on the same side. The cutoff fuse is designed to shut off the microwave if it overheats.
Like a microwave door switch, both fuses should be tested with a multimeter to determine if they have blown and need to be replaced. The fuse can be tested by placing the multimeter probes on the fuse’s terminals. If there is no continuity, it has failed and needs to be replaced.
Follow the door switch instructions above to access and locate both fuses. The location of the fuses can vary depending on the microwave. Make sure to disconnect the power and discharge the capacitor before making the repair.
How To Fix a Whirlpool Washer F20 Error Code
How to Fix a Dishwasher Not Getting Water: The Ultimate Guide
How to Solve the Frigidaire Stove F10 Error Code
How to Hook up a Gas Dryer
Dishwasher Not Cleaning Top Rack? How to Fix It
Why Your Microwave Is Making Weird Noises
How to Replace a Refrigerator Door Seal
Can You Put Styrofoam in the Microwave?
How to Resolve Whirlpool Washer E1/F9 Error Codes
