

August 19, 2019
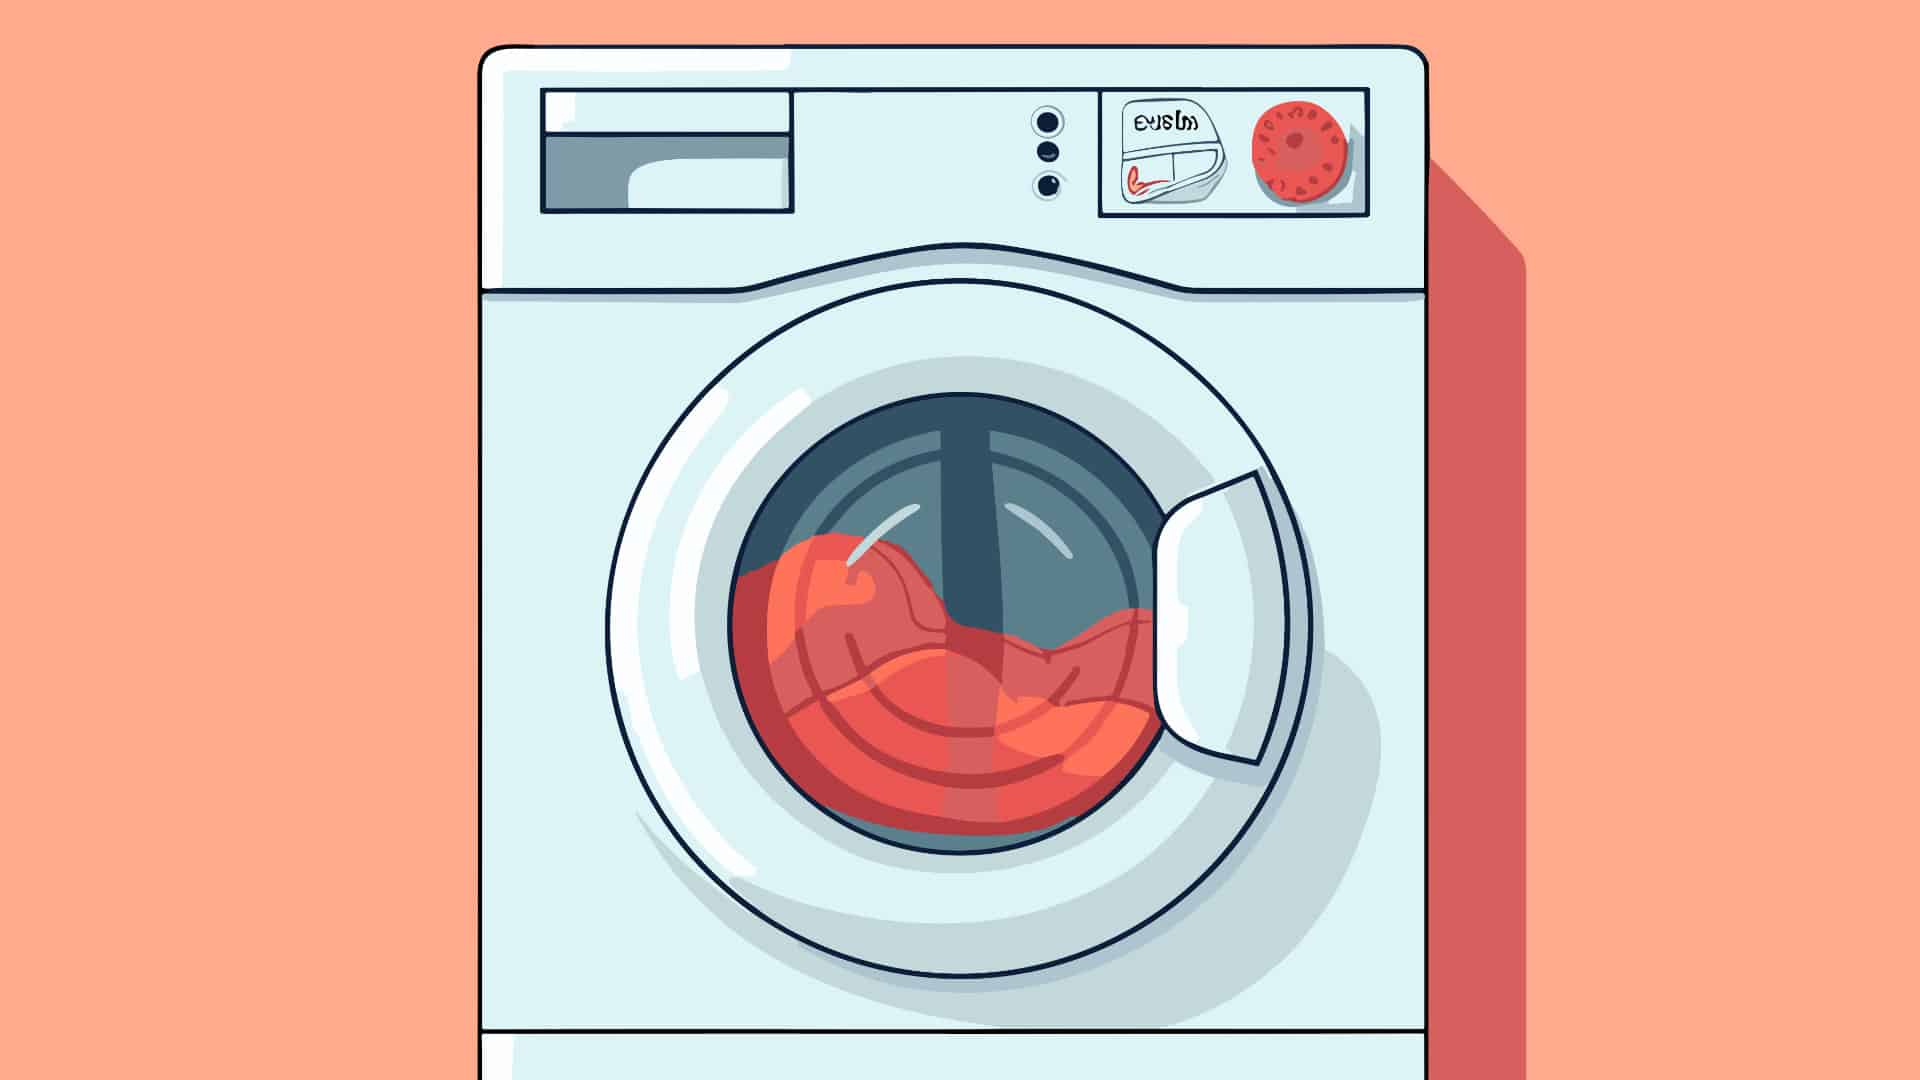
Washer Repair
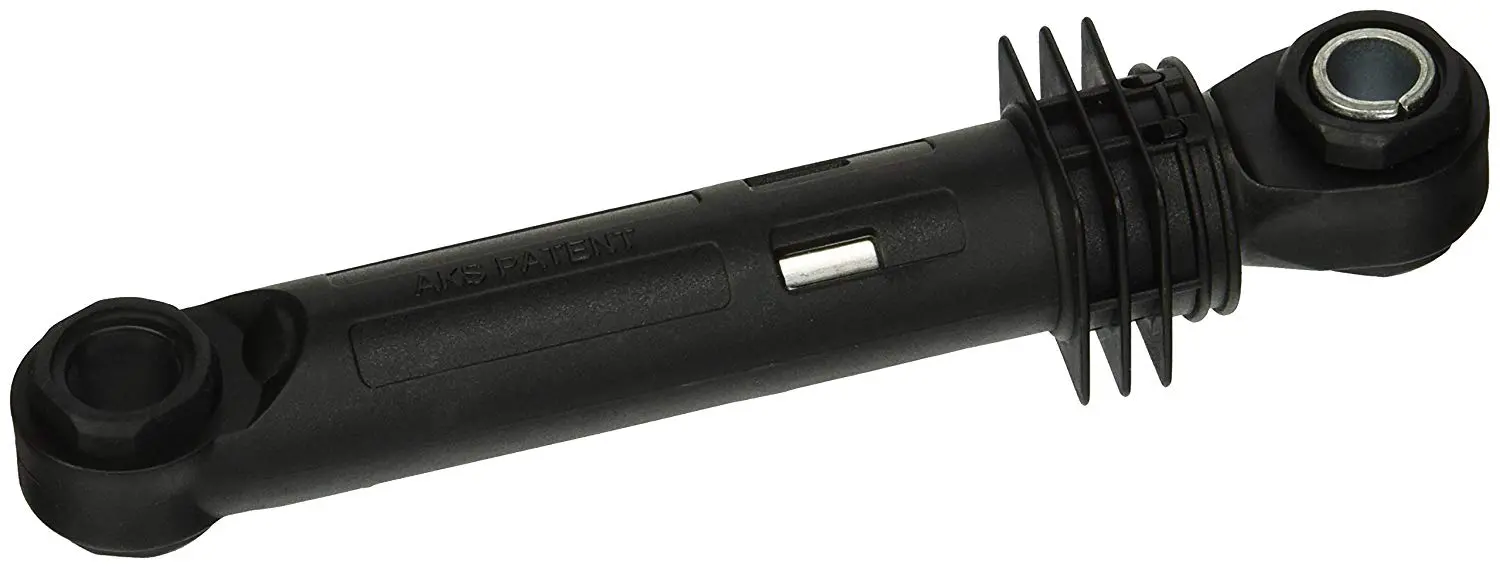
In a washing machine, the rear shock absorbers help suspend the tub. Without the tension and support, the tub will start to sag or bang. If you need to replace the rear shock absorbers on your Samsung washing machine, order replacement part DC66-0531B and then follow these steps:
1. Uninstall the washer.
You will need to access the inside of the washer from the back, which means you need to pull it away from the wall. To make sure you have plenty of space, turn off the water supply to the washer. Then detach the hot and cold water lines so you can move the machine without tugging on the hoses. Lay down a cloth or a bucket to catch any water still in the hoses. Also, detach the drain hose from either the wall or the washer.
Once you’ve pulled the washer far away from the wall so you have room to work, remove the rear access panel. Remove this by taking off the two screws on the left and right side. Pull the panel up to dislodge the bottom tab and down to dislodge the top tabs, and then pry it away. Set aside.
2. Remove the old shock absorber
Removing the shock absorbers puts your hands near sharp metal edges. Make sure you wear gloves and lay a cloth or towel over the sharp edge revealed under the rear access panel.
Remove the shock absorber by loosening the two bolts on each one: one at the top of the shock absorber and larger one at the bottom. After you remove the top bolt, carefully pull the top of the shock absorber forward off the pin and then push it to the exterior side of the machine. After you remove the bottom bolt, you can remove the part entirely.
3. Install the new shock absorber.
Depress the shock absorber so the metal tube pushes deep inside the black exterior, and then orient the shock absorber so the black tube is at the top and the metal is toward the bottom.
Next, slide the bottom portion into the bottom socket and align the hose in the socket and shock absorber for the bolt. Hand screw the bolt into place and then tighten it fully into place with your socket wrench. Be careful to not pinch part of the drain hose in the bolt.
After that, slide the top of the shock absorber over the pin. You may need to extend and rotate the shock absorber to put it into place. Then reattach the top bolt by hand and tighten with your socket wrench.
If you shifted the drain hose during the course of the part replacement, clip it back inside the retaining clips along the exterior wall of the washer.
4. Repeat with the other rear shock absorber.
Unless the rear shock absorber you just replaced was damaged during the course of a move or another repair, it was probably damaged because of wear. That means the other shock absorber is going to be near the end of its lifespan. Since you have the machine uninstalled and open, now is the perfect time to replace the shock absorber.
Depending on the exact model and age of your washing machine, the new shock absorber might be slightly different than your previous part. Replacing the shock absorbers on both sides can help keep the tub even and the machine in better condition in the long-term.
5. Close the washer.
Once you’ve finished installing the new shock absorber(s), close up the washer by installing the rear access panel.
First, remove any cloth or towel that you draped over the sharp edge of the cutout. Next, press the rear access panel flush with the back of the washer so you can slide the two tabs along the top into their slots. Make sure the bottom of the rear access panel aligns with its slot and then slide the panel down so it’s held in place by the top and bottom. After that, secure the left and right sides with the two screws you removed earlier.
6. Reinstall the washer.
Now that the repair is complete, you can push the washer back into place. Push it closer to the wall so you can reattach the hot and cold water supply lines that you loosened earlier. Make sure you attach each one to the correct port. Also, reattach the drain hose to the wall (or the machine) if you removed it during uninstallation. Now you can push the washer fully back into place adjacent to—but not pressed up against—the wall. Plug the washer back in a run a test load to listen for banging.
For more appliance repair guides, go to VIA Appliance Services.
(410) 451 - 4104Text or ring! ring!
Dec. 11, 2023
How To Fix a Whirlpool Washer F20 Error Code
Dec. 11, 2023
How to Fix a Dishwasher Not Getting Water: The Ultimate Guide
Dec. 11, 2023
How to Solve the Frigidaire Stove F10 Error Code
Nov. 06, 2023
How to Hook up a Gas Dryer
Nov. 06, 2023
Dishwasher Not Cleaning Top Rack? How to Fix It

Nov. 06, 2023
Why Your Microwave Is Making Weird Noises

Oct. 02, 2023
How to Replace a Refrigerator Door Seal
Oct. 02, 2023
Can You Put Styrofoam in the Microwave?
Oct. 02, 2023
How to Resolve Whirlpool Washer E1/F9 Error Codes
Sep. 08, 2023