


June 1, 2022
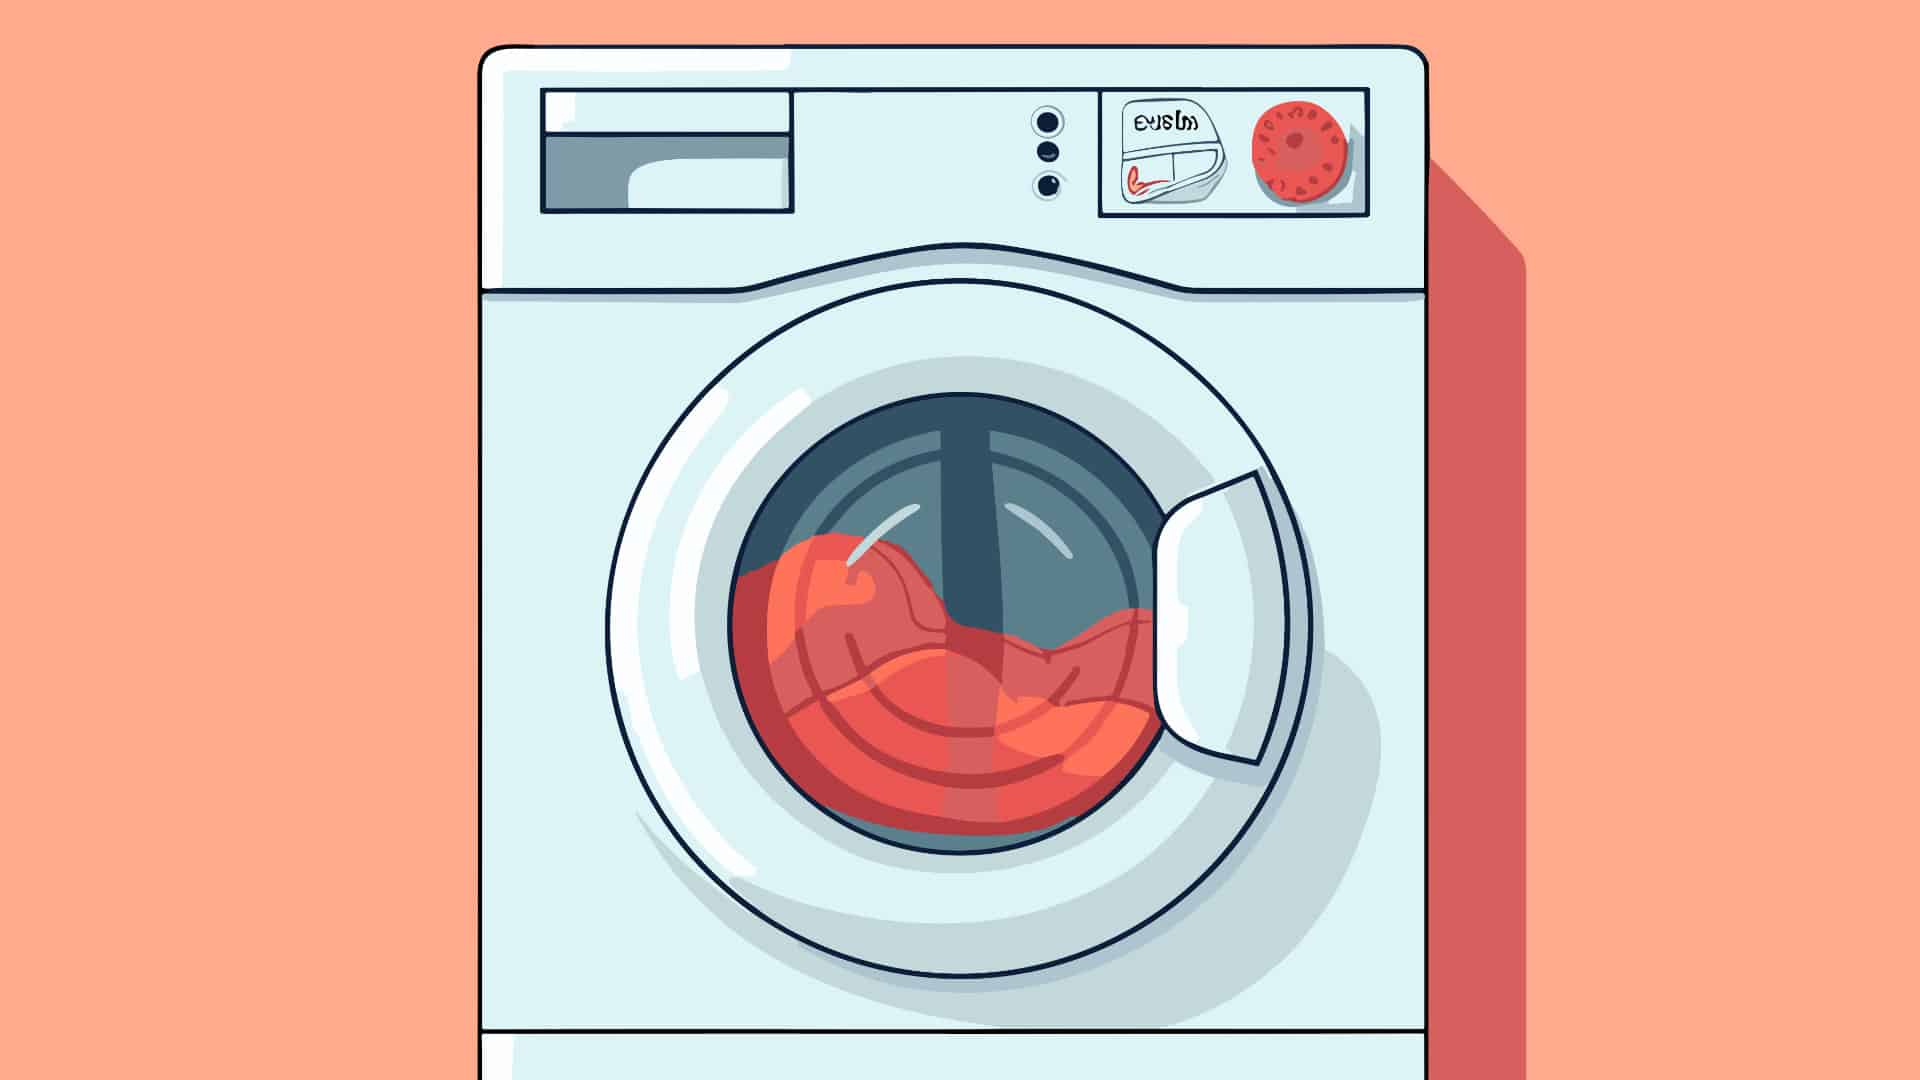
Refrigerator Repair
If your KitchenAid refrigerator is not making ice, there is likely a temperature issue caused by a problem with the cooling system, or a water supply issue. Refrigerator cooling issues are typically resolved by checking the condenser coils, compressor, and evaporator. Ice maker problems are usually resolved by checking the water supply or replacing the water inlet valve.
Follow the steps below to diagnose and fix the issue.
This guide applies to most KitchenAid refrigerators, including the following models:
4KFRF19MTW00, 4KSRF22DTW00, 4KSRF36DTX1, 4KSRF36DTX2, 4KSRF42DTX2, 4KSRS22QAA01, KBFS20EVMS13, KBFS22EWMS9, KFCS22EVMS4, KFCS22EVMS8, KRFC300ESS01, KRFC302ESS00, KRMF706ESS00, KRMF706ESS01, KRSC503ESS00, KRSF505ESS00
1. Check the freezer temperature & cooling system
The ice maker and freezer require a temperature of 0-5 degrees Farenheit to make ice. If the freezer temperature has not accidentally been set too high, there is likely to be a problem with the refrigerator’s cooling system.
Dirty condenser coils, a defective condenser, frosted over evaporator coils, or a problem with the evaporator fan or motor are all issues that can cause a cooling system problem.
The evaporator can be checked by removing the cover panel at the back of the freezer. The condenser coils and compressor can be checked and cleaned by removing the refrigerator’s rear access panel. However, we recommended calling a trained refrigerator technician to troubleshoot compressor problems.
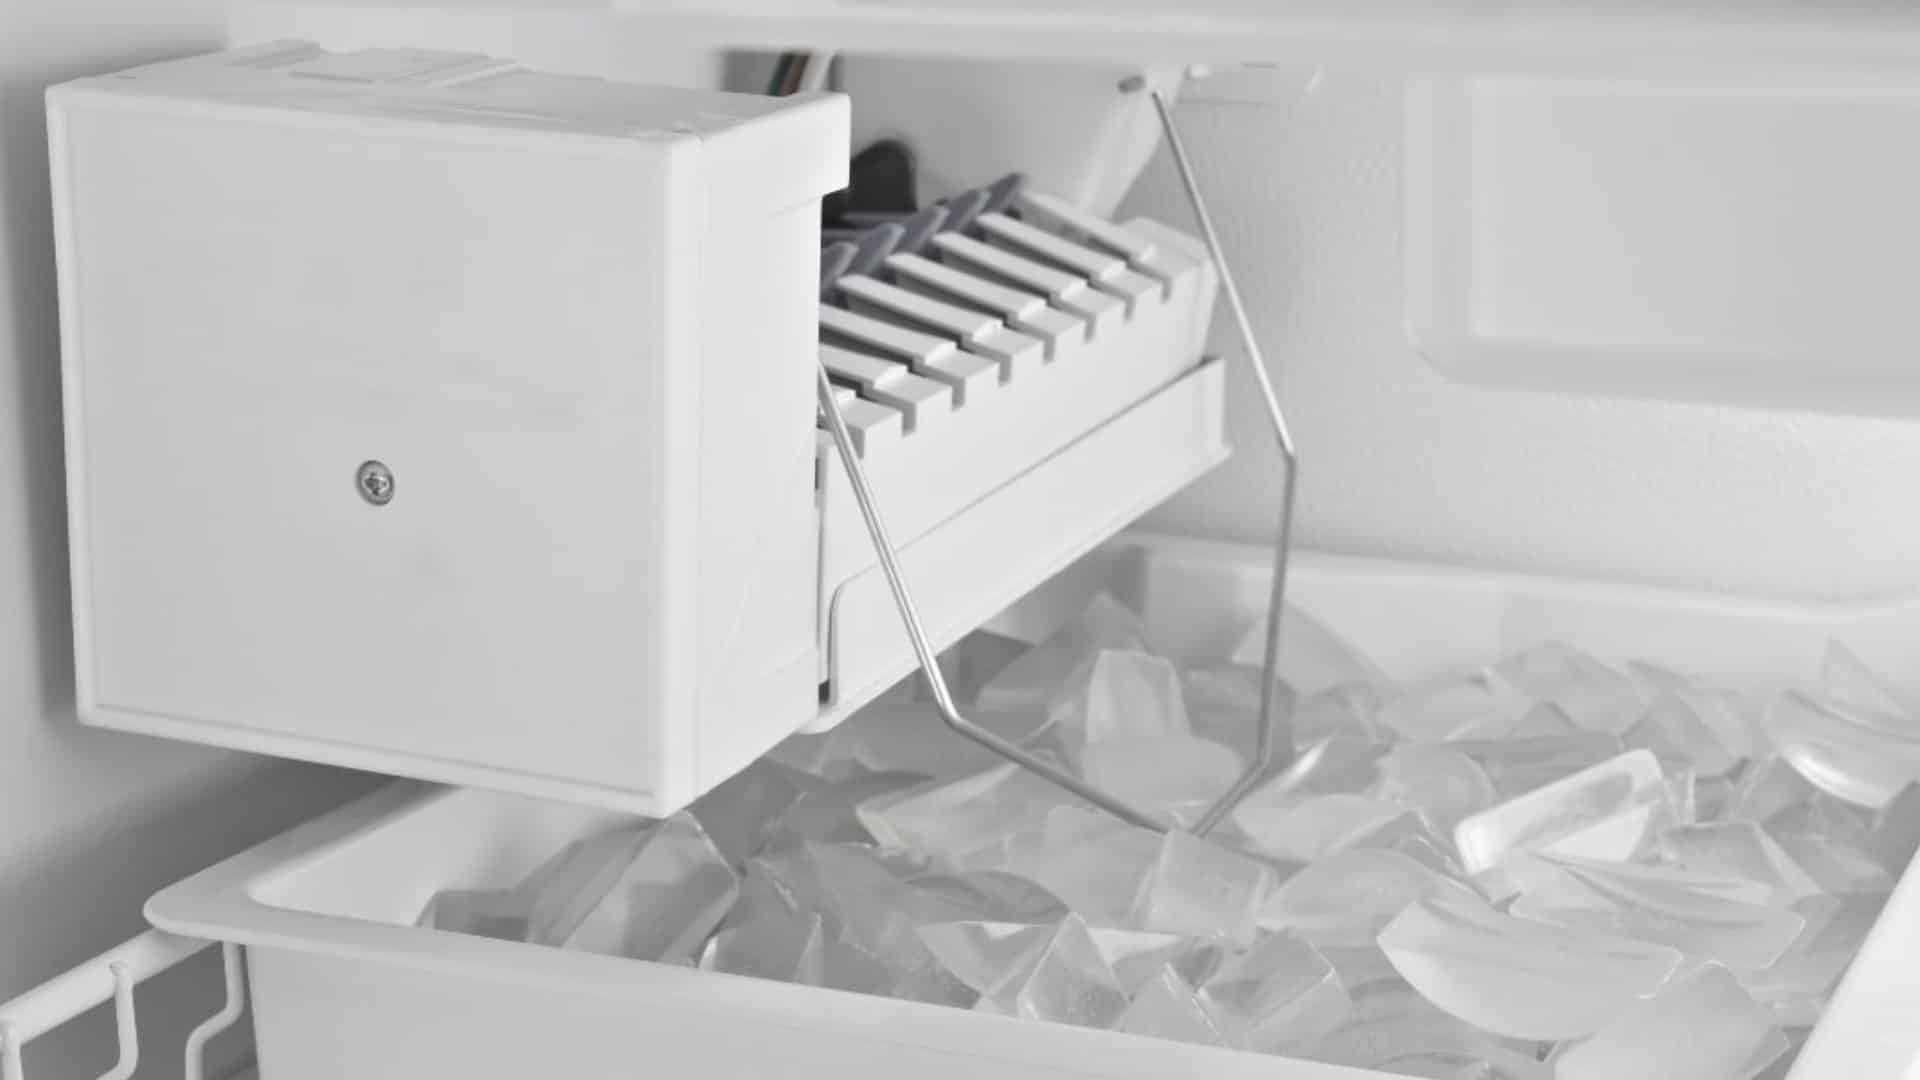
2. Is the ice maker on?
Depending on the model, the ice maker may have an “on” switch that isn’t easy to find. The “on” switch can be located on the door, the display, or under or behind the icebox or ice tray. With some models, the ice maker is turned on by lowering the ice maker arm.
An activated child lock may also stop the ice maker from making ice.
3. Check the ice maker chute
If your ice maker has a chute that delivers the ice, the chute may have become blocked with ice. A hairdryer, set to a low heat, can be used to defrost the chute. However, be careful not to use too much heat, as it can damage surfaces or wiring.
4. Check the water supply
For the ice maker to make ice, it needs water. The ice maker may not receive water because the water supply to the refrigerator has been turned off, or if the water line is kinked, or clogged with ice.
Other water supply issues, which we discuss below, include poor water pressure and a defective water inlet valve.
Depending on the model and location of the blockage, it may be possible to apply a low heat to defrost the water line. Alternatively, an ice maker frozen water line tool can be purchased to remove blockages.
5. Check the water pressure
The ice maker requires water pressure that is a minimum of 20 psi. Poor water pressure can lead to either no ice, or small and hollow ice cubes. The ice maker not producing water also indicates a water pressure problem.
The water pressure can be checked by removing the water supply line from the water inlet valve and then checking for a strong flow of water, while holding the water line over a bucket.
A water pressure gauge can also be purchased and used for a more accurate check of the water pressure.
6. Is the saddle valve the problem?
If the water line for your refrigerator is connected to a saddle valve, the wrong type of valve can cause water pressure problems.
Kitchenaid recommends using a quarter-inch type valve that requires a drilled hole. Kitchenaid does not recommend using a self-piercing type valve or a 3/16 inch saddle valve, as they can clog easily.
7. Is it time to replace the filter?
If the water filter is not installed correctly or is past its used-by date, the quantity and quality of ice will suffer. Typically, the water filter needs to be changed every six months.
Comparing the water flow with the filter installed and with it removed can help identify a water filter problem. If the water flow is significantly better after the filter has been removed, it is time to replace the filter.
8. Was the system flushed out after a new filter was installed?
When a new filter is installed, the system needs to be flushed out to remove trapped air. Forgetting to flush out the system will cause the ice maker to make small or hollow ice cubes.
The system can be flushed out by placing a container under the water dispenser and dispensing water for five seconds on and five seconds off until the water starts to flow smoothly. You may need to dispense up to three gallons of water to properly flush the air out of the system.
9. Check the water inlet valve
The refrigerator’s water inlet valve opens and closes to allow water into the refrigerator. Over time, the water inlet valve can fail, either mechanically or electrically.
The valve fails mechanically when mineral deposits clog the valve. If the valve is clogged, it is best to replace it rather than try and clean it, as cleaning it seldom works, and can cause more problems.
An electrical fault can be detected by testing the valve for continuity (a continuous electrical path) with a multimeter. If the valve has no continuity, it needs to be replaced. The valve must be removed from the refrigerator for testing.
Typically, the water inlet valve is located behind the refrigerator’s rear access panel, where the water line connects to the refrigerator.
10. Check for a defective door switch
The refrigerator door switch ensures the ice maker and water dispenser do not operate while the refrigerator door is open. If the door switch has a fault, it could be stopping the ice maker from making ice.
Depending on the model, the door switch can usually be located on the inner frame of the refrigerator. If the door switch cannot be unscrewed, you may need to use a putty knife to pry it out of the inner frame.
The door switch can be tested with a multimeter for continuity to determine if it has failed and needs to be replaced.
11. Is the motor defective?
Depending on the model, the refrigerator’s ice maker usually has a motor that cycles the ice ejector arms, or turns a tray to eject the ice cubes. If the components above are not responsible for the refrigerator not making ice, the ice maker’s motor may have failed.
Accessing and testing the ice maker motor is typically a complex process that may involve a live voltage test. Therefore, it is recommended to contact a trained Kitchenaid technician to check the motor.
(410) 451 - 4104Text or ring! ring!
Dec. 11, 2023
How To Fix a Whirlpool Washer F20 Error Code
Dec. 11, 2023
How to Fix a Dishwasher Not Getting Water: The Ultimate Guide

Dec. 11, 2023
How to Solve the Frigidaire Stove F10 Error Code
Nov. 06, 2023
How to Hook up a Gas Dryer
Nov. 06, 2023
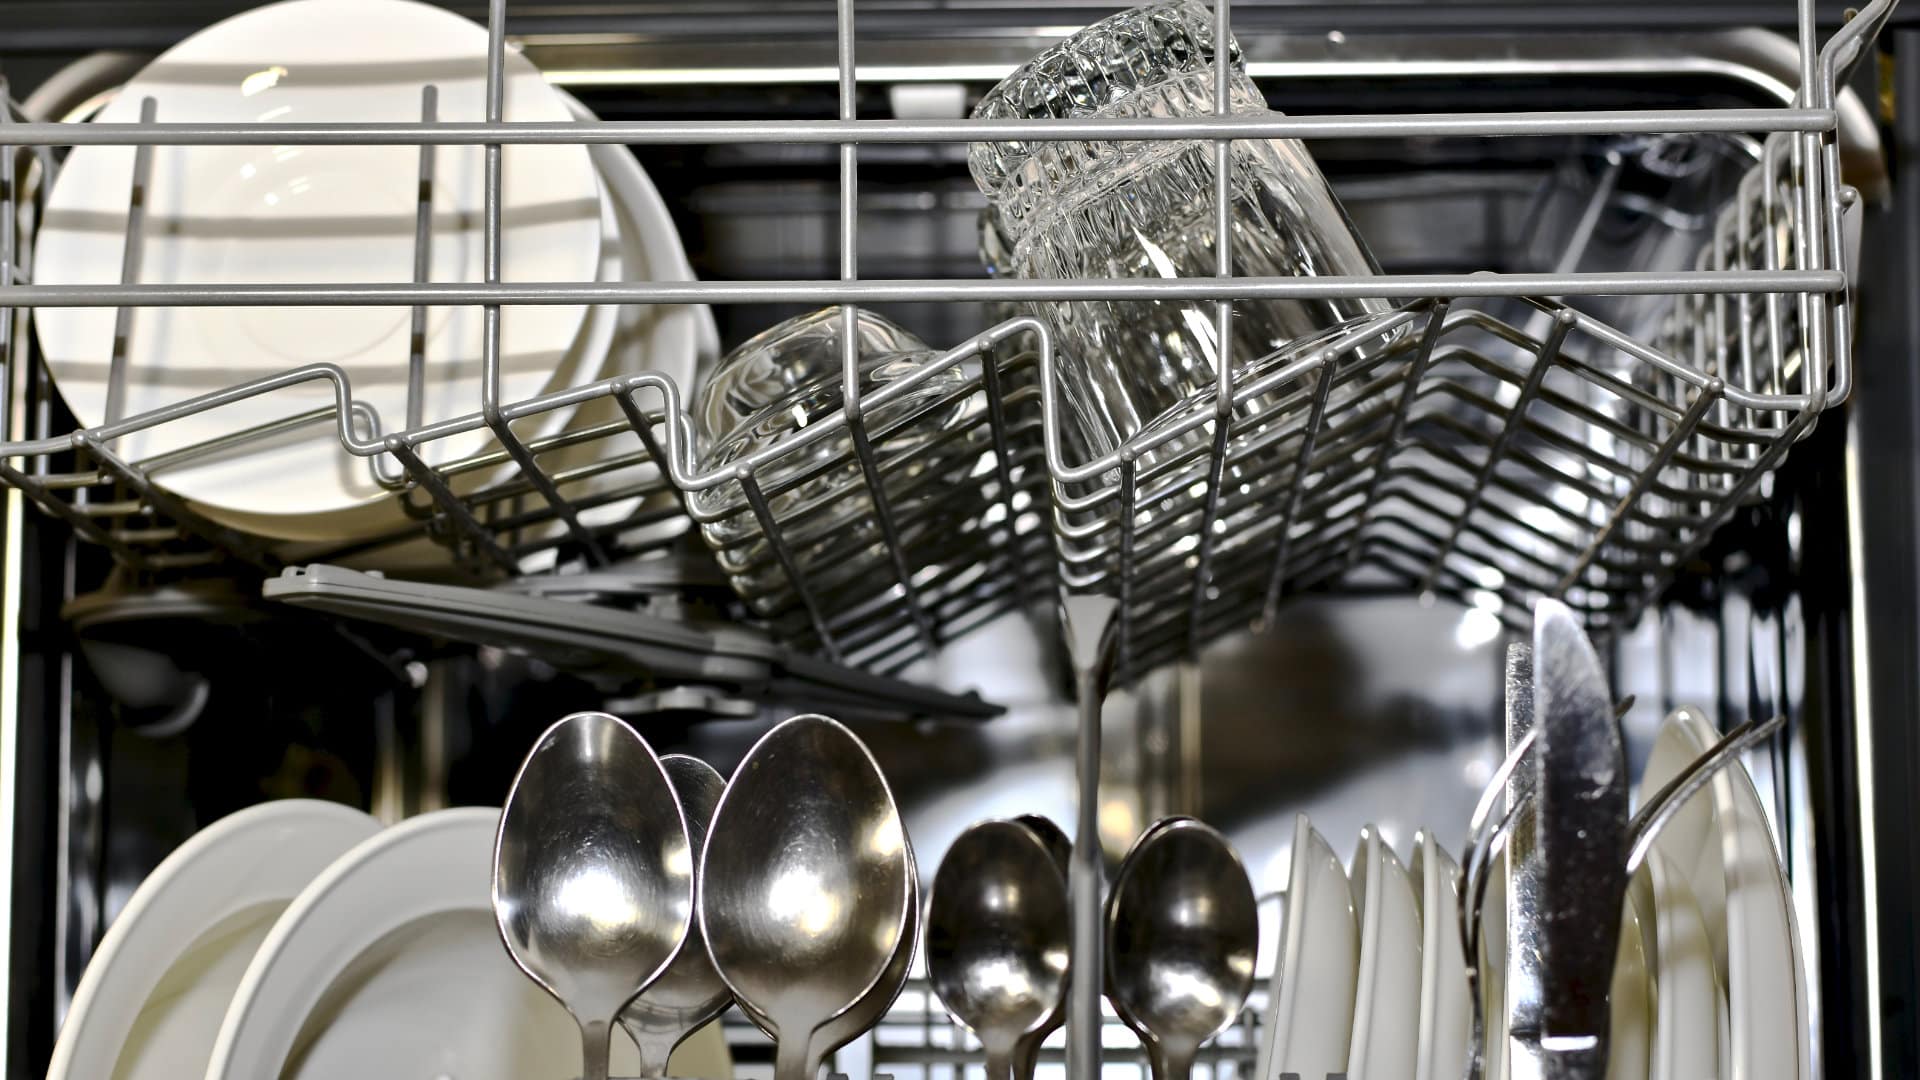
Dishwasher Not Cleaning Top Rack? How to Fix It
Nov. 06, 2023
Why Your Microwave Is Making Weird Noises
Oct. 02, 2023
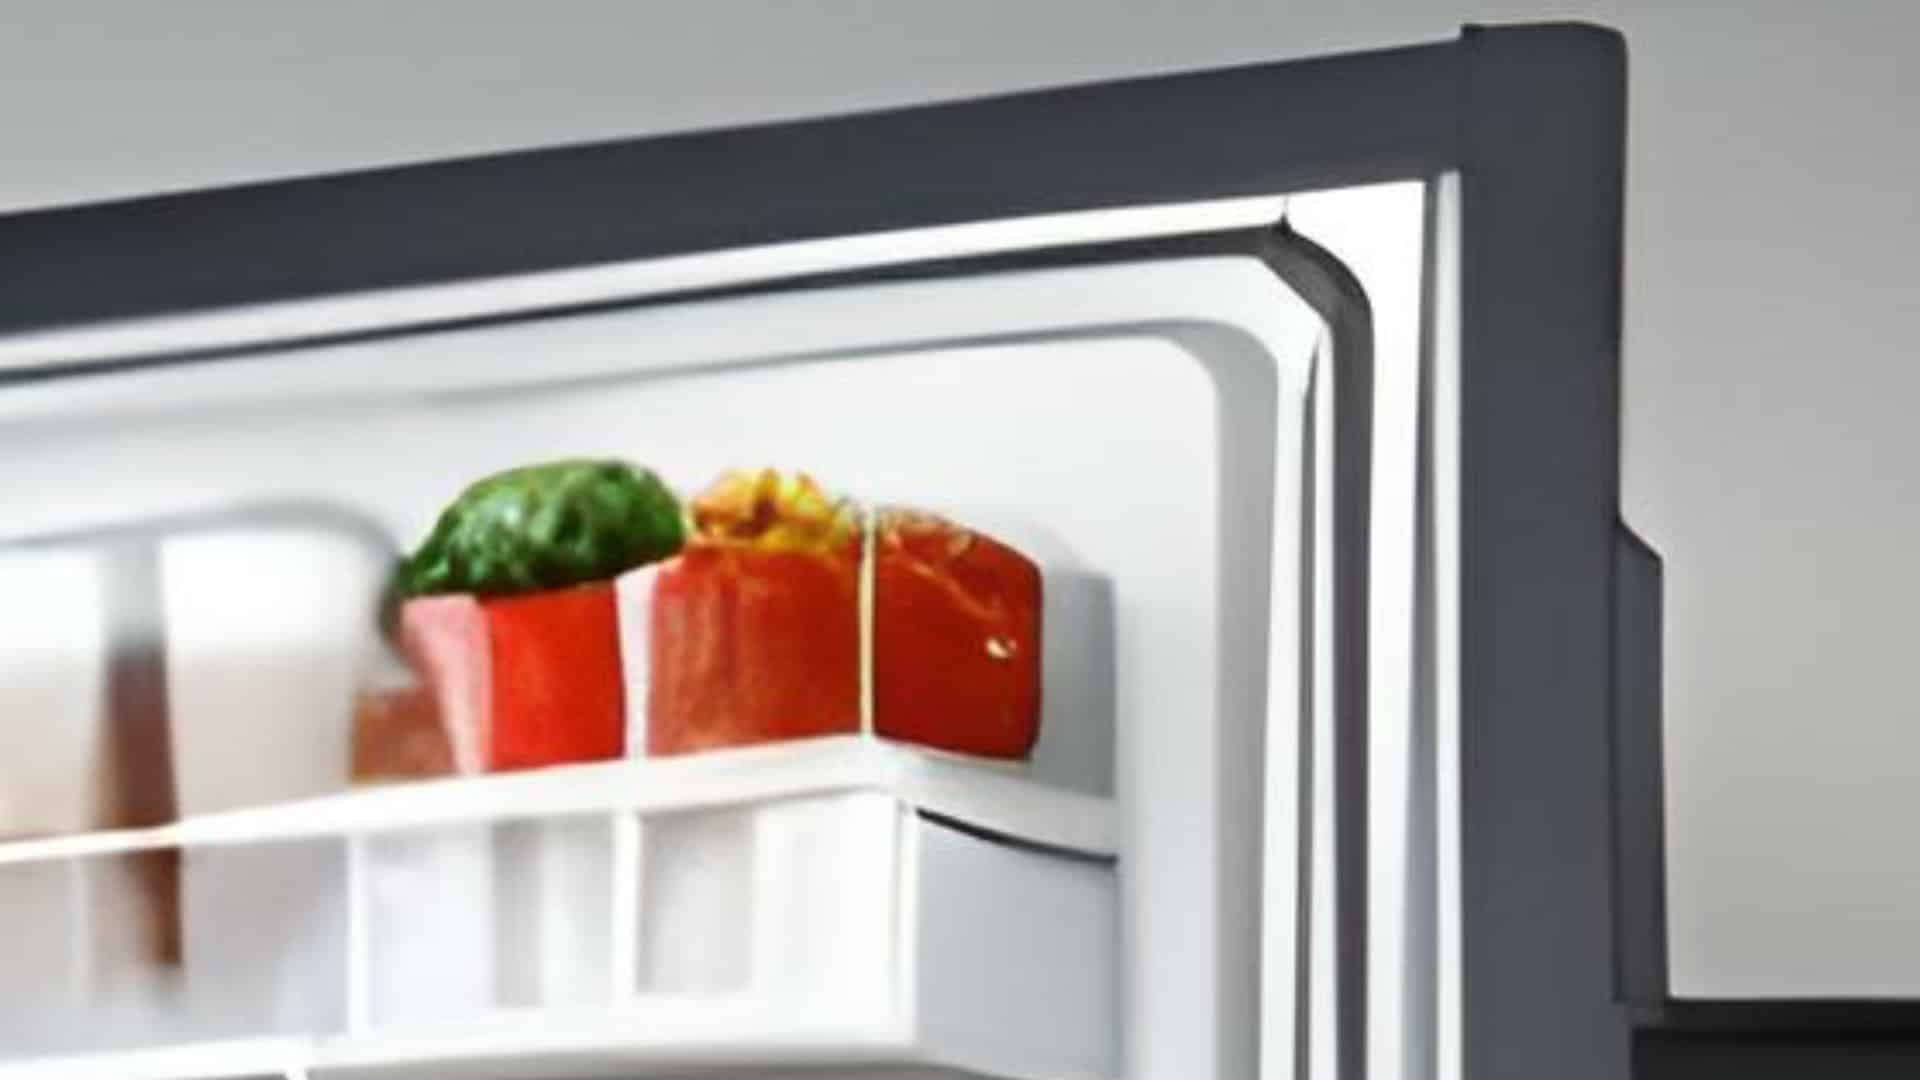
How to Replace a Refrigerator Door Seal
Oct. 02, 2023
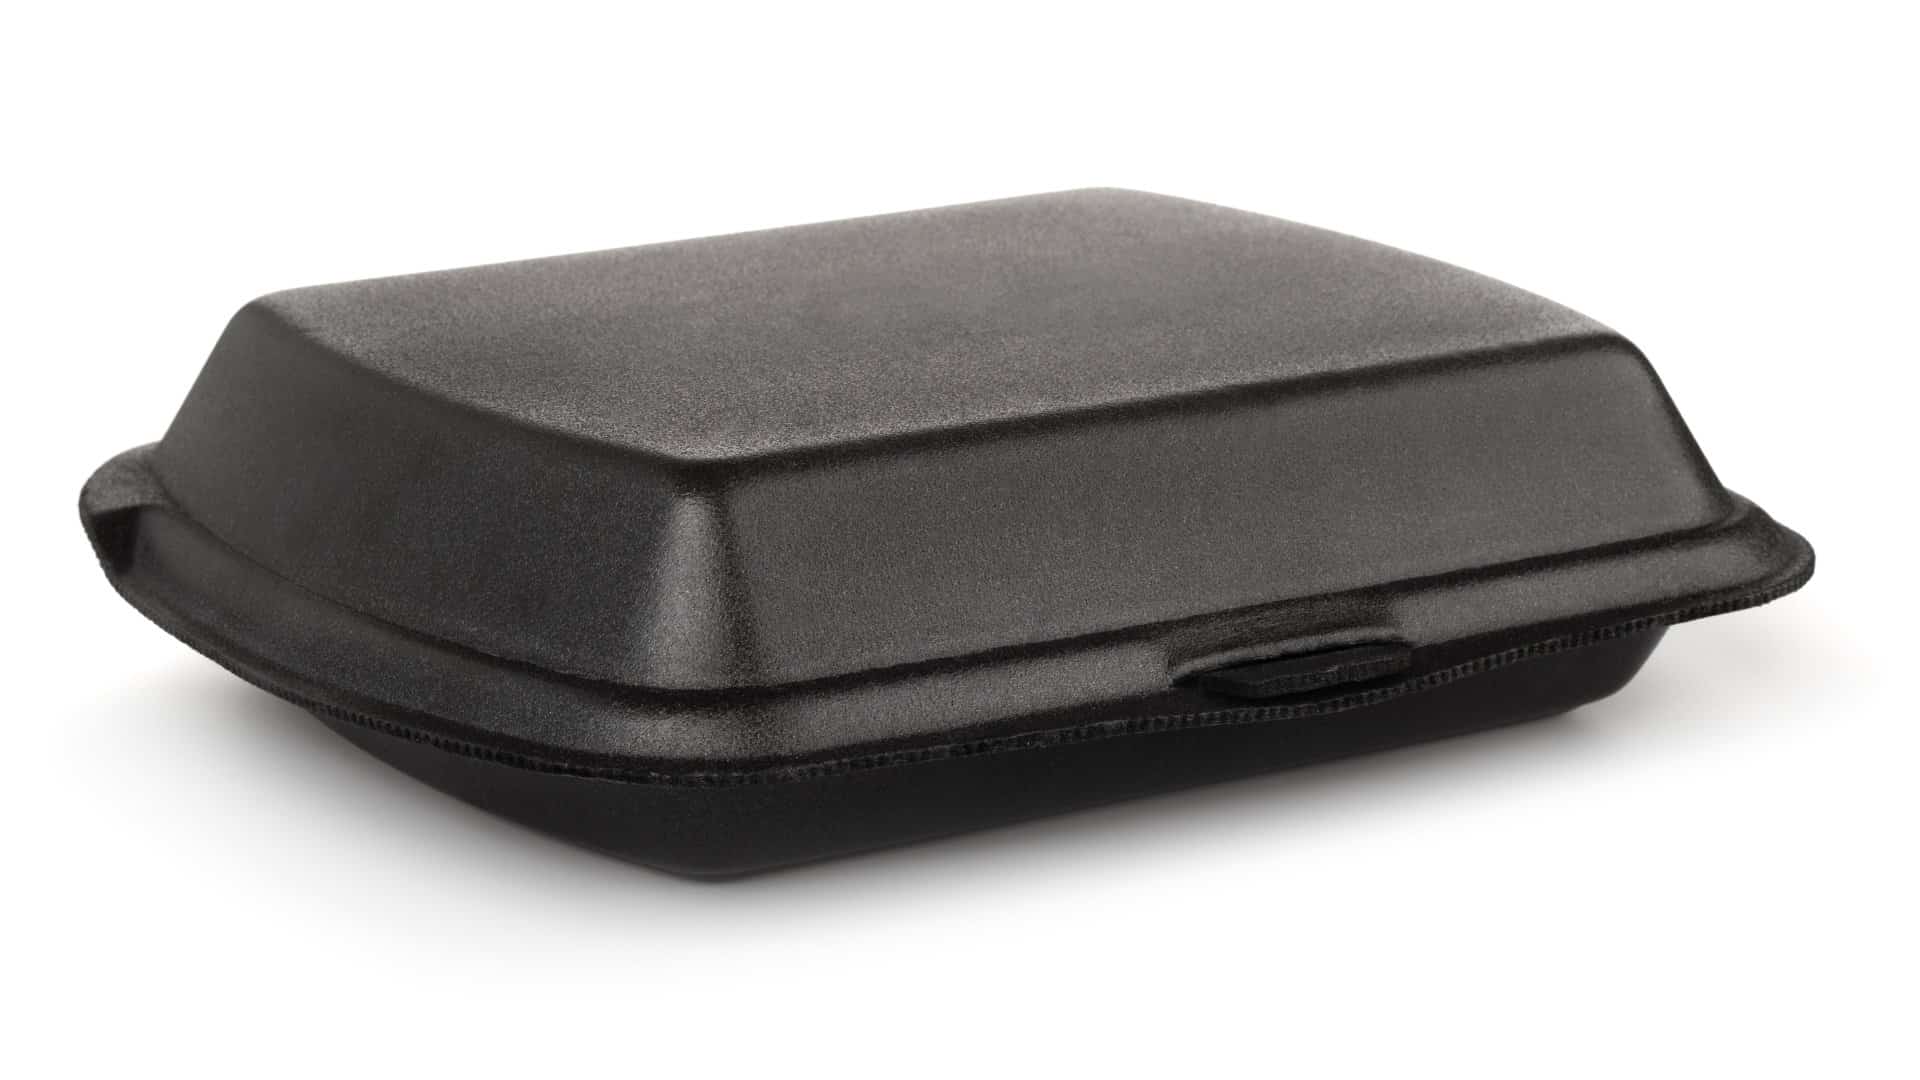
Can You Put Styrofoam in the Microwave?
Oct. 02, 2023
How to Resolve Whirlpool Washer E1/F9 Error Codes
Sep. 08, 2023