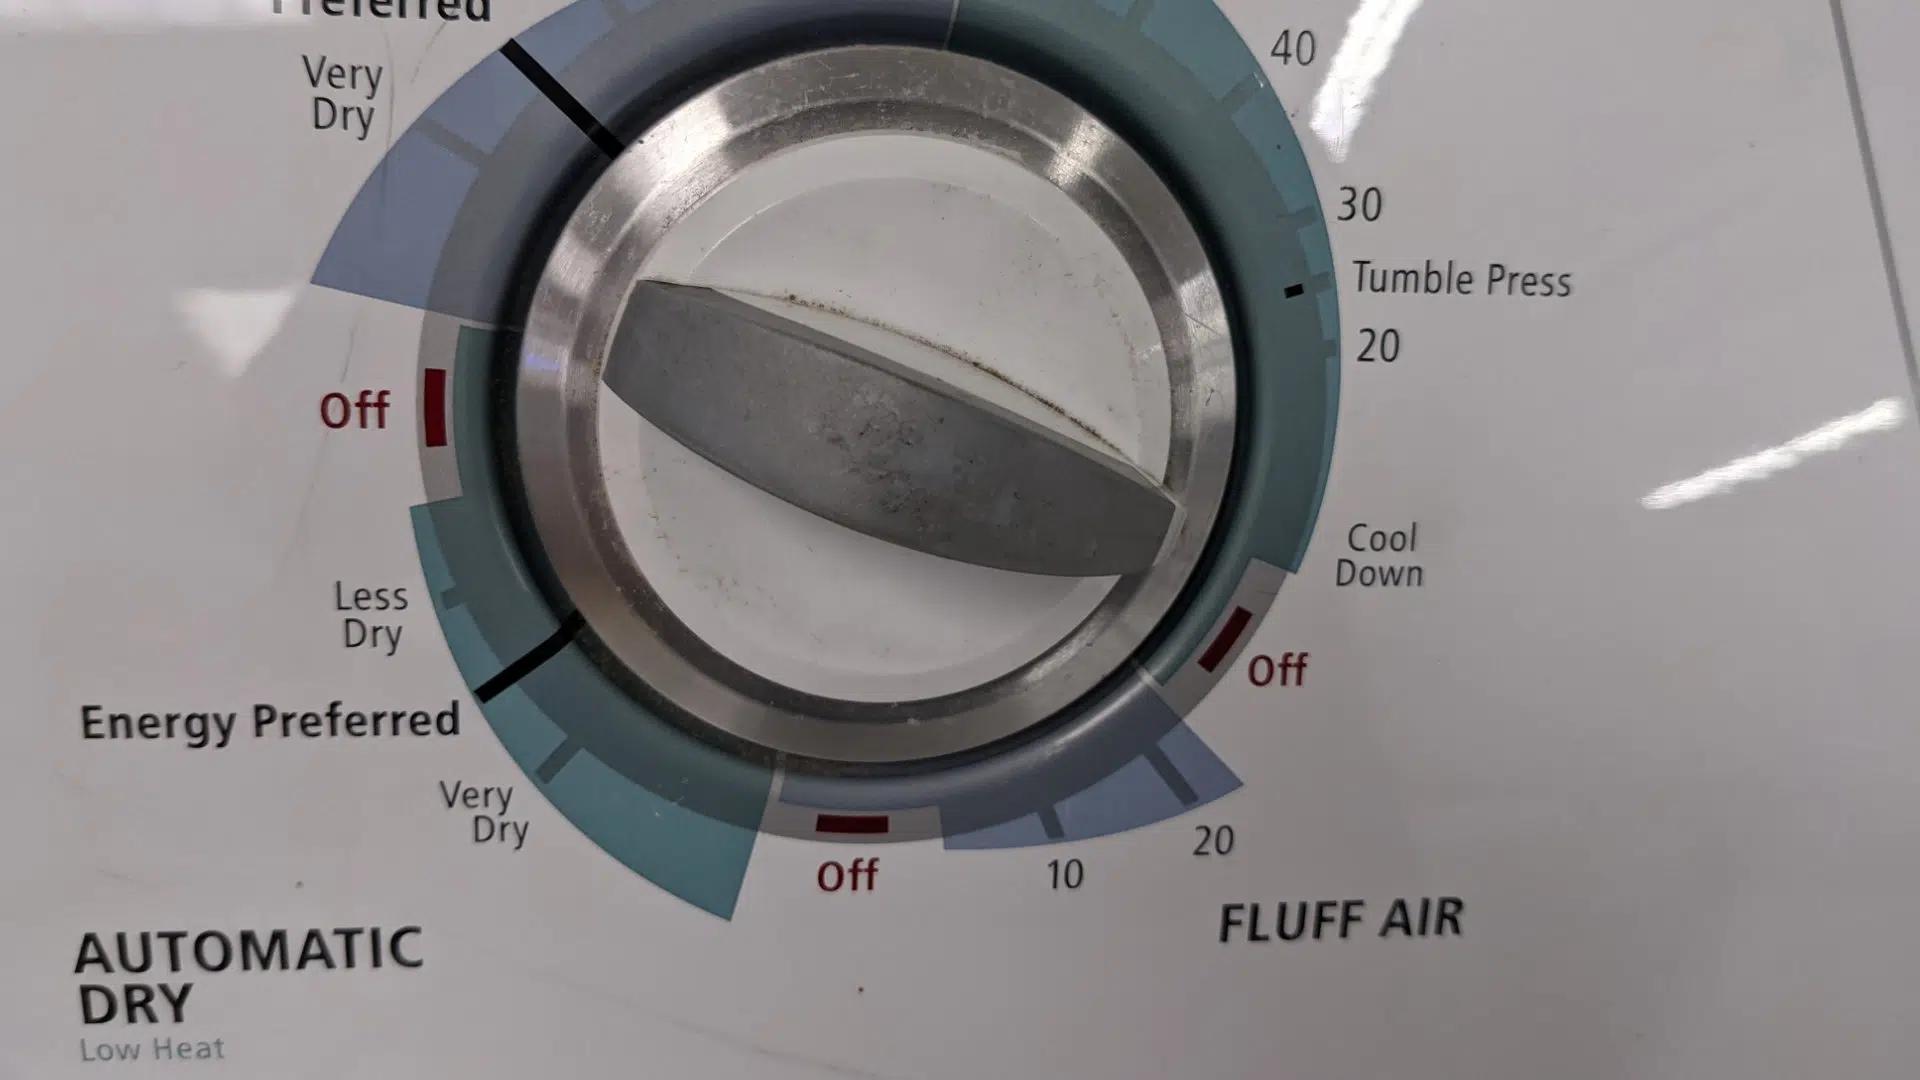
Whirlpool makes a great range of dryers and washer-dryer combinations. However, like all good brands, sometimes a dryer component may wear out over time and need replacing. If you need to replace your Whirlpool dryer belt, your dryer’s drum has likely stopped spinning or has been struggling to spin. When you access the dryer belt, you will likely find either a broken belt or a loose and worn belt. Removing a worn or broken belt should be easy; installing the new belt will be a little more difficult. When applying tension to the new belt to secure it to the dryer drum, getting someone to help you will make the belt installation easier.
Preparation
Make sure to disconnect the power to the dryer before accessing the dryer’s belt. Because of the sharp nature of dryer components, it is recommended to wear work gloves to protect yourself while installing the new belt. Make sure to purchase the correct dryer belt that matches your dryer’s make and model number. If you install the wrong belt, while it may function initially, it will likely break, damage the dryer, or not allow the dryer to operate effectively.
Tools Required
The tools required will depend upon your Whirlpool dryer model. You may need a different-sized nut driver or socket.
- 5/16th nut driver or socket
- Phillips screwdriver
- Putty knife
- Work gloves
How to access the belt
To access the dryer’s belt, the front and top panel of the dryer will need to be removed. Depending on your model, with most Whirlpool dryers, you will need to remove the lint filter and use a putty knife to remove the top dryer panel. If your model has a lower front access panel, you can use a flat-edge screwdriver to wedge the panel off its retaining clips. Follow these instructions to access the belt (dryer with a lint filter on top):Step 1: Disconnect the power to the dryer. Step 2: Remove the lint filter from the dryer. Step 3: Remove the two screws that secure the lint filter assembly to the dryer. Step 4: Insert a putty knife between the top and front panel in the front left corner and front right corner to release the spring clips that secure the front panel. Then lift the top panel up to provide access to the dryer. Step 5: Disconnect the door switch wiring harness. Step 6: Unthread the screws that secure the front panel to the dryer. If there are springs beneath the dryer drum, they can be removed now. Step 7: With the screws removed, lift the front panel off the dryer. You should now have access to the dryer belt.
How to replace the belt
Step 1: Remove the belt from the dryer
If the belt is still intact around the drum, push the idler pulley to release the tension on the belt and remove it from the dryer.
Step 2: Position the new belt
Start by fitting the belt around the drum. Make sure the groove side is facing down, in line with the grove markings from the old dryer belt. Next, thread the belt through the idler pulley.
Step 3: Secure the belt
Push the idler pulley to the right and loop the belt to attach it to the motor. Slowly turn the idler pulley as you slide the new belt on until it is centered and installed correctly. Once on, turn the idler pulley in both directions a few times to ensure the belt is secured to the drum. Turning the dryer drum may also help to tighten and position the belt properly.
Step 4: Check the belt is installed correctly
Make sure the belt has not folded over and that it is secured in the center of the drum or aligned with the groove marks left by the old dryer belt. The belt should now be attached to the drum, idler pulley, and motor. The dryer can now be reassembled. Make sure to reconnect the door switch wiring harness and rethread the lint assembly screws.
Tips
- If you have trouble changing the belt, laying the dryer on its back may give you better access.
- The inside of the dryer often accumulates a lot of dirt and dust. With the top and front panels removed, it is a good idea to vacuum or clean the inside of the dryer. Lint buildups can also be removed from the dryer to enhance its performance.
- Find something to prop the drum up if working alone.
- Consider using wire ties to help secure the belt during the installation.
- If the dryer does not have an idler pulley, there should still be a metal semi-circle that the belt needs to be installed around.
How To Fix a Whirlpool Washer F20 Error Code
How to Fix a Dishwasher Not Getting Water: The Ultimate Guide
How to Solve the Frigidaire Stove F10 Error Code
How to Hook up a Gas Dryer
Dishwasher Not Cleaning Top Rack? How to Fix It
Why Your Microwave Is Making Weird Noises
How to Replace a Refrigerator Door Seal
Can You Put Styrofoam in the Microwave?
How to Resolve Whirlpool Washer E1/F9 Error Codes
