


March 10, 2022
Dryer Repair
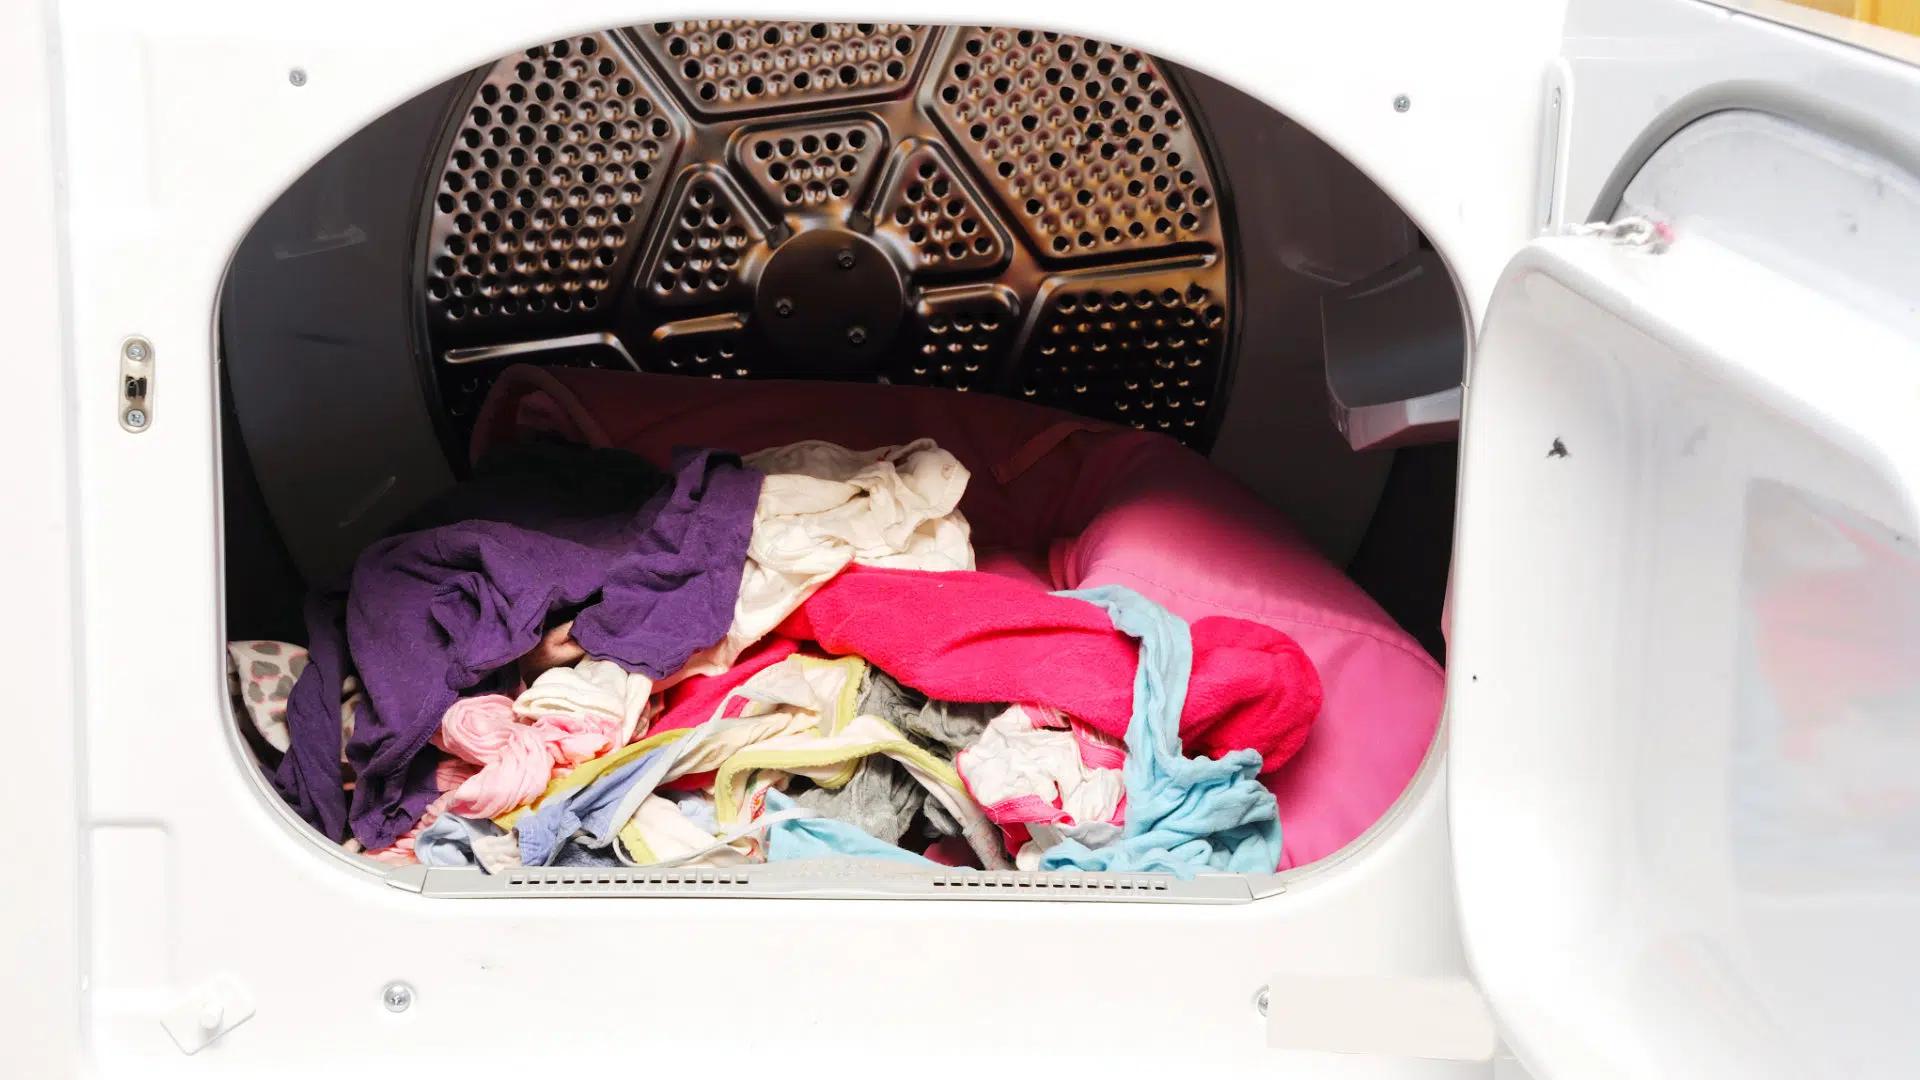
If your dryer is making a squeaky noise while it’s turned on, then chances are one or more of its internal components is faulty and will need to be repaired or replaced. To help you find out which components are the cause of the squeaky noise, we have put together this simple 5 step guide to help you out. Simply start with step one and work your way down the guide until you’re able to find the cause of the noise and apply our recommended fix.
Step 1 – Locate and check the drive belt
The drive belt can be found around the dryer drum. Its purpose is to help the dryer drum turn around when you turn your dryer on. If the drive belt gets worn out, it will sometimes start to make a squeaky noise. Here’s how to check the drive belt and, if necessary, replace it:
- Start by switching the power off to your dryer.
- Next, take the top panel and side panels off your dryer (your user manual should have instructions for how to do this that are specific to your make and model).
- Once you have access to the internal components, locate the drive belt (you’ll find it warped around the drum).
- Thoroughly inspect the drive belt for any signs of wear and tear and check that it is in the center of the drum.
- If the drive belt has moved out of place, move it back into place and then test if the noise has stopped. If the noise is still occurring, proceed to step 2.
- If the drive belt is damaged, it will need to be replaced. To replace the drive belt, you simply need to remove it off the drum and the idler pulley and then install a new one where the old one was.
- Once the new belt is installed, check that the dryer can now operate without any squeaky noises coming from it. If not, proceed to step 2.
Step 2 – Locate and check the drum rollers
The next step is to locate and check the drum rollers. The rollers are there to help support the drum and keep it in place when your dryer is running through a cycle. If they get worn out, they will sometimes start to cause squeaky or grinding noises to emit from your dryer. Here’s how to check, and if necessary, replace the drum rollers:
- Ensure that the power is turned off to your dryer.
- If you haven’t done so, take the top panel and side panels off your dryer (your user manual should have instructions for how to do this that are specific to your make and model).
- Once you have access to the internal components, locate the drum rollers.
- Thoroughly inspect the drum rollers for any signs of wear and tear.
- If the drum rollers are in good condition, you can skip straight on to the next step. If the drum rollers are damaged, replace them. The rollers can be replaced by removing the old ones and then installing the new ones in the same spots as the old ones.
- Once the new rollers have been installed, turn your dryer on and check if the noise has stopped. If you can still hear a squeaky noise, proceed to the next step.
Step 3 – Locate and check the blower wheel
If you still haven’t found the cause of the squeaky noise, the next step is to check the blower wheel to ensure it isn’t covered in lint. When this happens, the blower wheel might start making a loud noise when it’s trying to distribute air through the dryer. Here’s how to check, and if necessary, replace the blower wheel:
- Ensure that the power is turned off to your dryer.
- If you haven’t done so, take the top panel and side panels off your dryer (your user manual should have instructions for how to do this that are specific to your make and model).
- Once you have access to the internal components, locate the blower wheel.
- Thoroughly inspect the blower wheel for any signs of wear and tear and try and rotate it around to make sure nothing is obstructing it. If you find something obstructing the wheel, remove it and then test if the wheel can now operate correctly. Also, remove any lint that is stuck to the wheel.
- If the blower wheel is in good condition, you can skip straight on to the next step. If the blower wheel is damaged, replace it. The wheel can be replaced by removing the old one and then installing the new one in the same spot as the old one.
- Once the new blower wheel is installed, turn your dryer on and check if the noise has stopped. If you can still hear a squeaky noise, proceed to the next step.
Step 4 – Locate and check the drum bearing
The drum bearing supports the back of the drum and helps to keep the drum in the correct position. If the bearing gets worn out, it can sometimes cause a loud squeaky noise to emit from your dryer. To check, and if necessary, replace the drum bearing you need to:
- Ensure that the power is turned off to your dryer.
- If you haven’t done so, take the top panel and side panels off your dryer (your user manual should have instructions for how to do this that are specific to your make and model).
- Once you have access to the internal components, locate the drum bearing.
- Next, remove the drive belt and then attempt to turn the drum around by hand. If the drum moves around without any resistance, this means the bearing has worn out and will need to be replaced. If there is some resistance when you move the drum around, but you can hear a squeaky noise, this also means the bearing should be replaced. If there is some resistance and no noises, the bearing is fine, and you can proceed to the next step.
- To replace the drum bearing, you simply need to remove it from the dryer and then place the new bearing in the same spot and secure it.
- Once the new drum bearing is installed, turn your dryer on and check if the noise has stopped. If you can still hear a squeaky noise, proceed to the next step.
Step 5 – Locate and check the drum glide
The next step is to check that the drum glides are not worn out. The drum glides are small plastic components that help to support and keep the dryer drum in the correct position while it turns around. If they become worn out, a loud squeaky noise might develop. Here’s how to check, and if necessary, replace the drum glides:
- Ensure that the power is turned off to your dryer.
- If you haven’t done so, take the top panel and side panels off your dryer (your user manual should have instructions for how to do this that are specific to your make and model).
- Once you have access to the internal components, locate the drum glides.
- Thoroughly inspect the drum glides for any signs of wear.
- If one or multiple glides are damaged, replace them. The glides can be replaced by removing the old ones and then installing the new ones in the same spots as the old ones.
- Once the new drum glides are installed, turn your dryer on and check if the noise has stopped.
(410) 451 - 4104Text or ring! ring!
Dec. 11, 2023
How To Fix a Whirlpool Washer F20 Error Code
Dec. 11, 2023
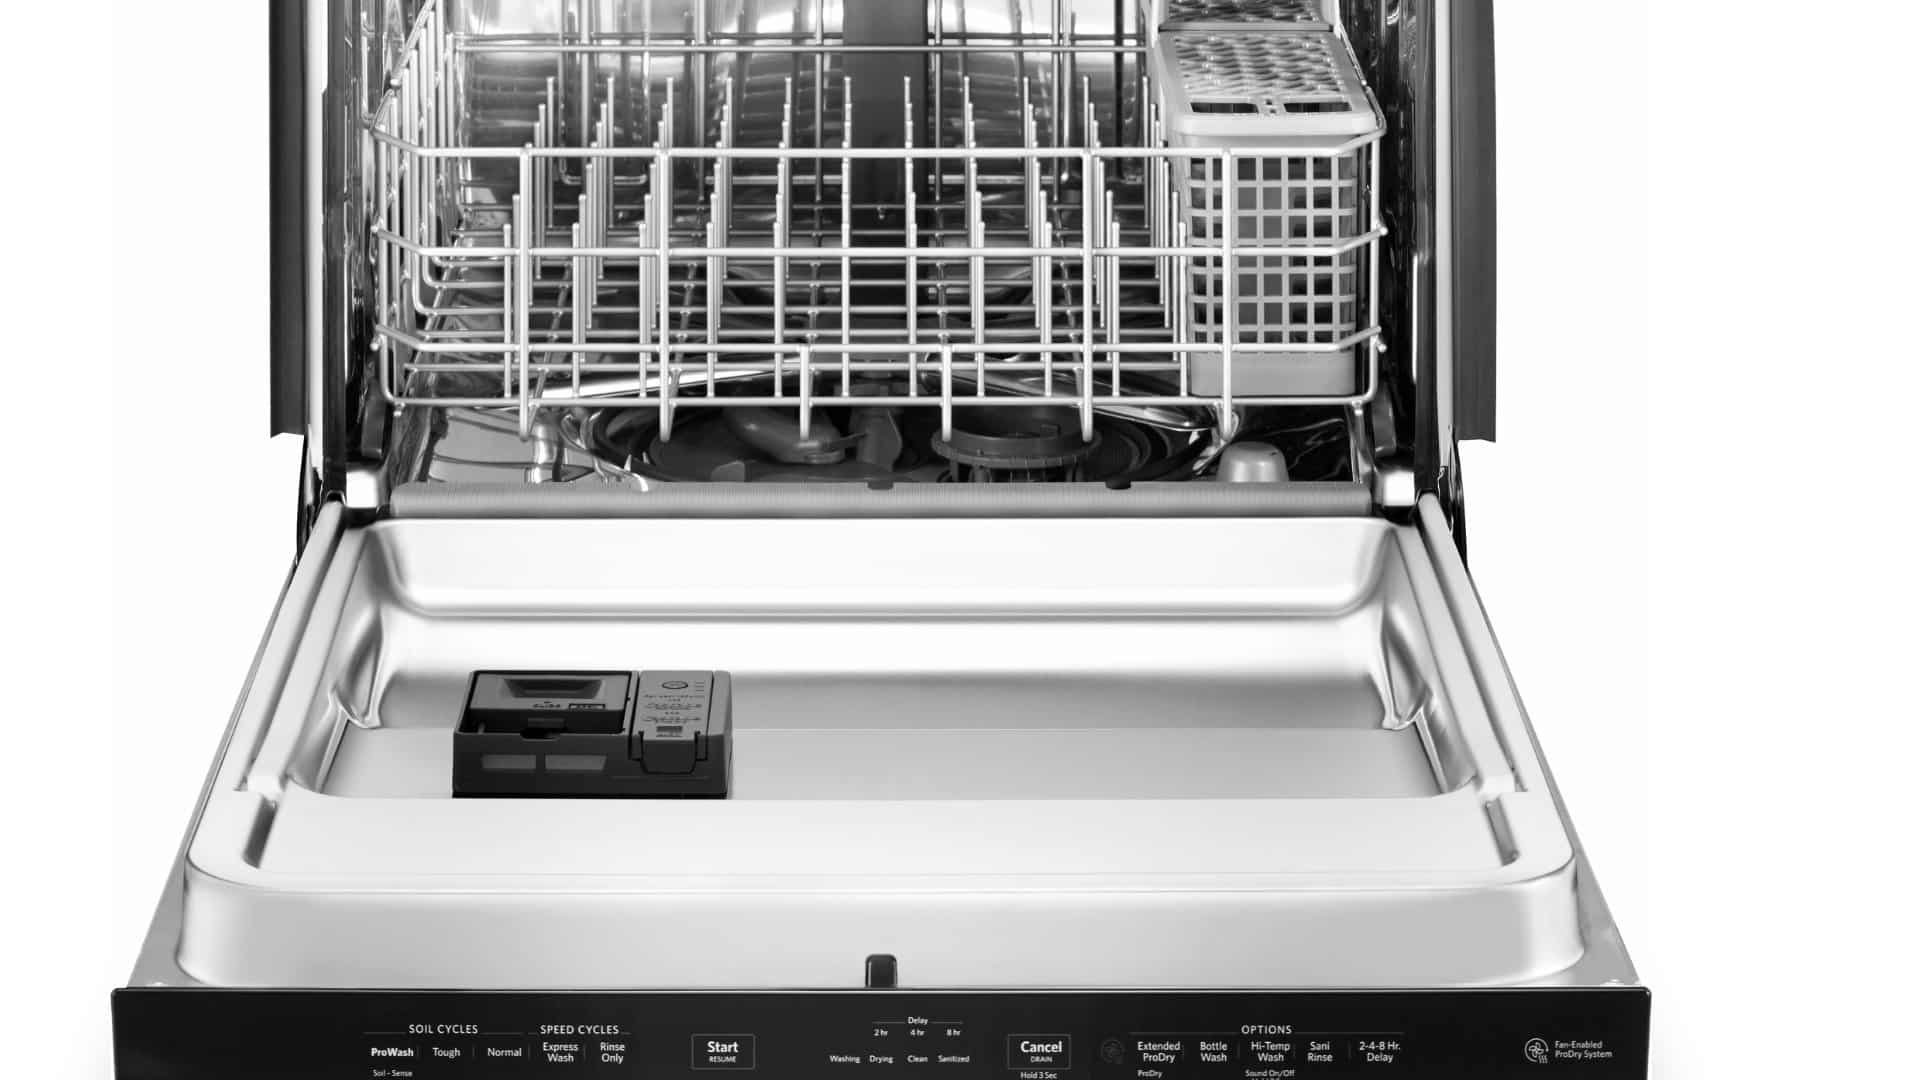
How to Fix a Dishwasher Not Getting Water: The Ultimate Guide
Dec. 11, 2023
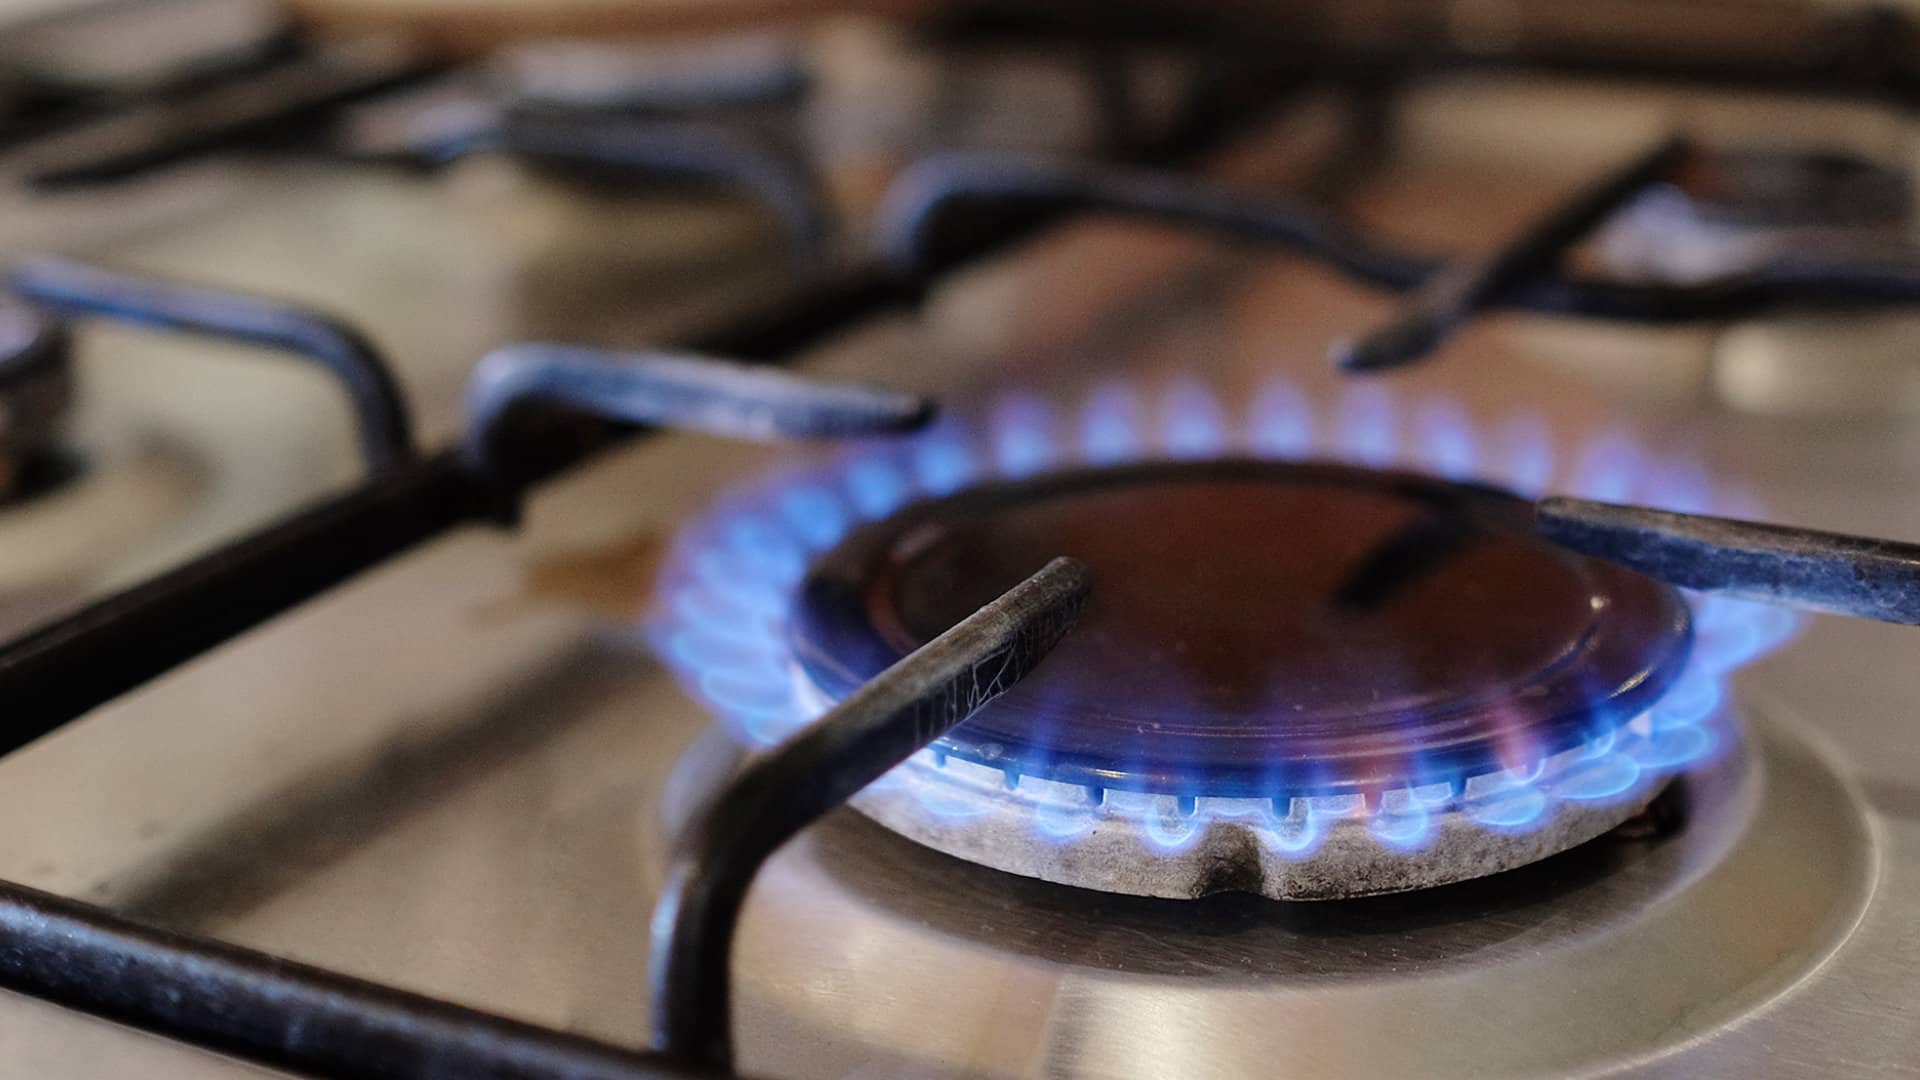
How to Solve the Frigidaire Stove F10 Error Code
Nov. 06, 2023
How to Hook up a Gas Dryer
Nov. 06, 2023
Dishwasher Not Cleaning Top Rack? How to Fix It

Nov. 06, 2023
Why Your Microwave Is Making Weird Noises
Oct. 02, 2023
How to Replace a Refrigerator Door Seal
Oct. 02, 2023
Can You Put Styrofoam in the Microwave?
Oct. 02, 2023
How to Resolve Whirlpool Washer E1/F9 Error Codes
Sep. 08, 2023